I needed a good handiwork hobby to have something to work on when I am watching TV and start to fall asleep in the middle of a good show, so I started doing appliqué with felted wool. When I’m looking for ideas for a new project, I search online for inspiration, so I wanted to give back by sharing my projects in case they give other folks ideas.
The Basic Process
I use wool felt for these projects (like craft felt, but much nicer!) I use an iron-on fusible interfacing to attach them to the backing fabric so they don’t slip off as I stitch them down. I do all the stitching by hand with embroidery floss, using a blanket stitch for most of the work. More details below.
Projects from Kits
I started with kits, so I could learn the process before trying to create a design, and so I had exactly the materials I needed without having to purchase lots of little bits of felt.
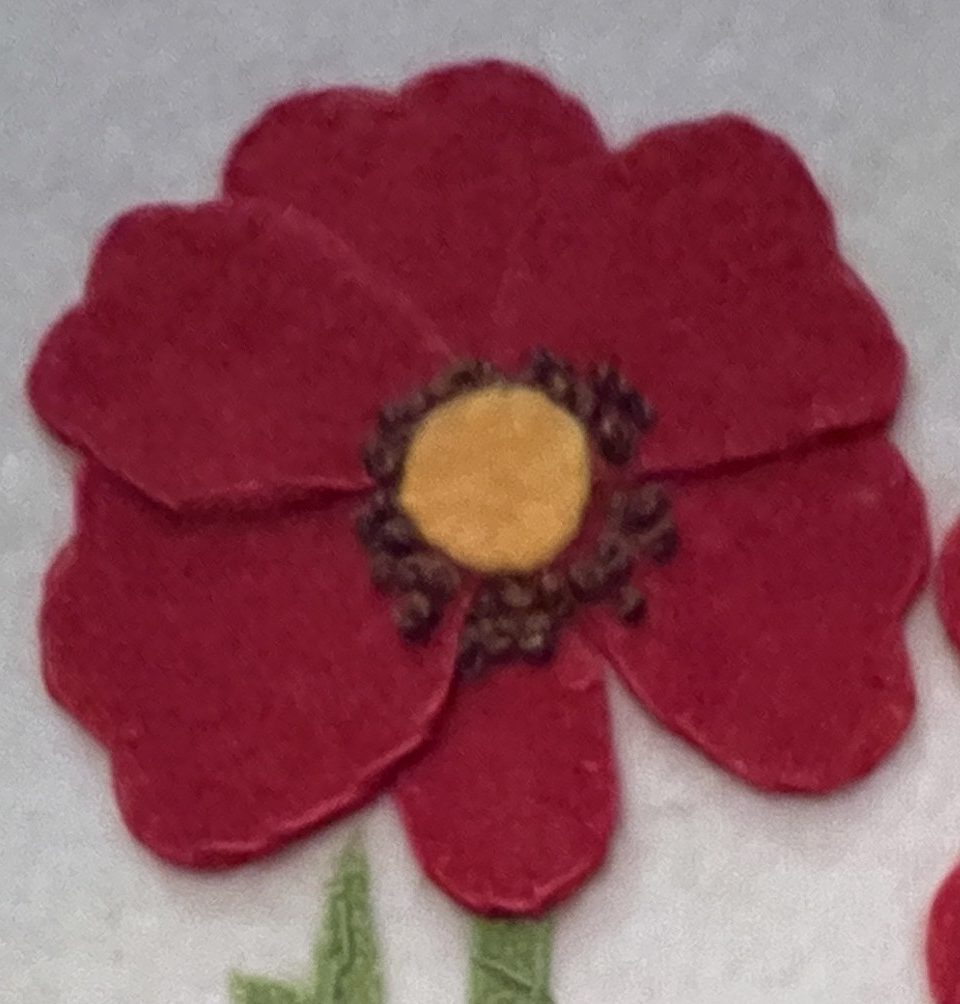
Flower Block
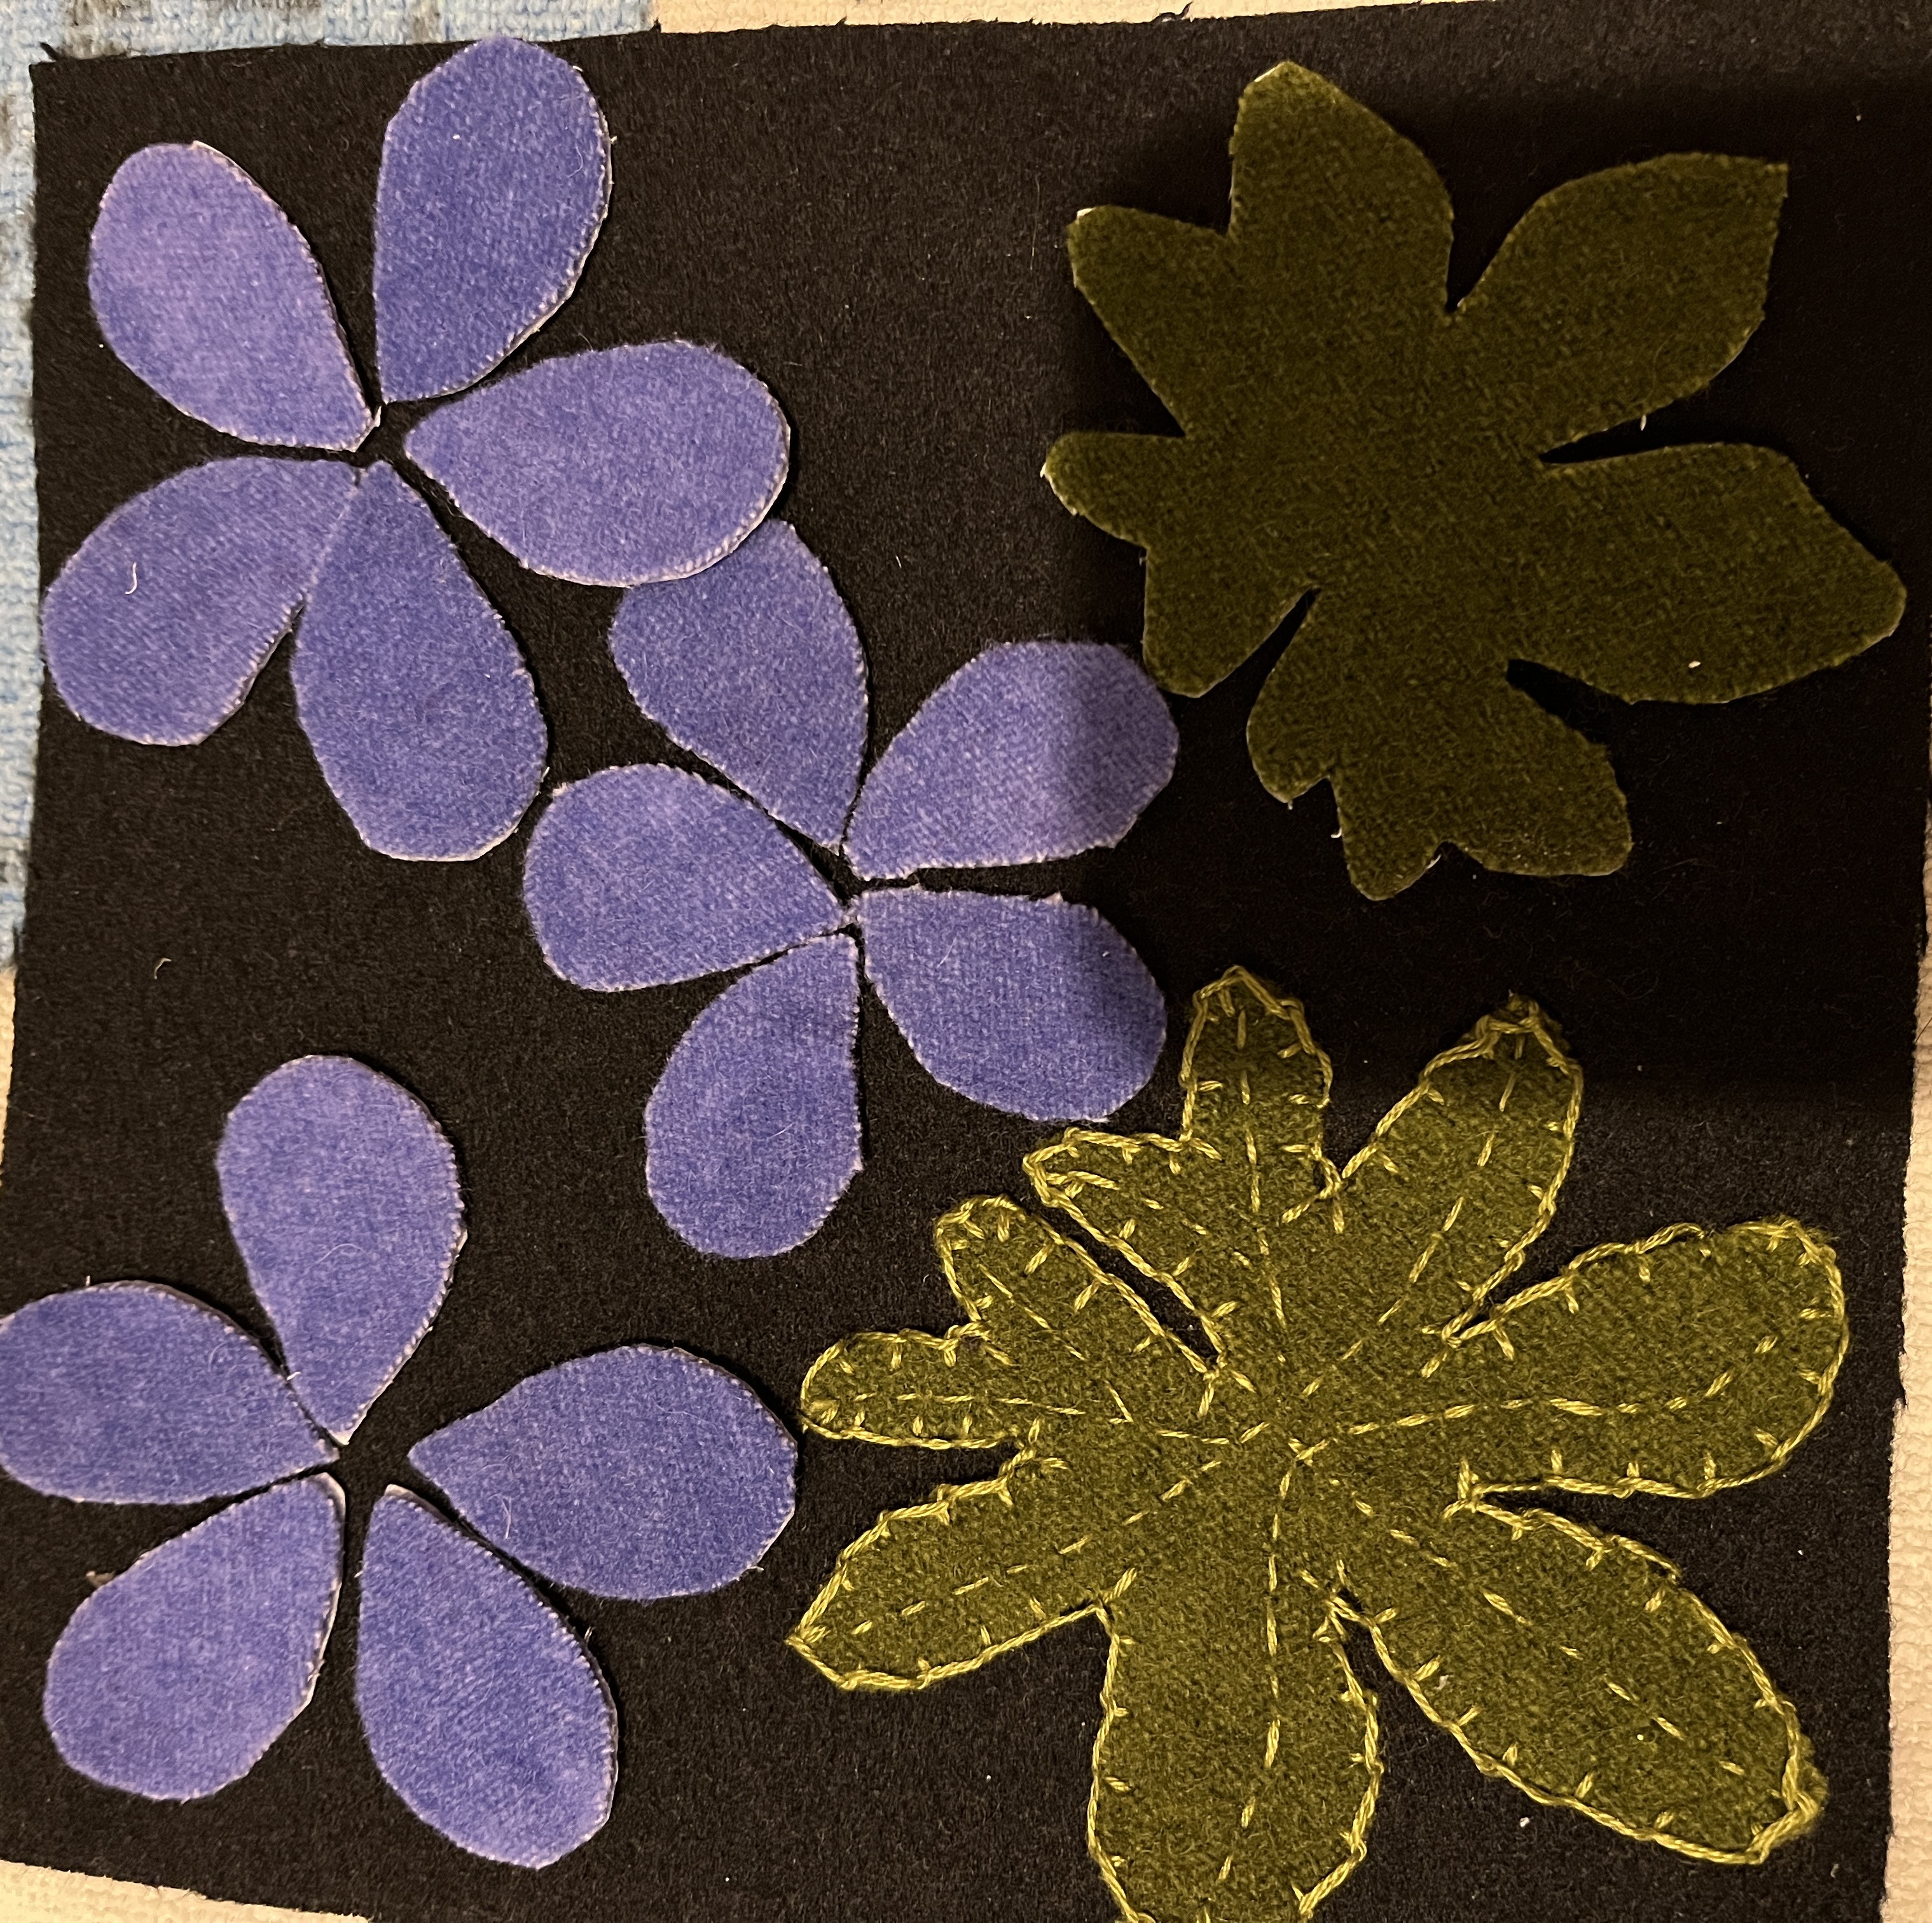
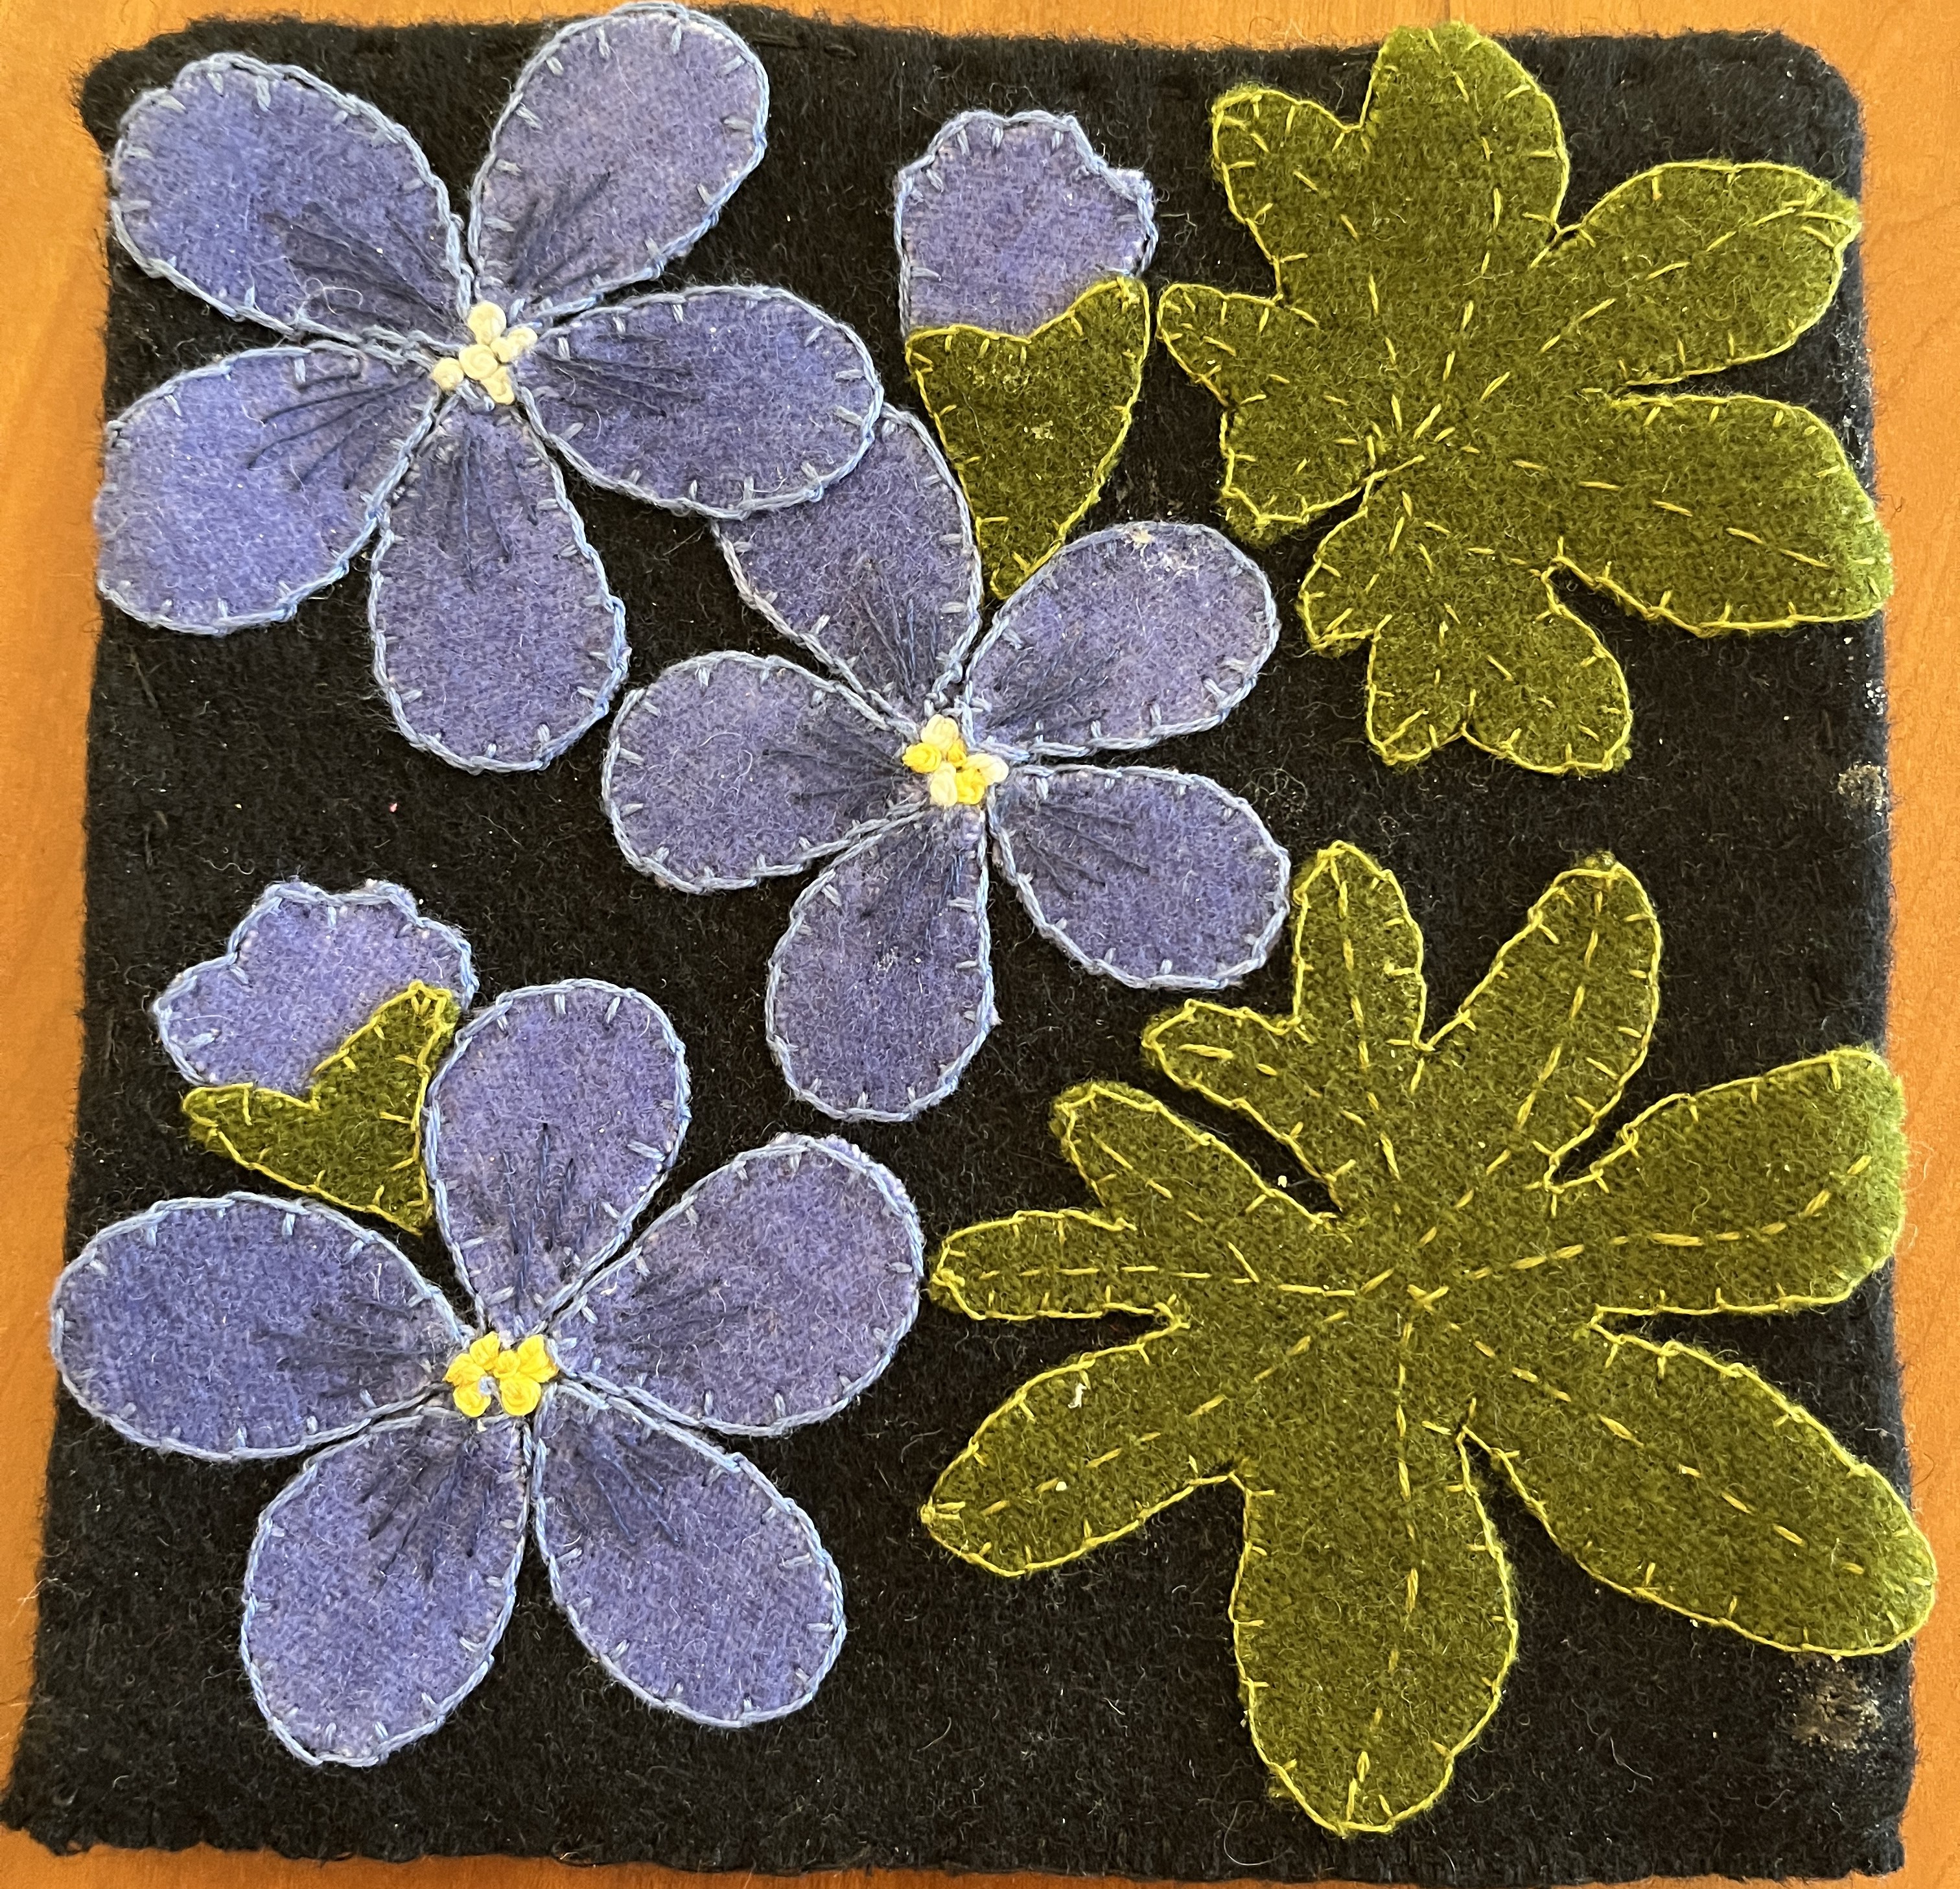
This geranium kit I got from Etsy, but it’s no longer available. It was designed by Karen Hahn of HorseAndBuggyCountry.com, which doesn’t seem to exist any more. These two photos show the work in progress and the final item, so you can see what a huge difference the stitching makes.
Christmas Banners
Next up was Peace, Hope and Joy from Triple R Mercantile on Etsy. (I look at the stitching on the stars here, and am glad I’ve gotten much better at this since then!)
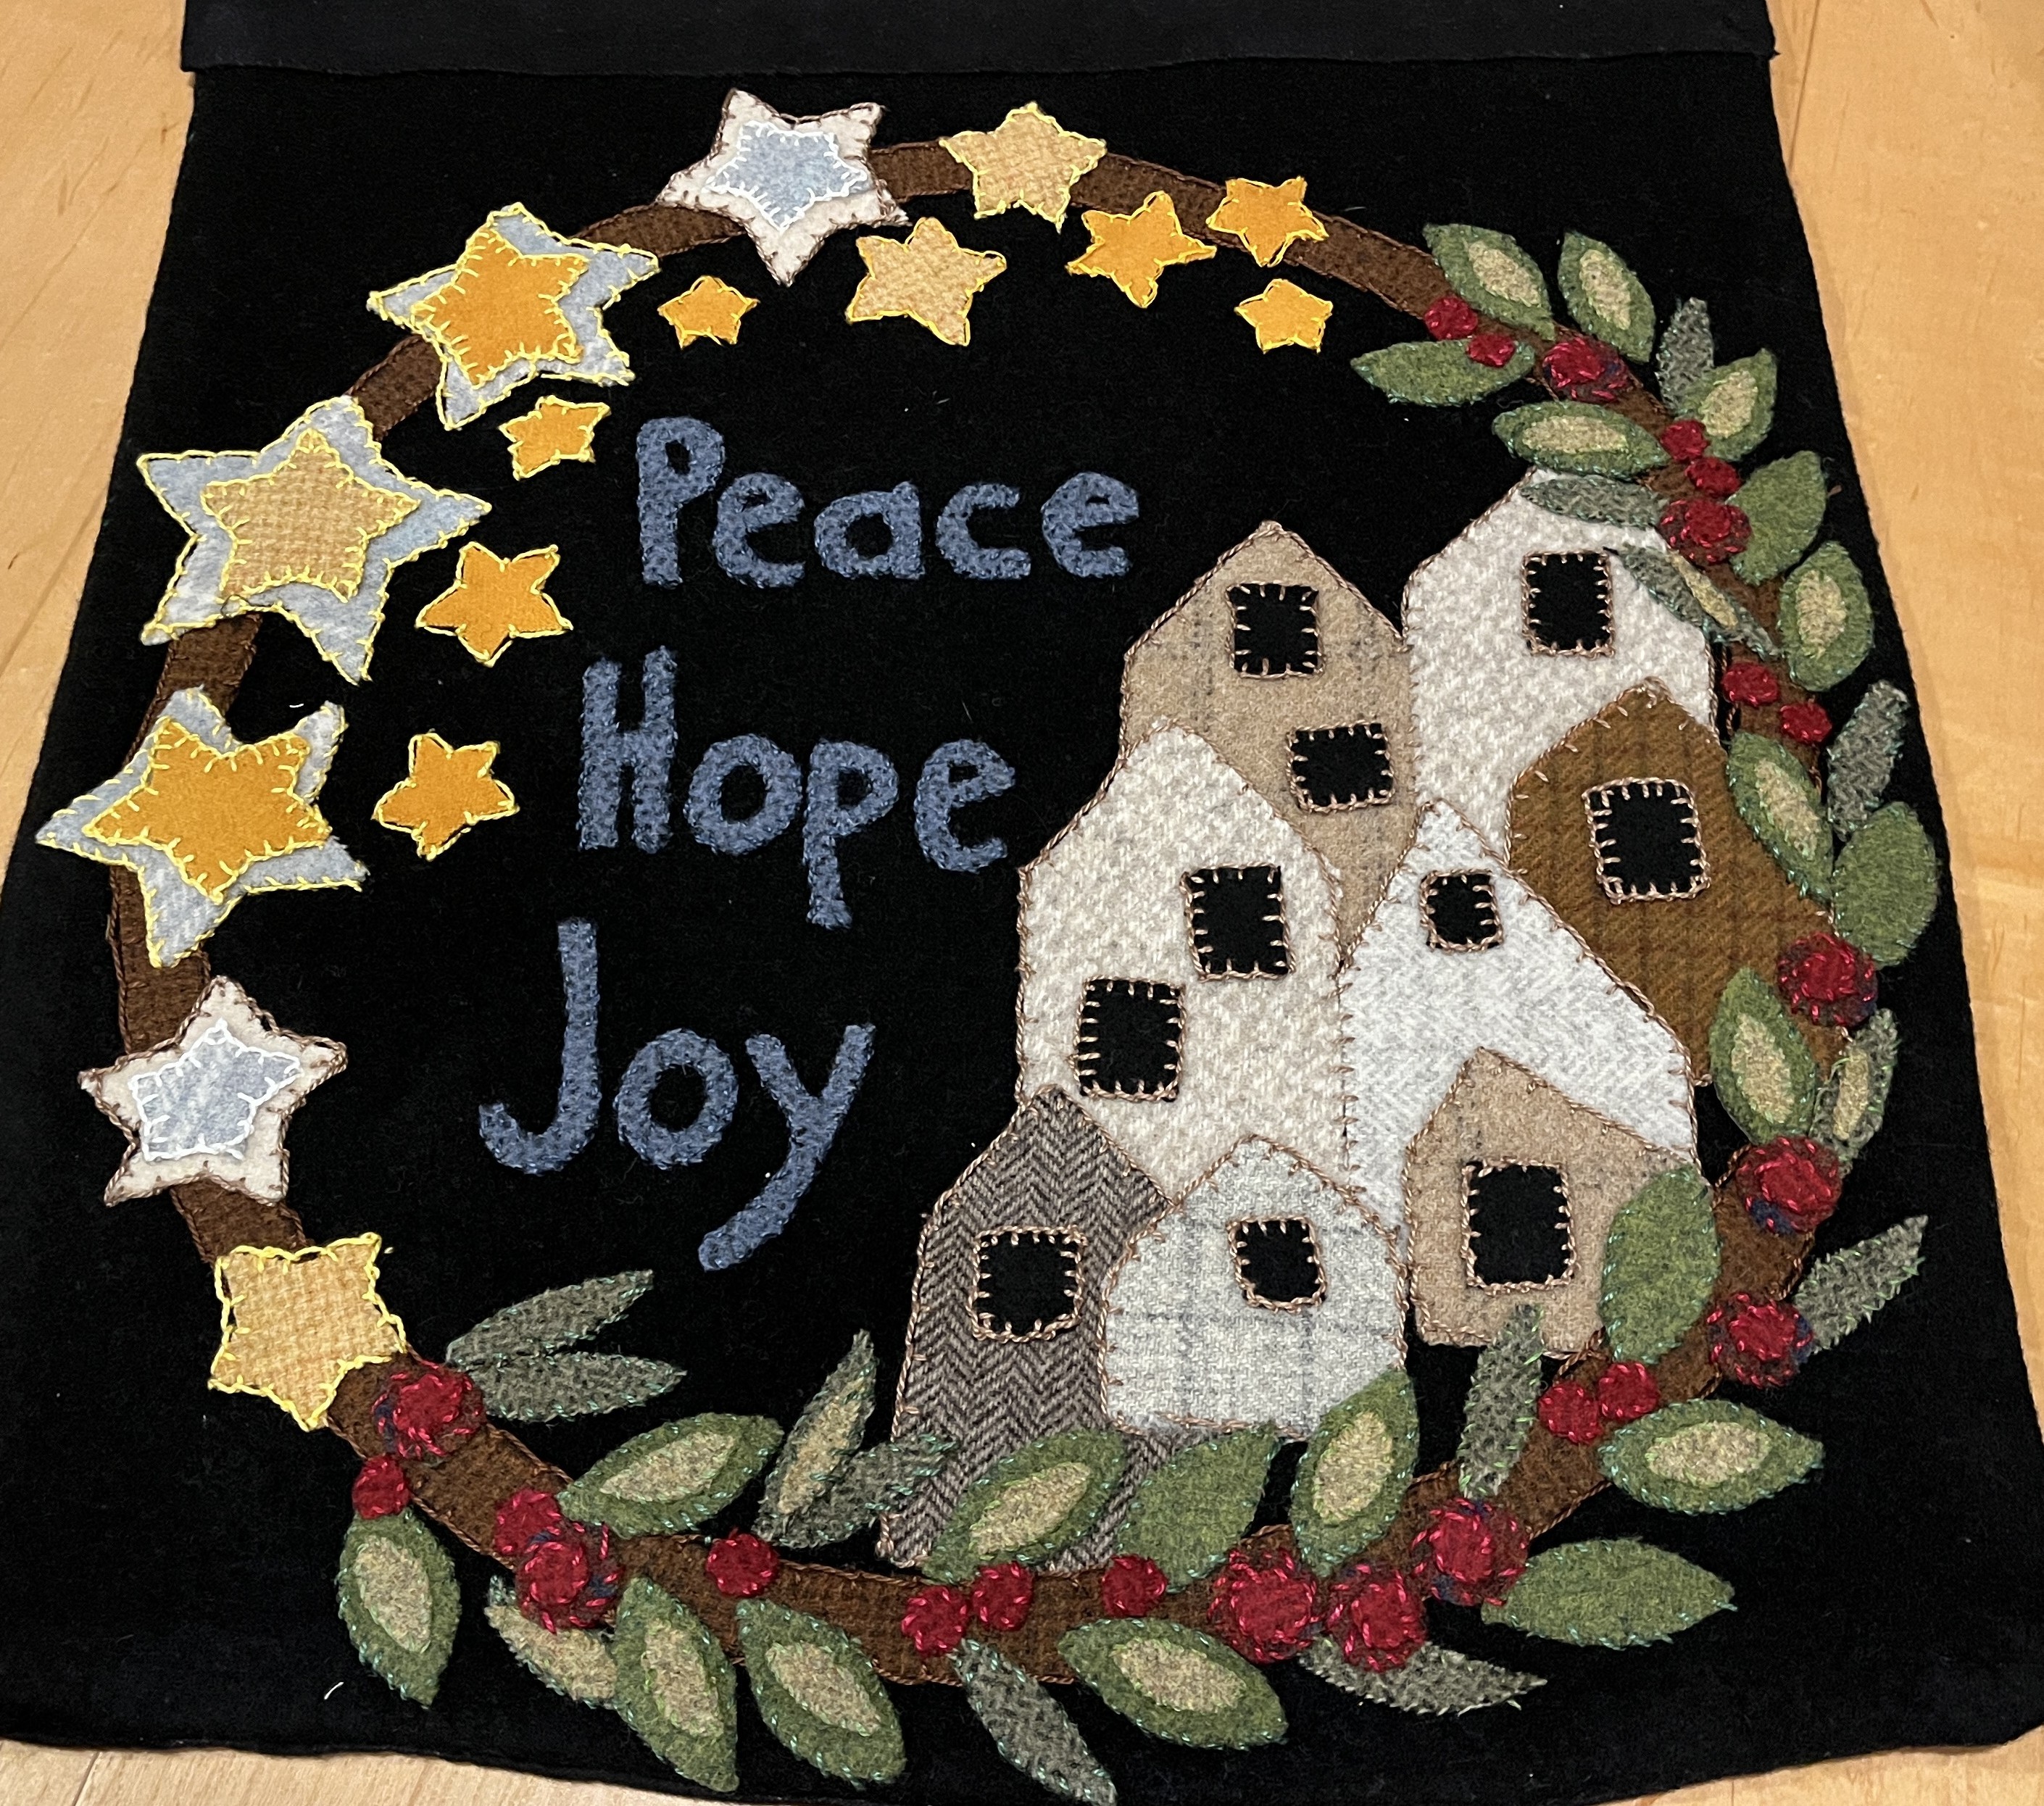
I love the design. But, the kit itself was challenging – having to figure out which pattern pieces went with which fabric then cut out all the pieces, then figuring out the layout. The instructions assumed that you had a sewing / crafting background, which conveniently I have. If you’re an experienced crafter, Triple R has some great designs, but I wouldn’t start with their kits.
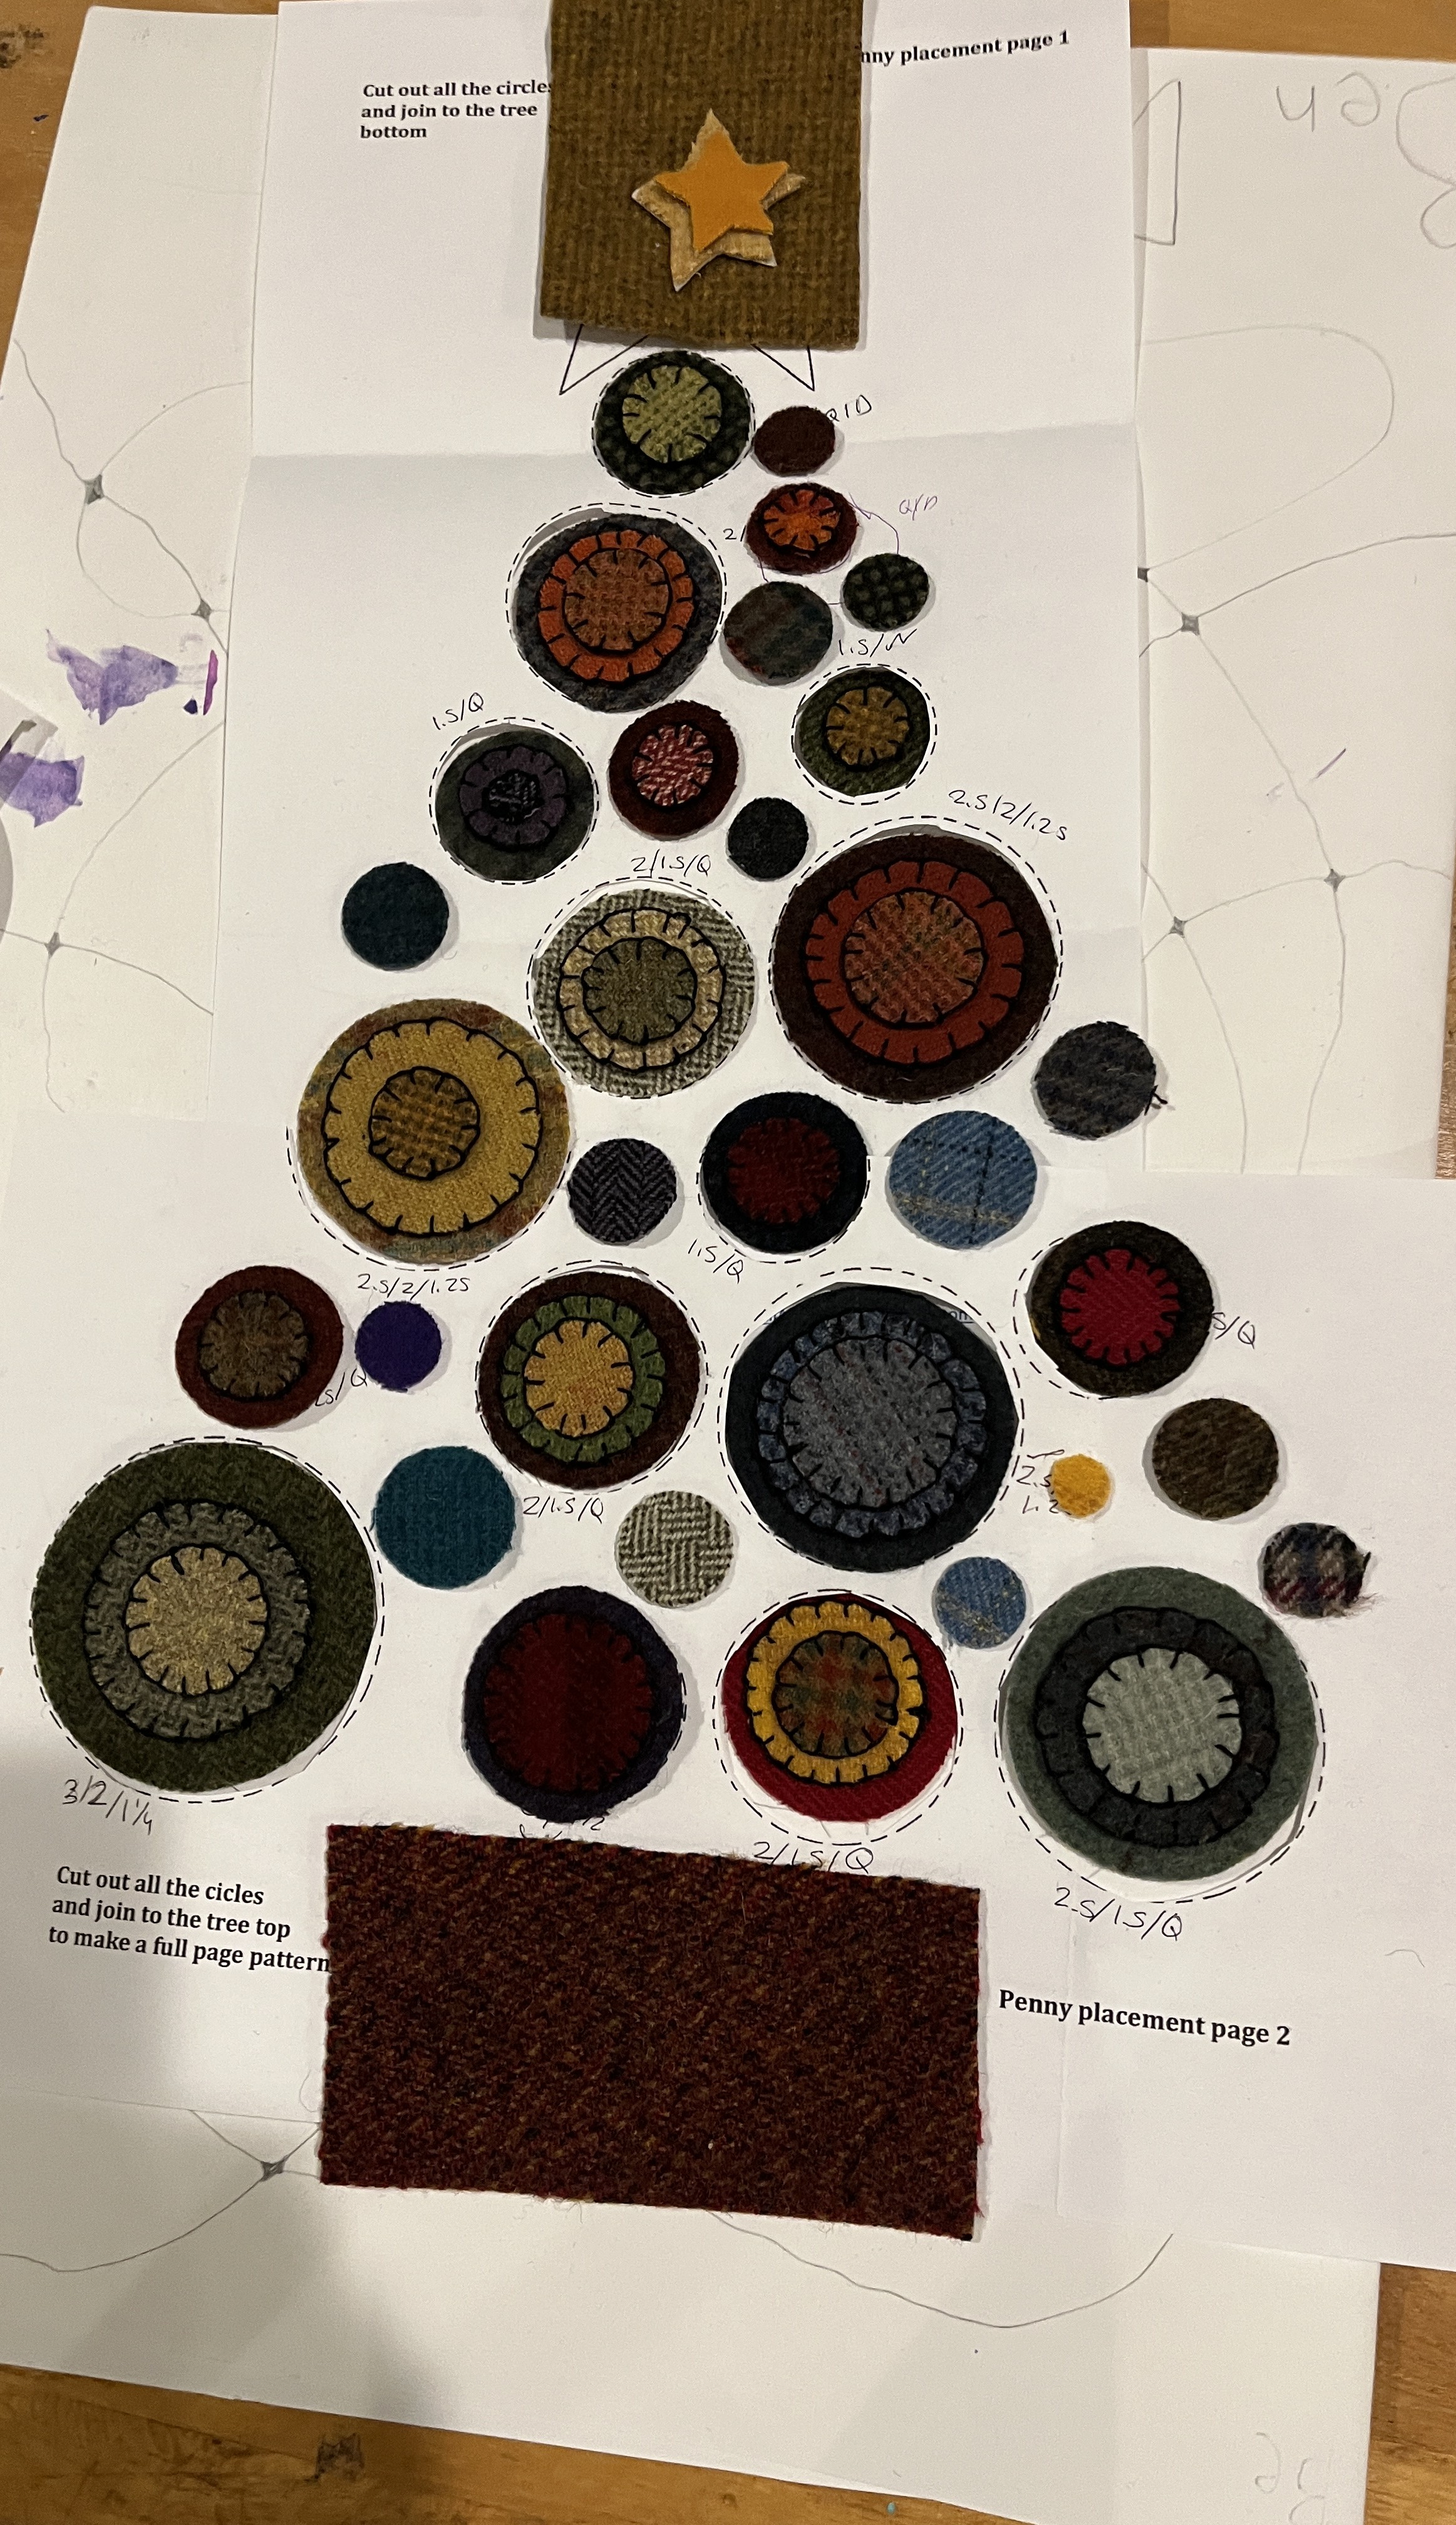
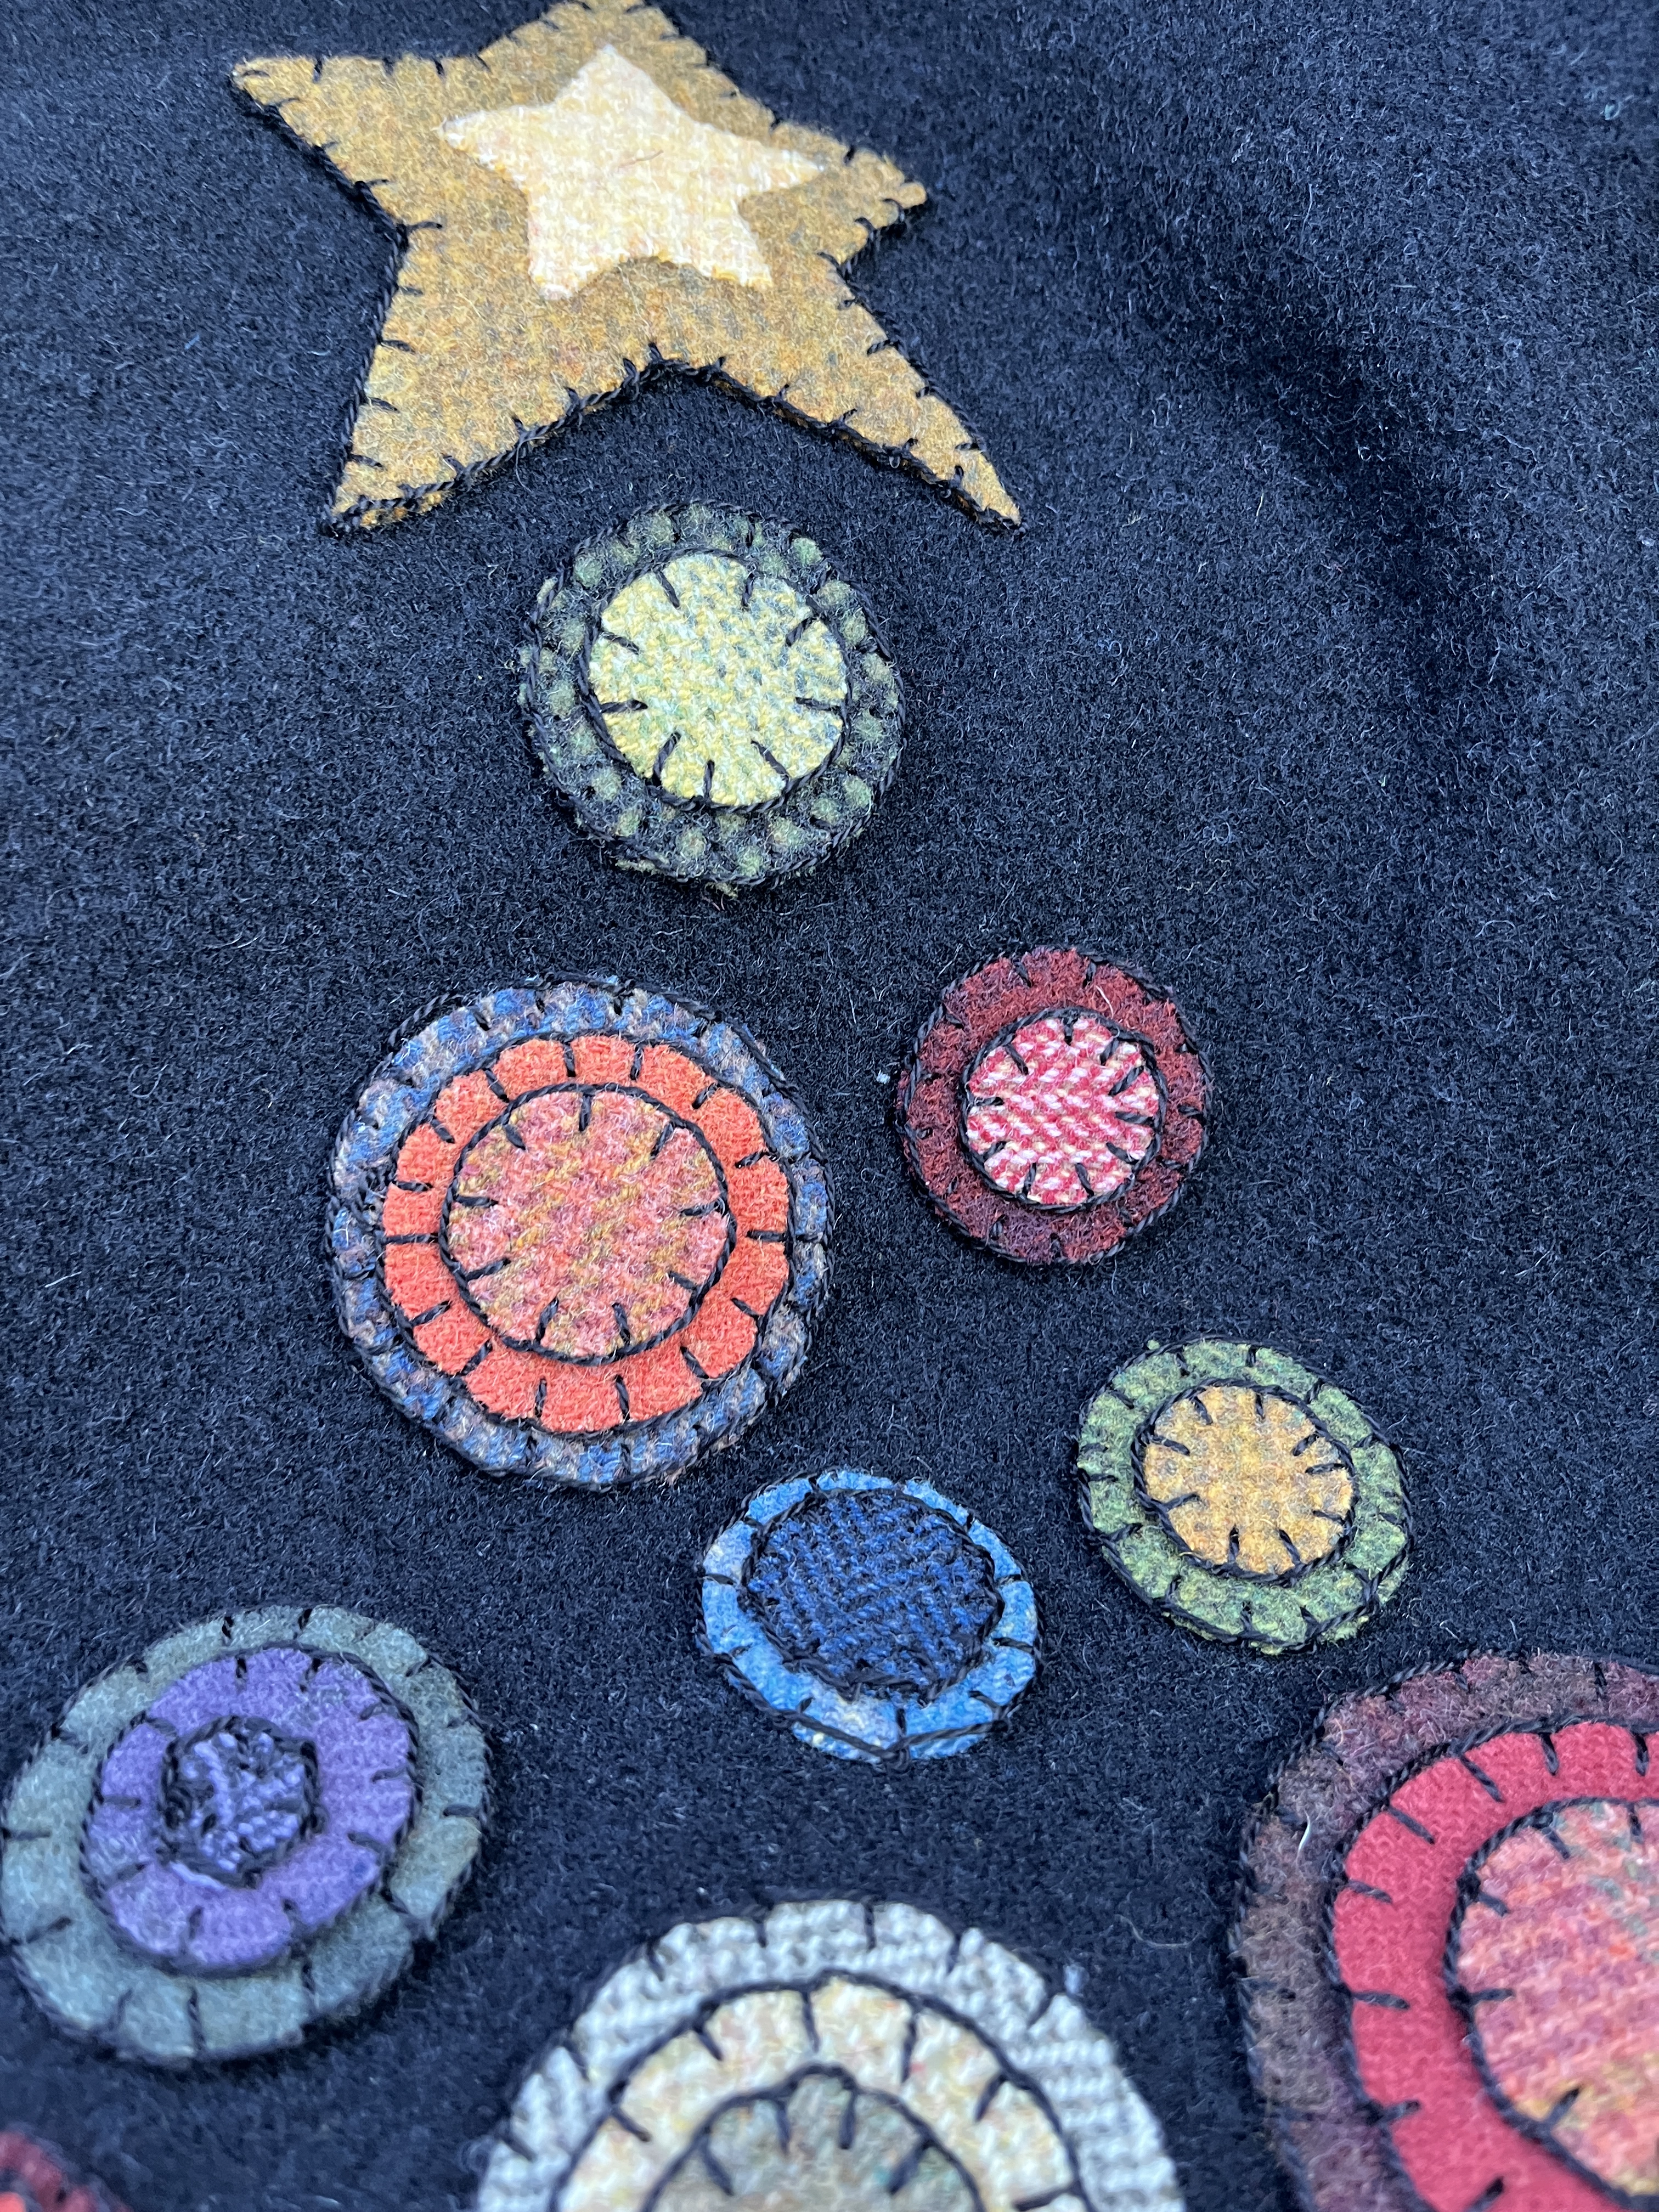
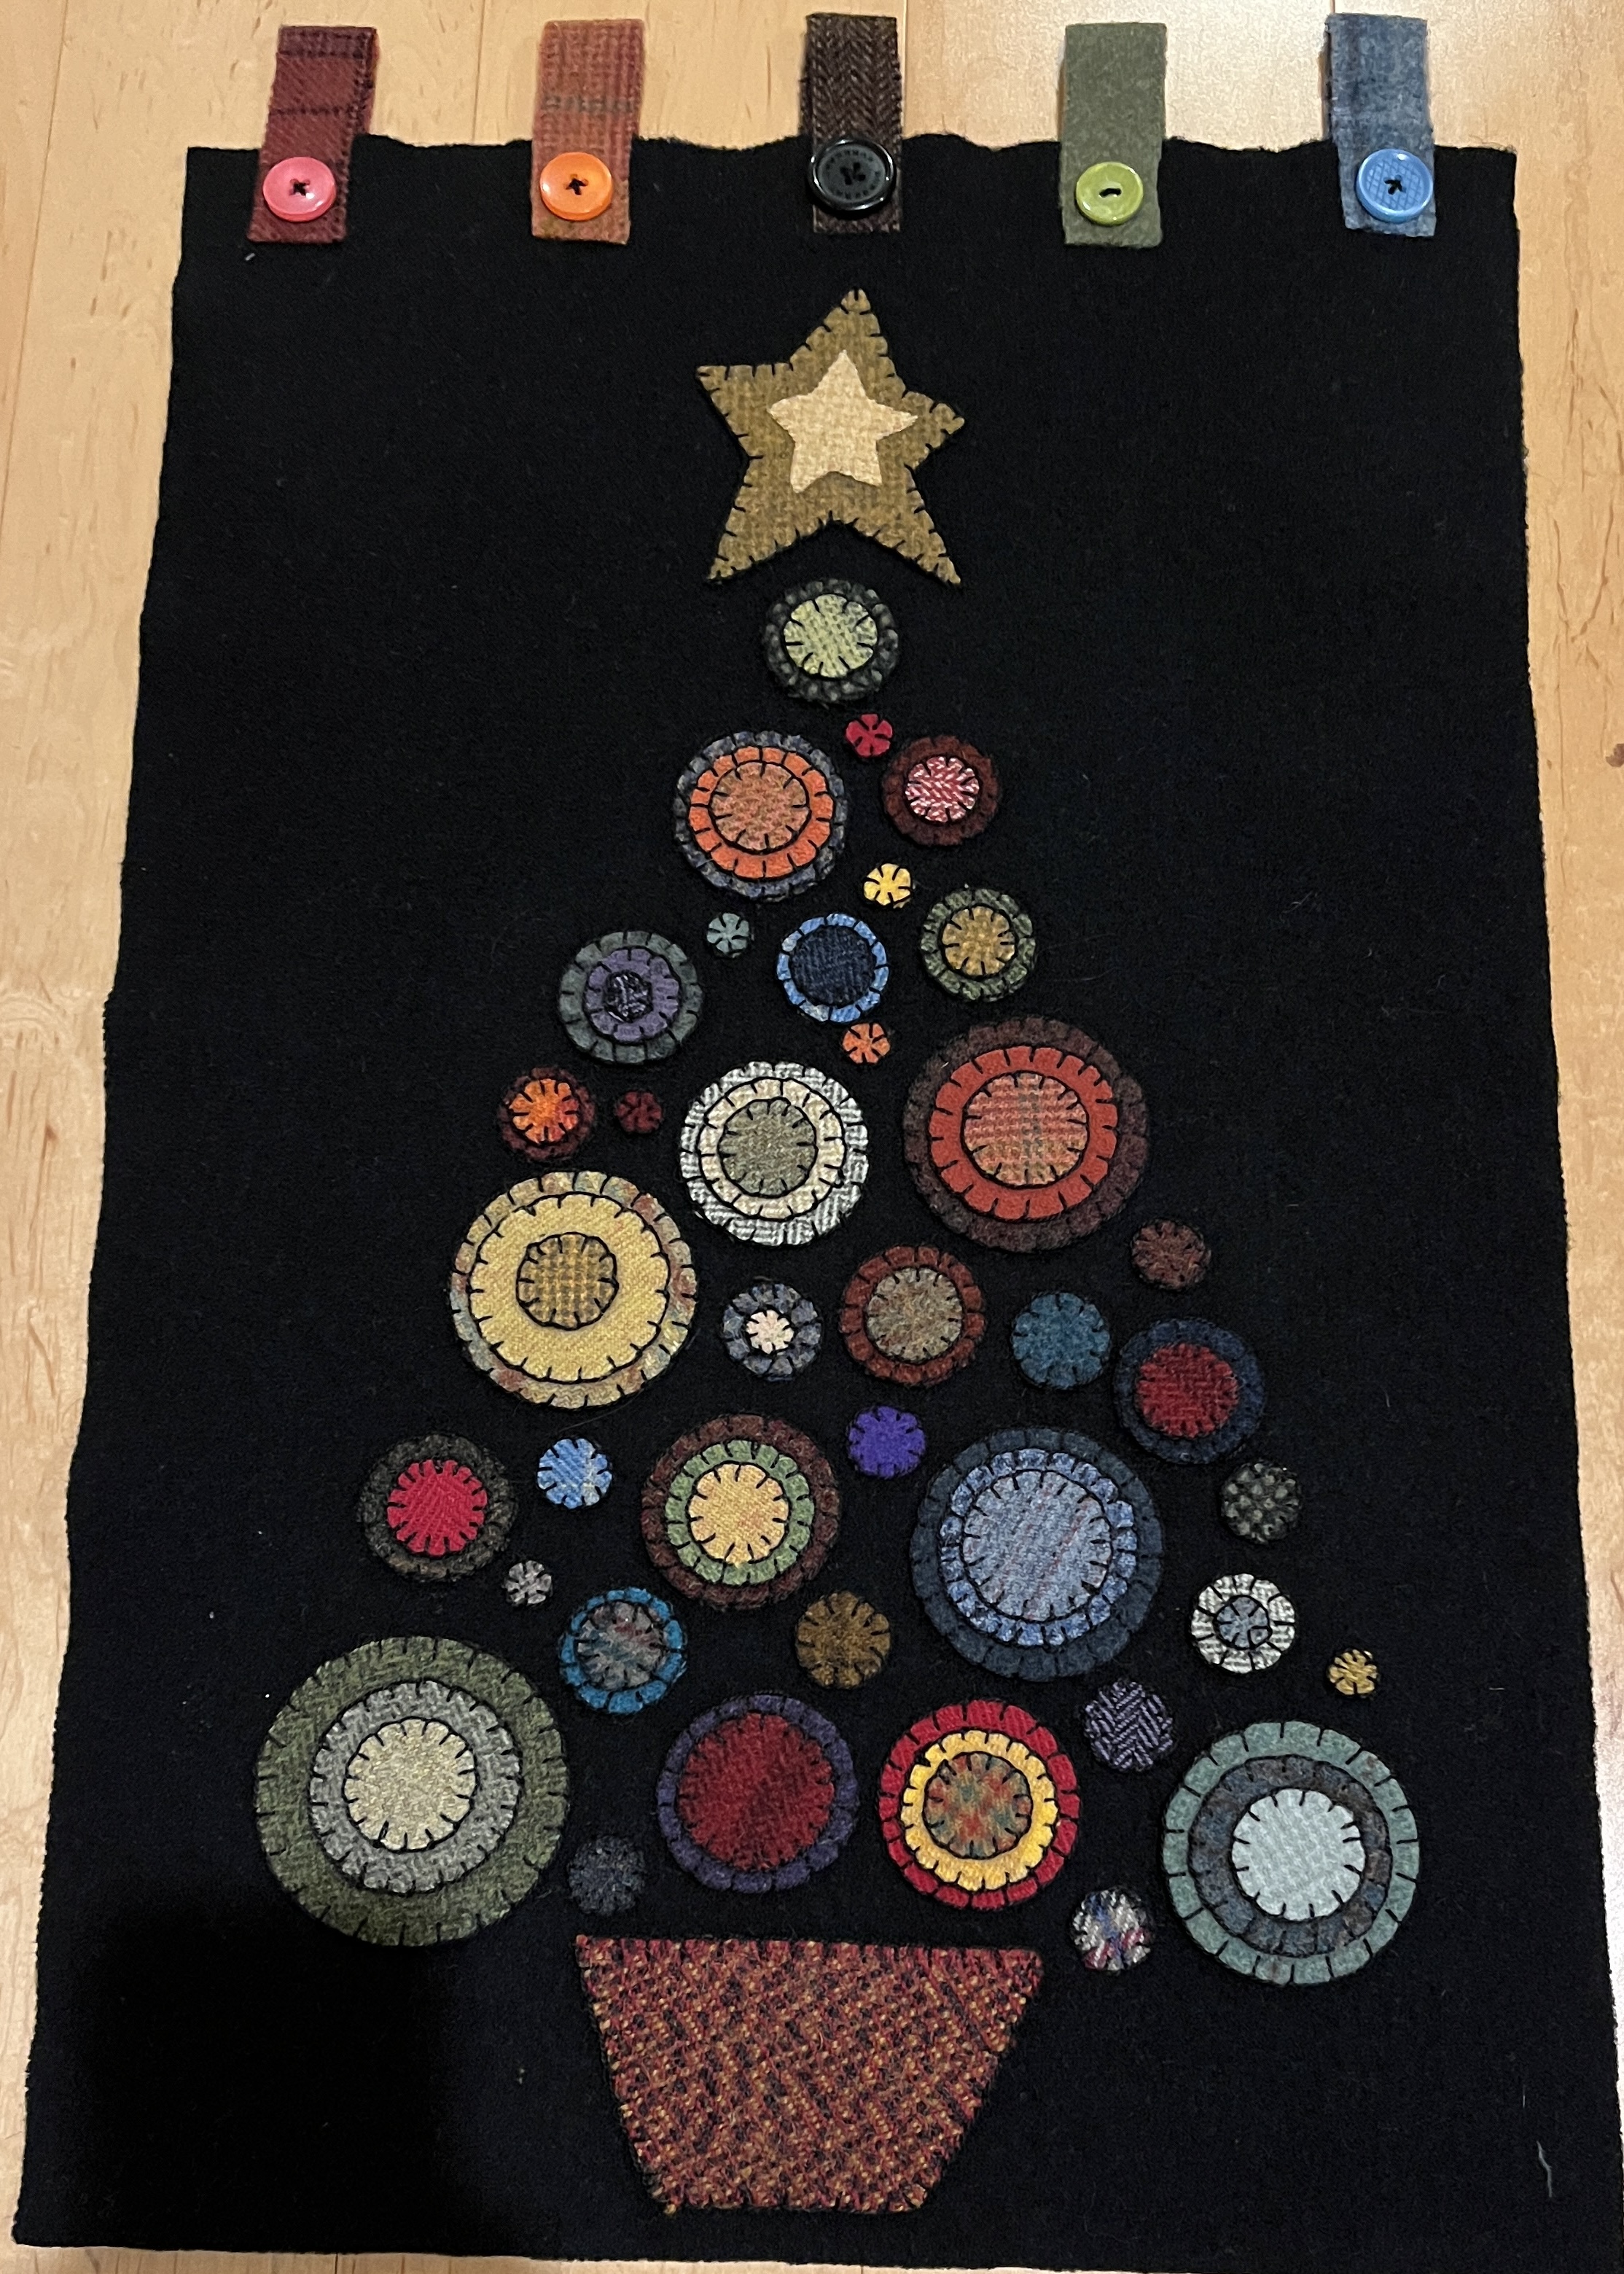
My final kit (done after the Values banner below) was a Penny Christmas Tree from All about Ewe Wool Shop. They sell the pattern on Etsy, or find the kit on their website. The pennies (circles of wool) were pre-cut, and the layout much simpler, so this would be a better kit for a newcomer. These photos show the pennies laid out on the pattern, a close-up on the stitching and the final product.
My Designs
UU Values Banner
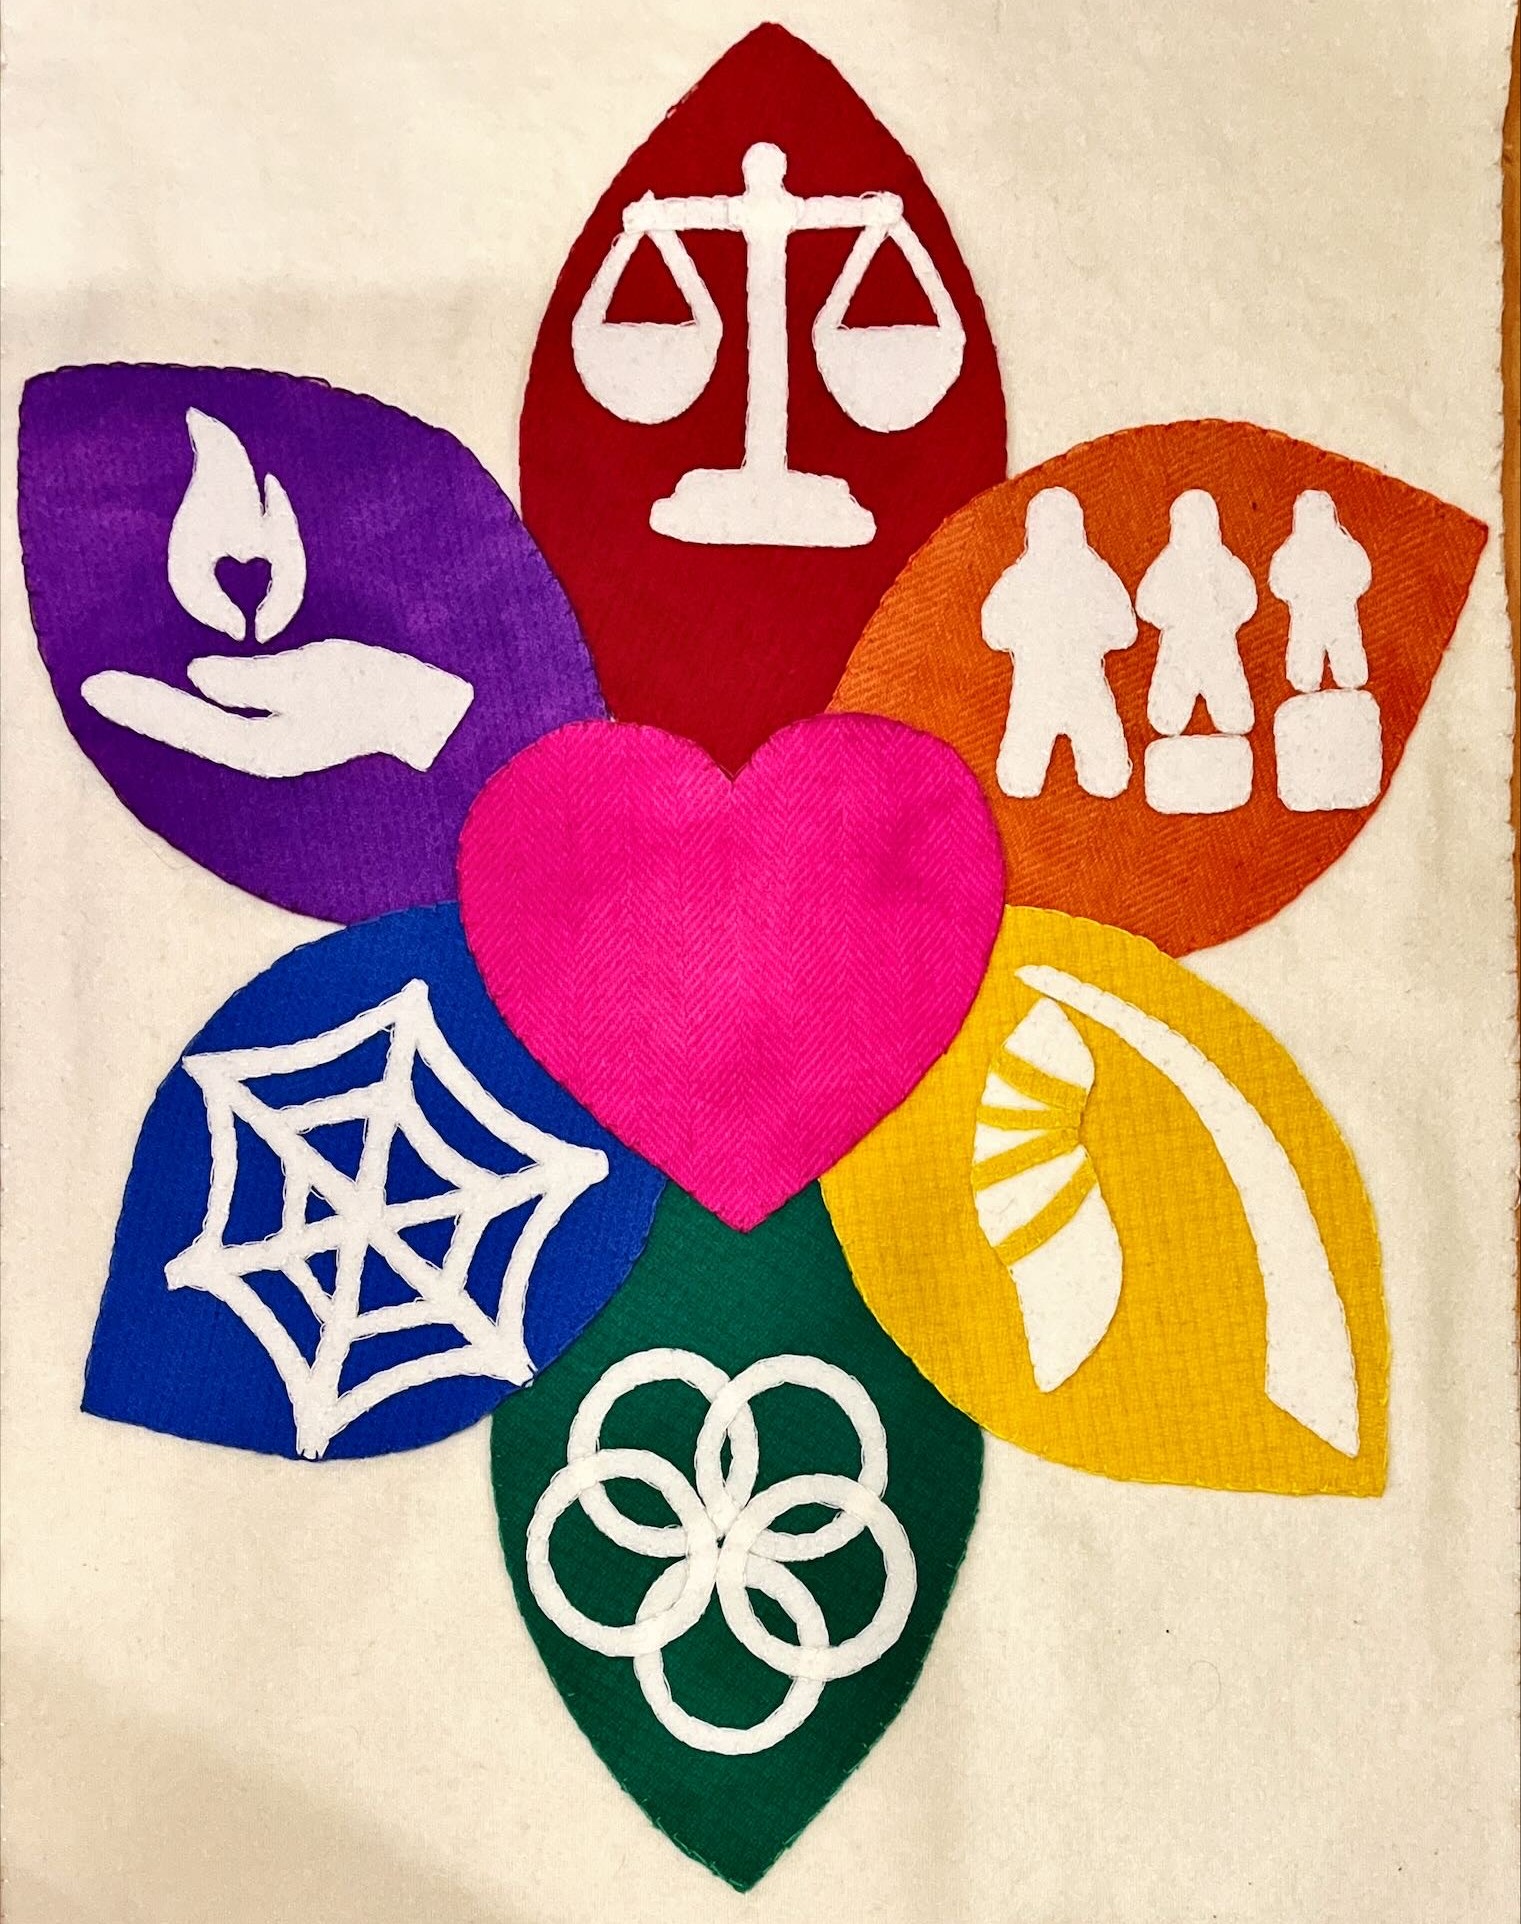
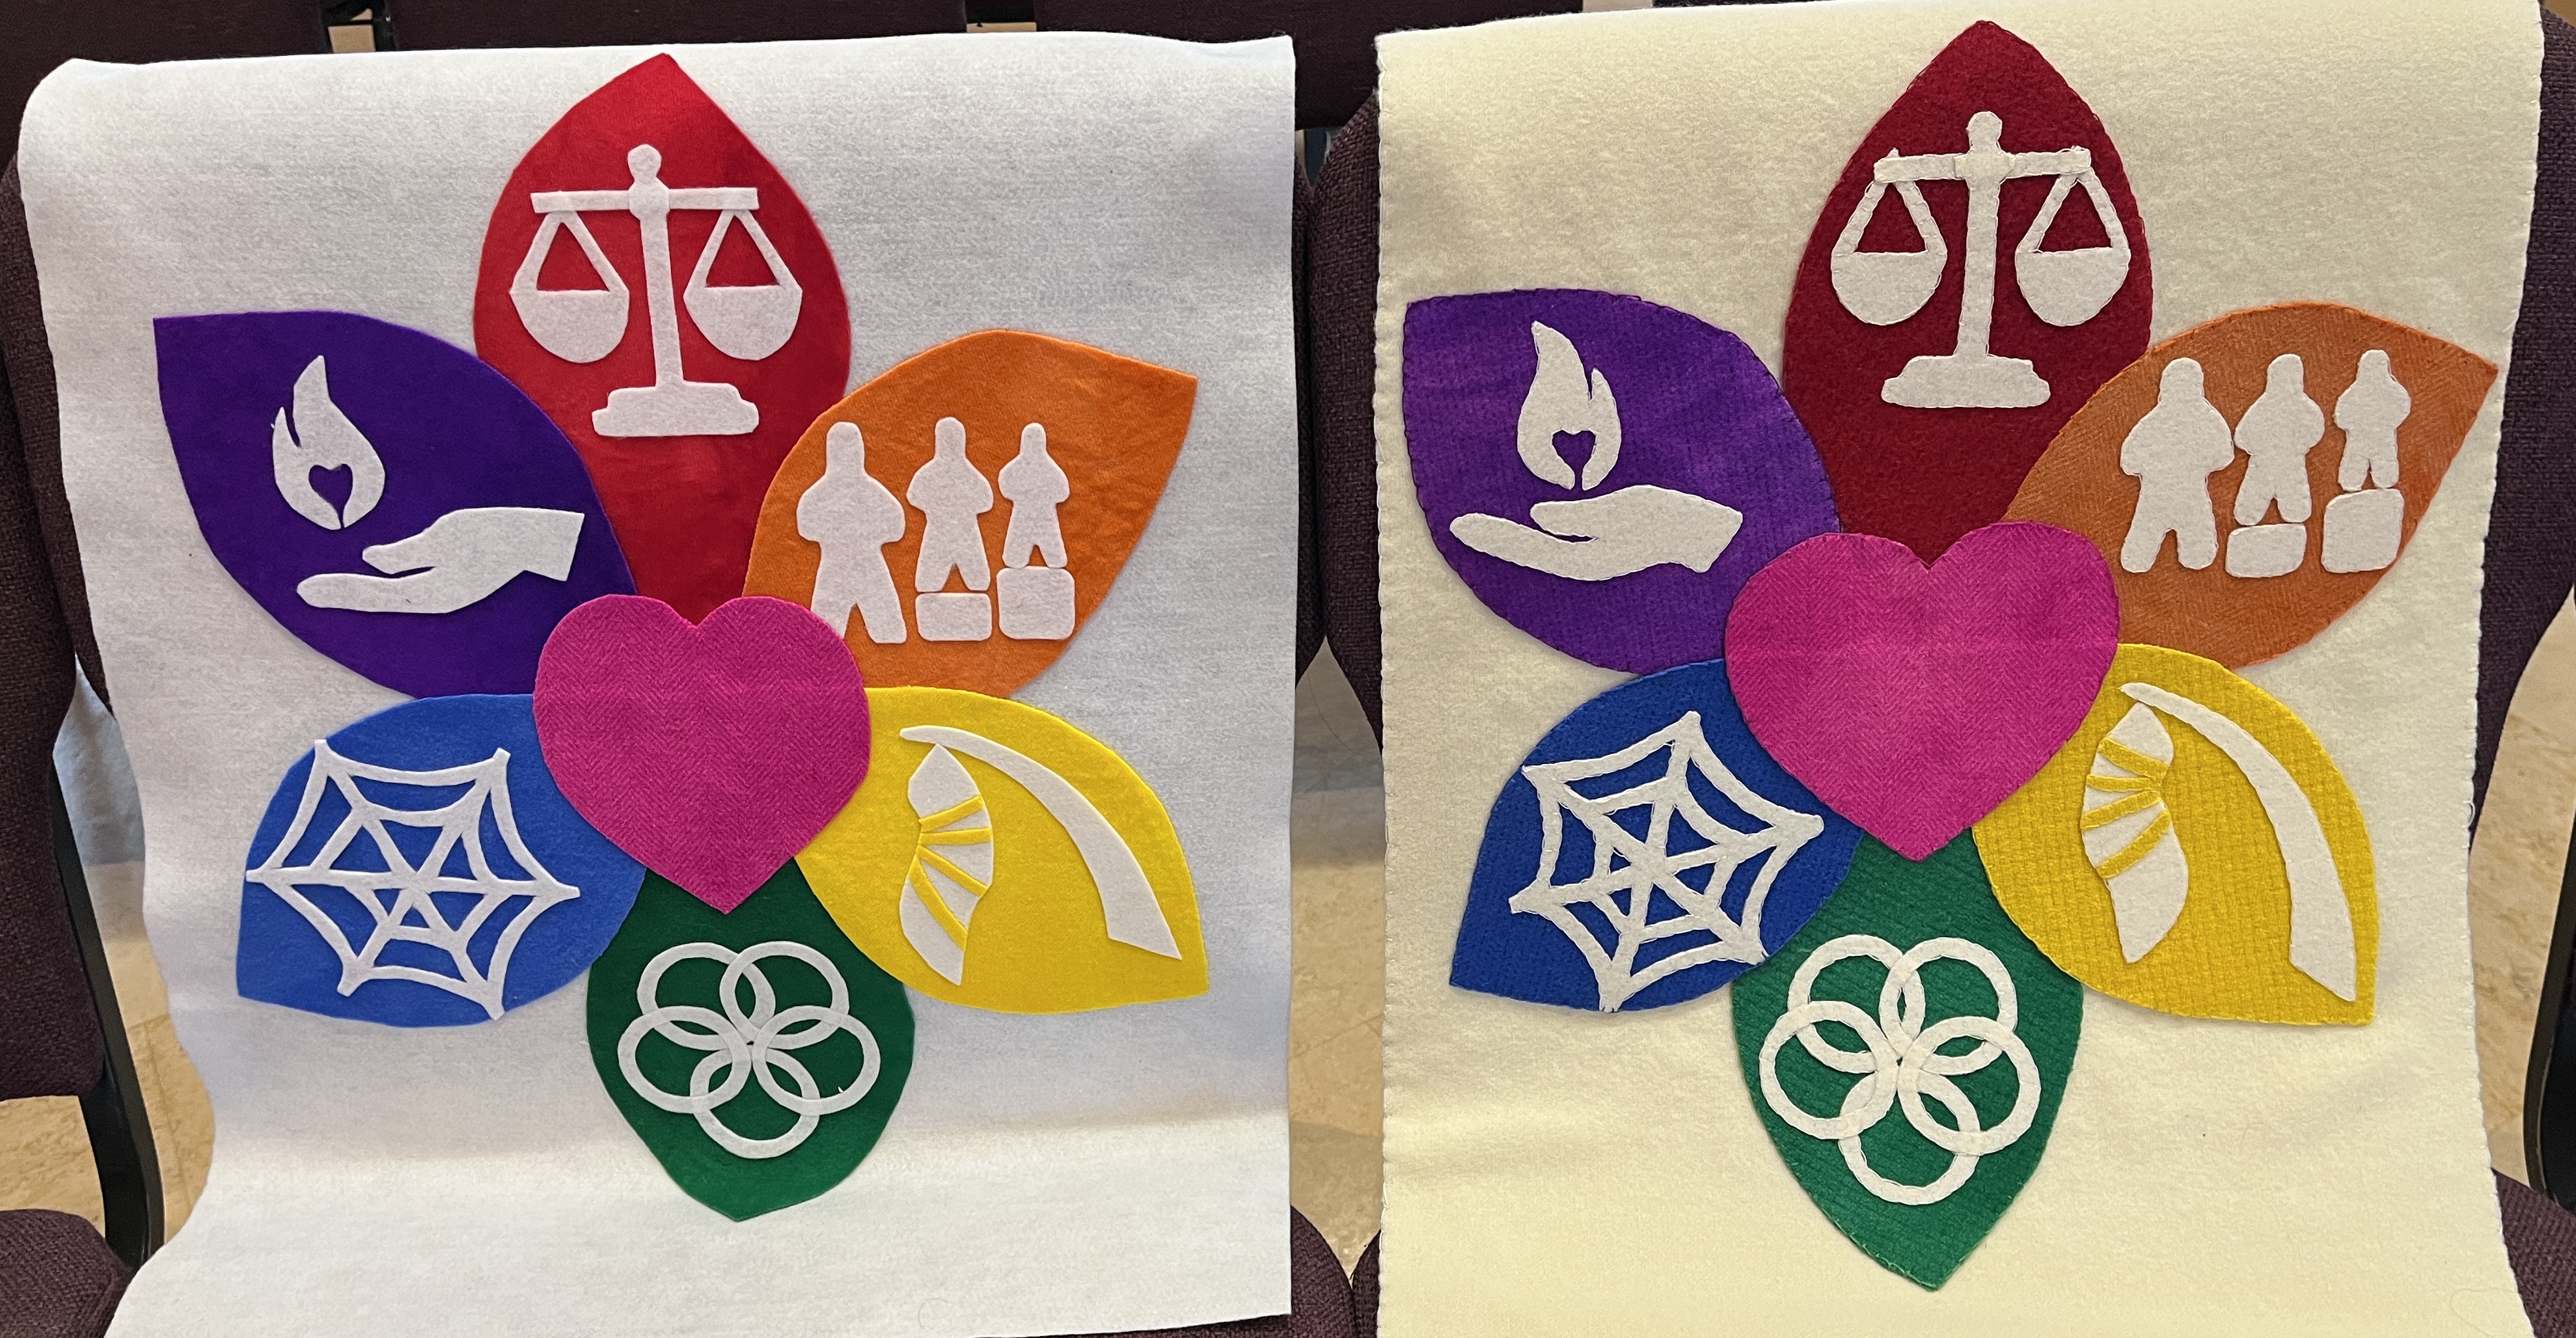
My first design was a banner depicting the shared values of Unitarian Universalists: Justice, Equity, Transformation, Pluralism (Diversity), Interdependence, Generosity, and Love. You can find all the details about the design, including a pattern you could use to make your own at Pattern for UUA Shared Values.
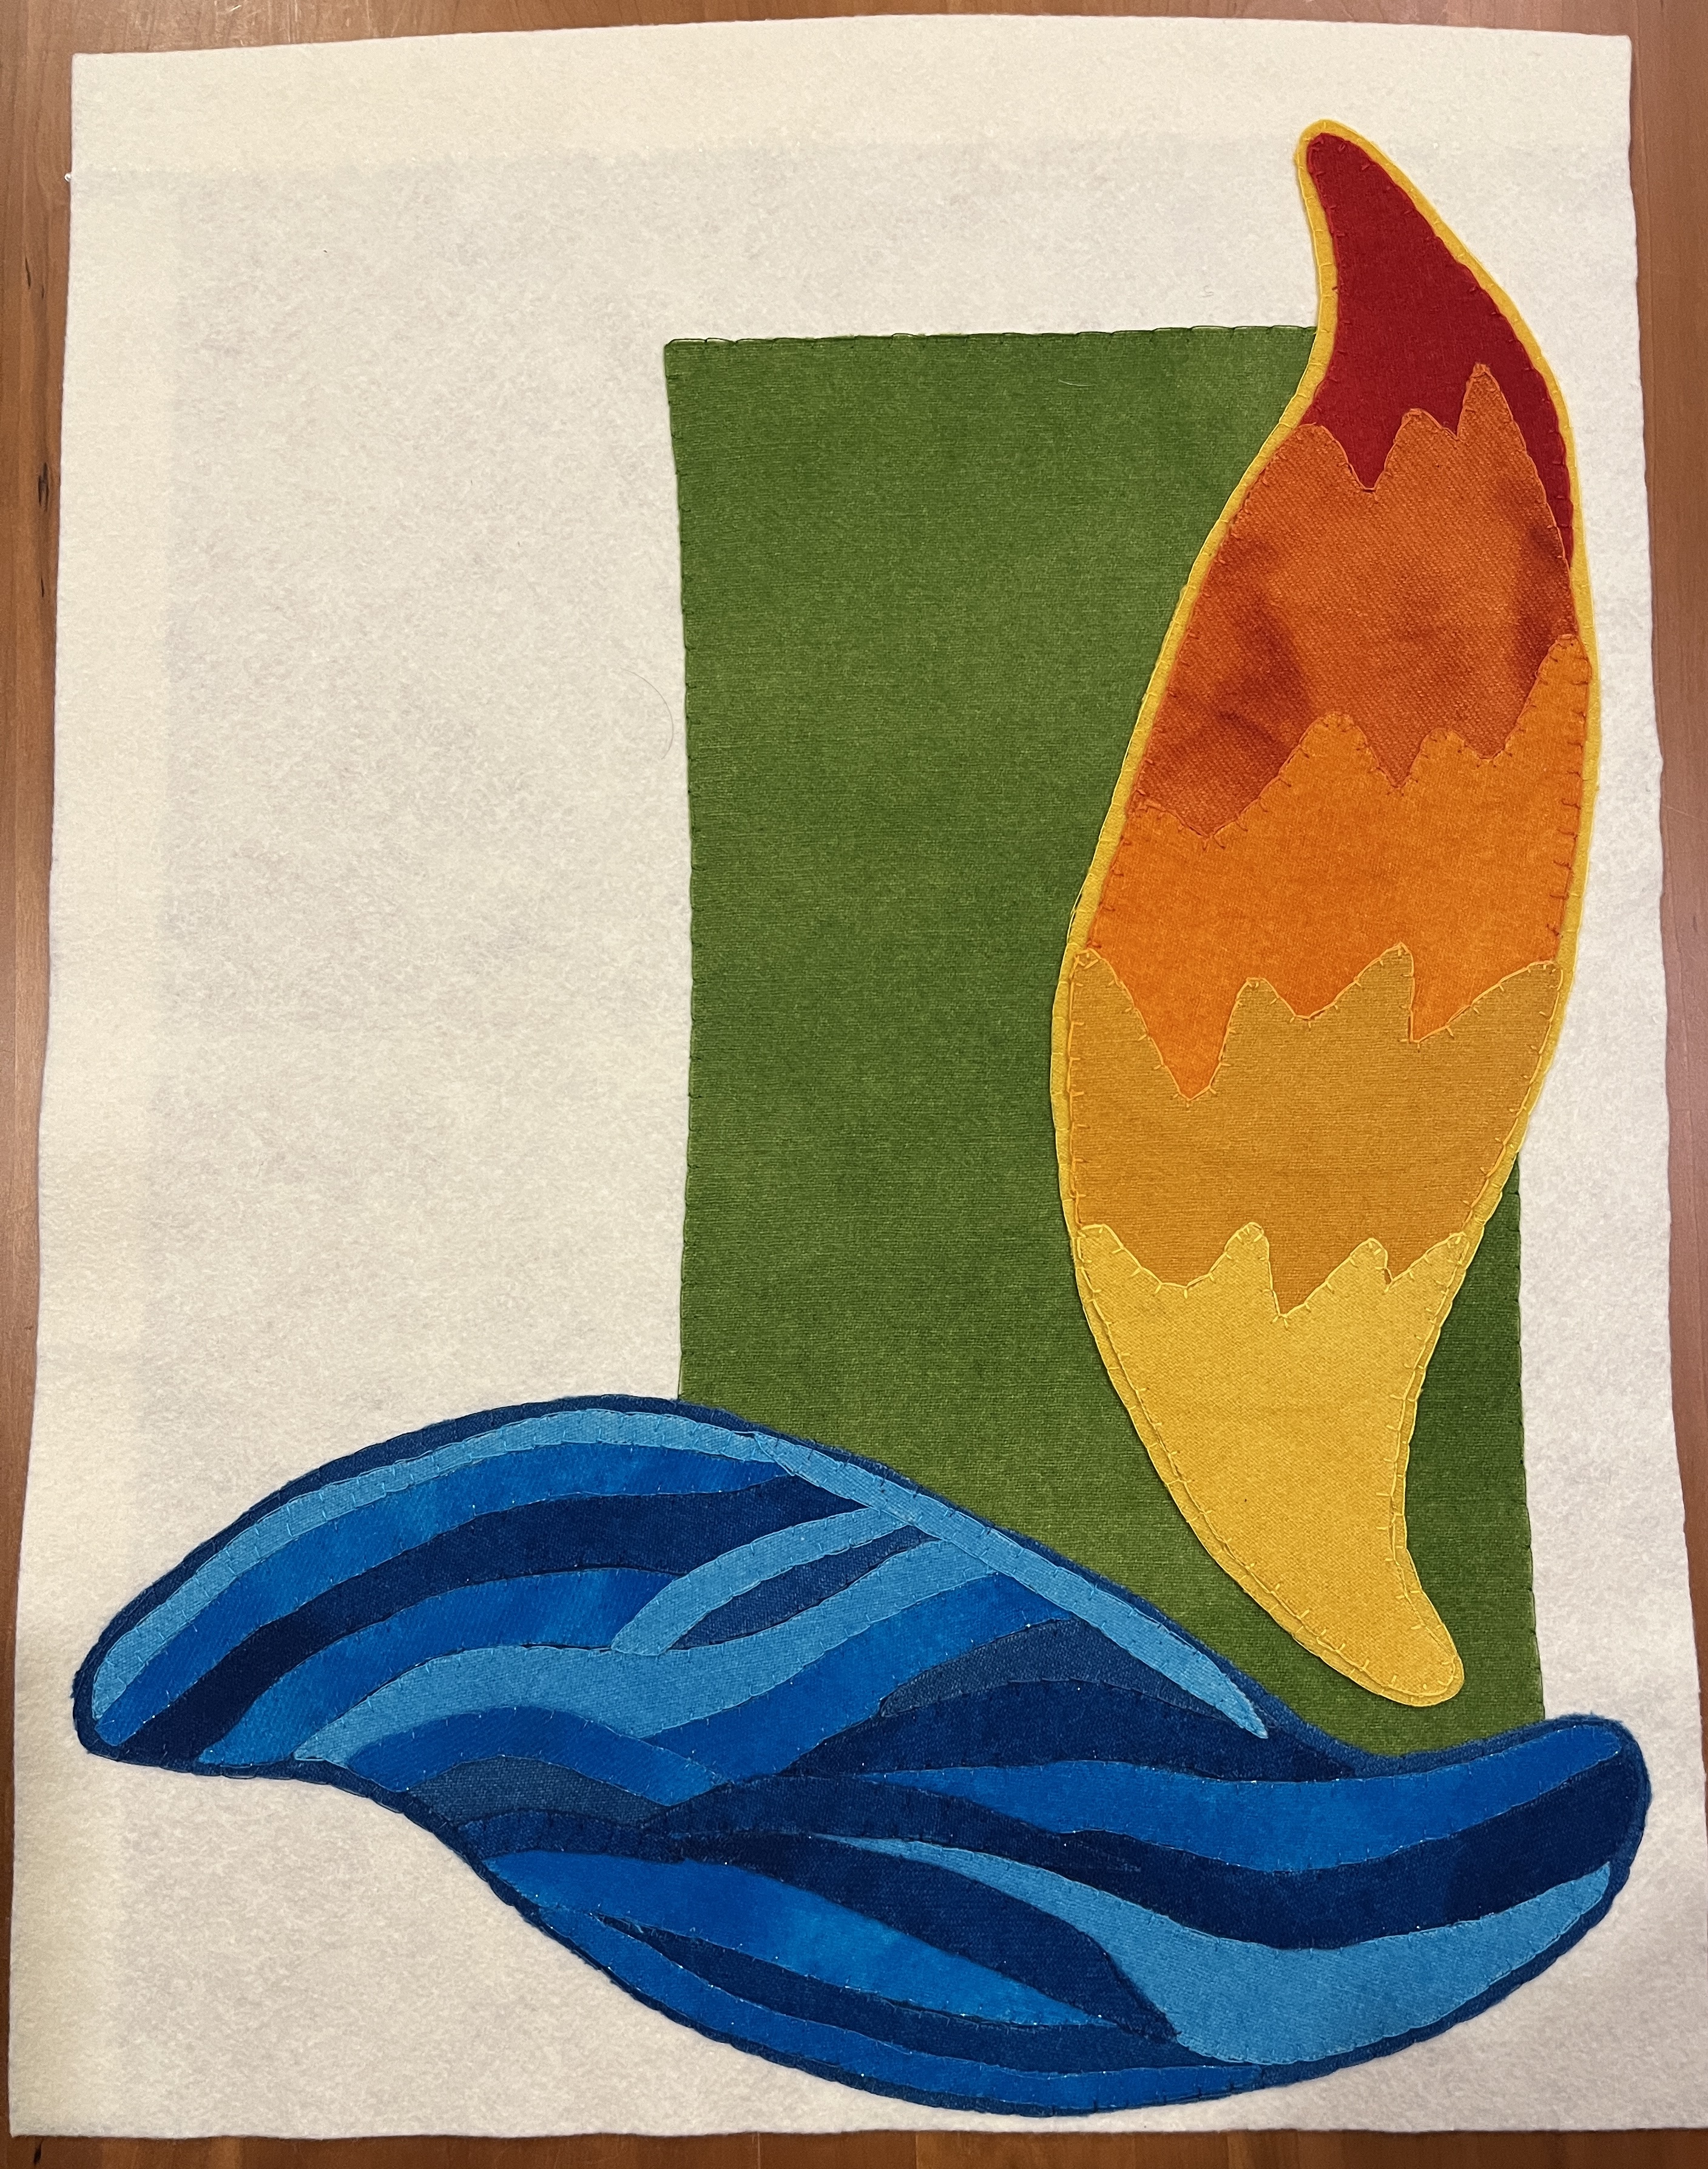
Northlake Logo
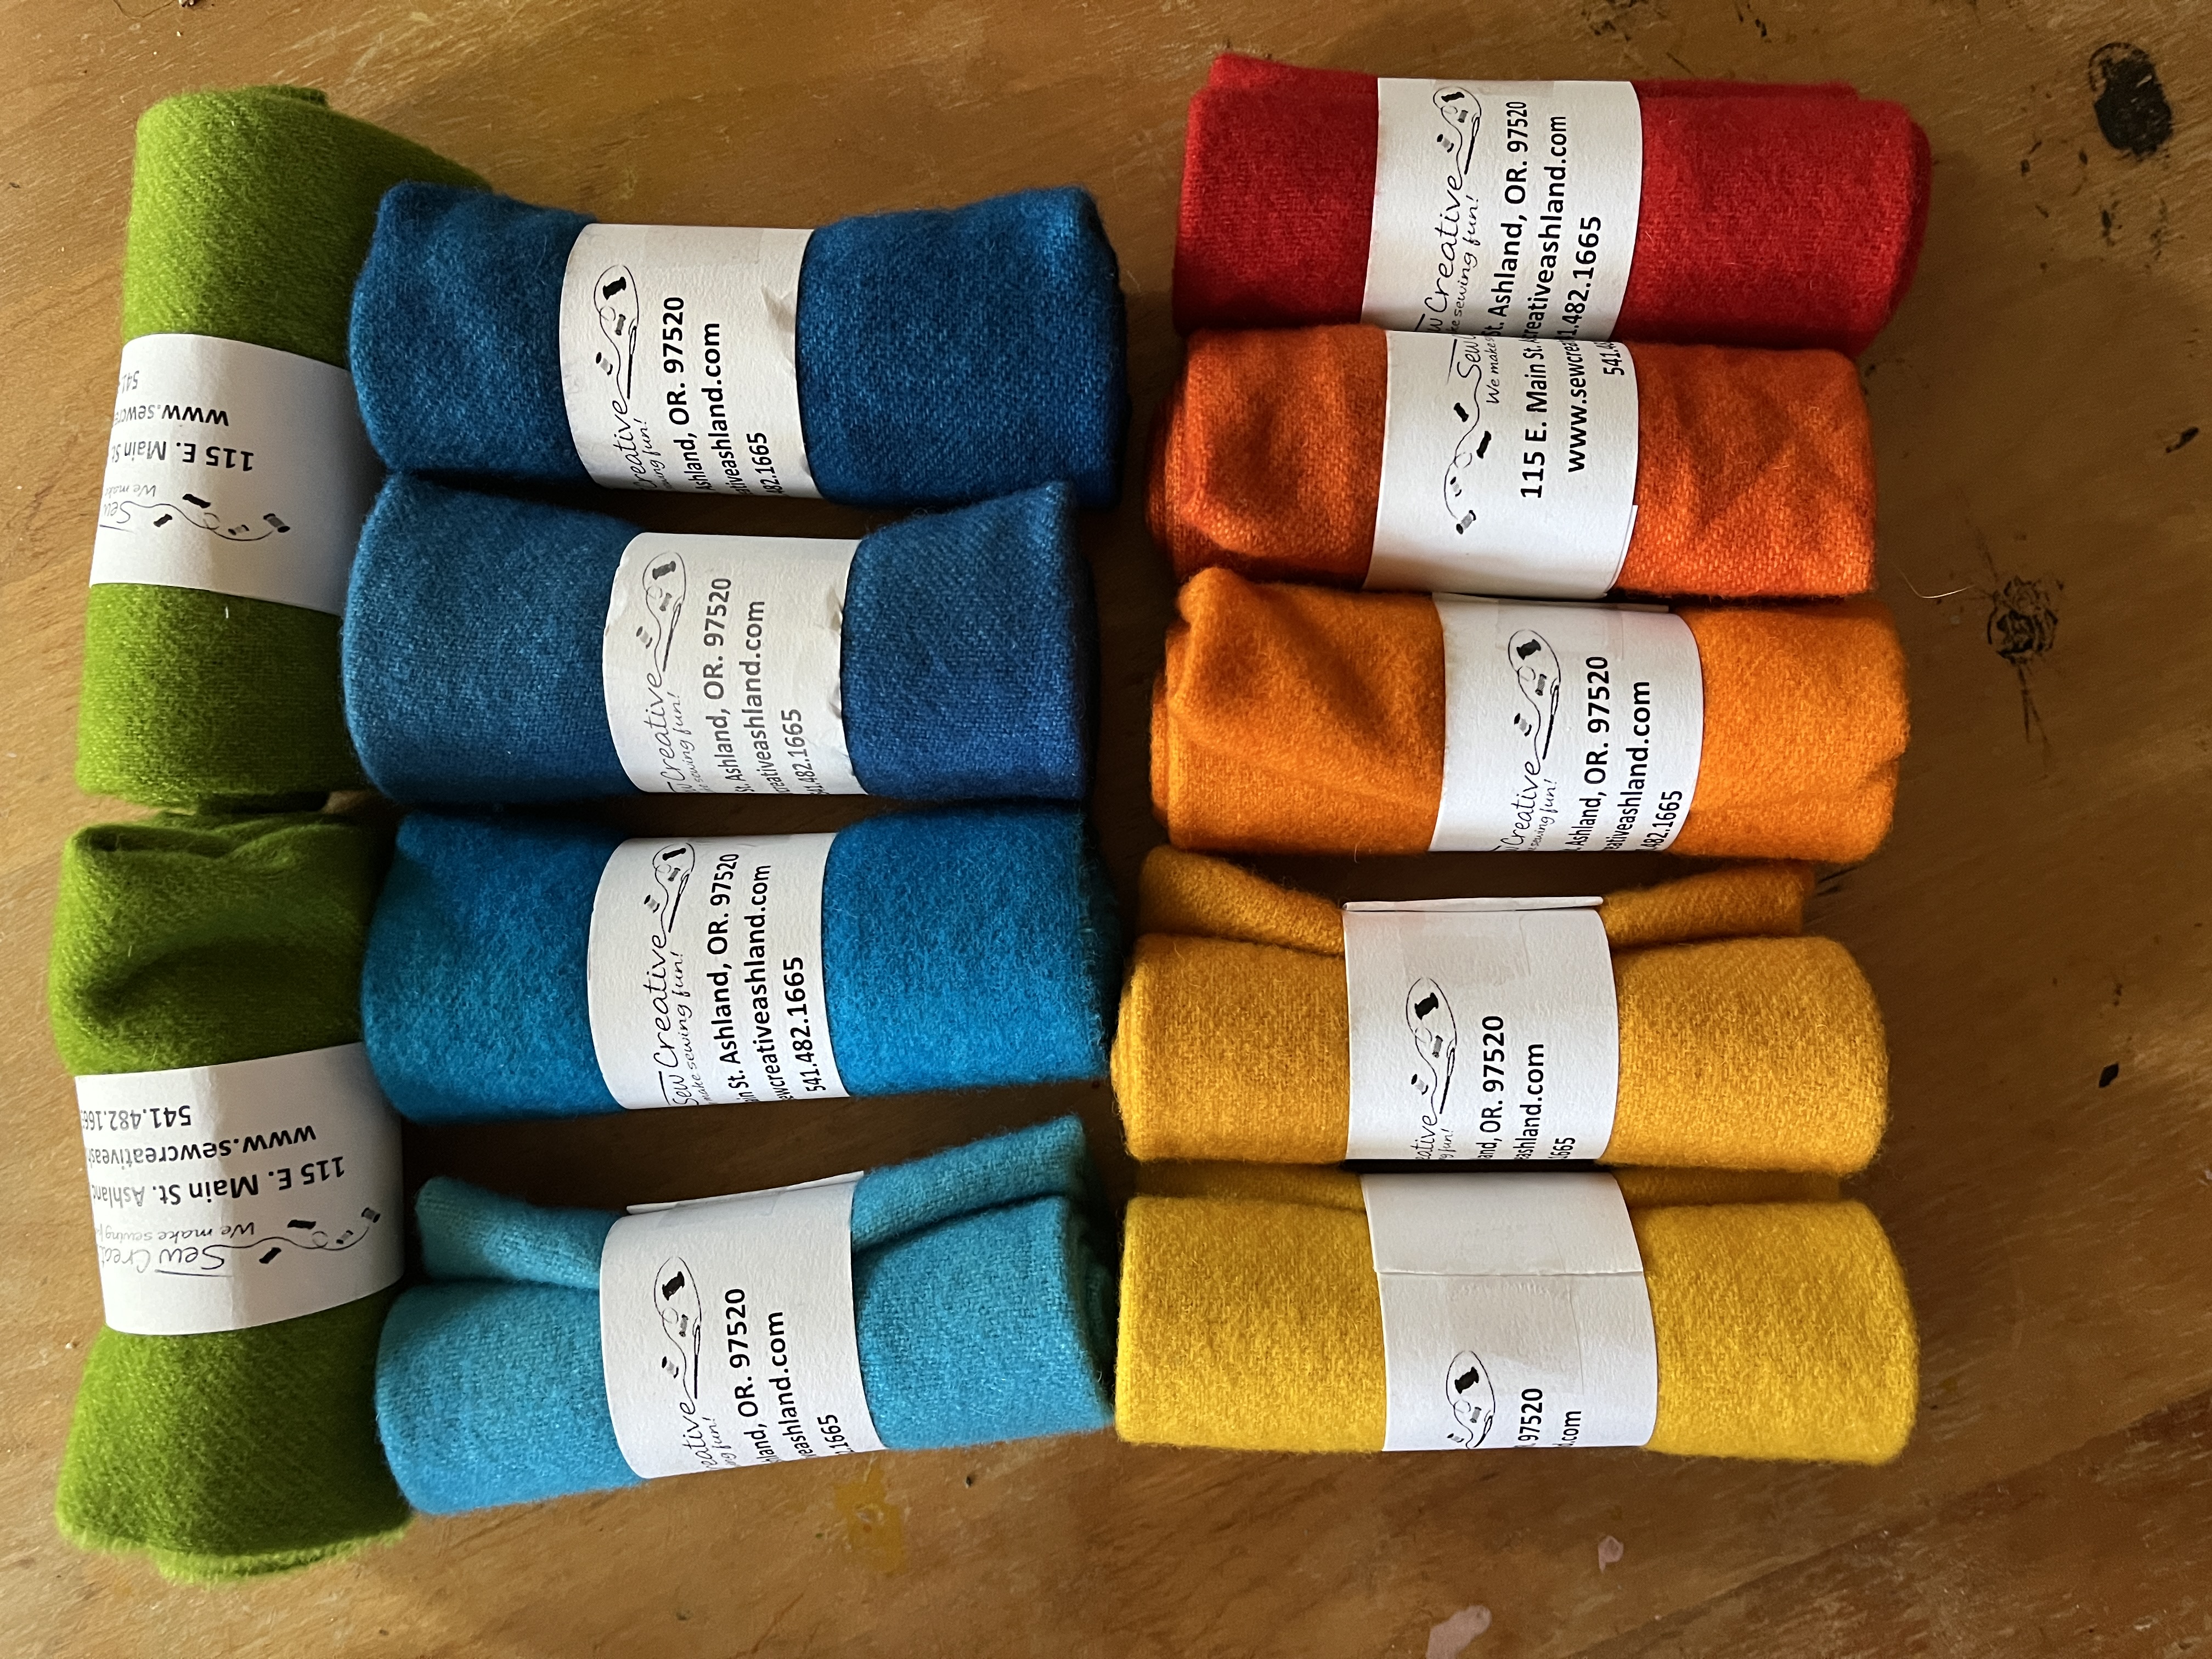
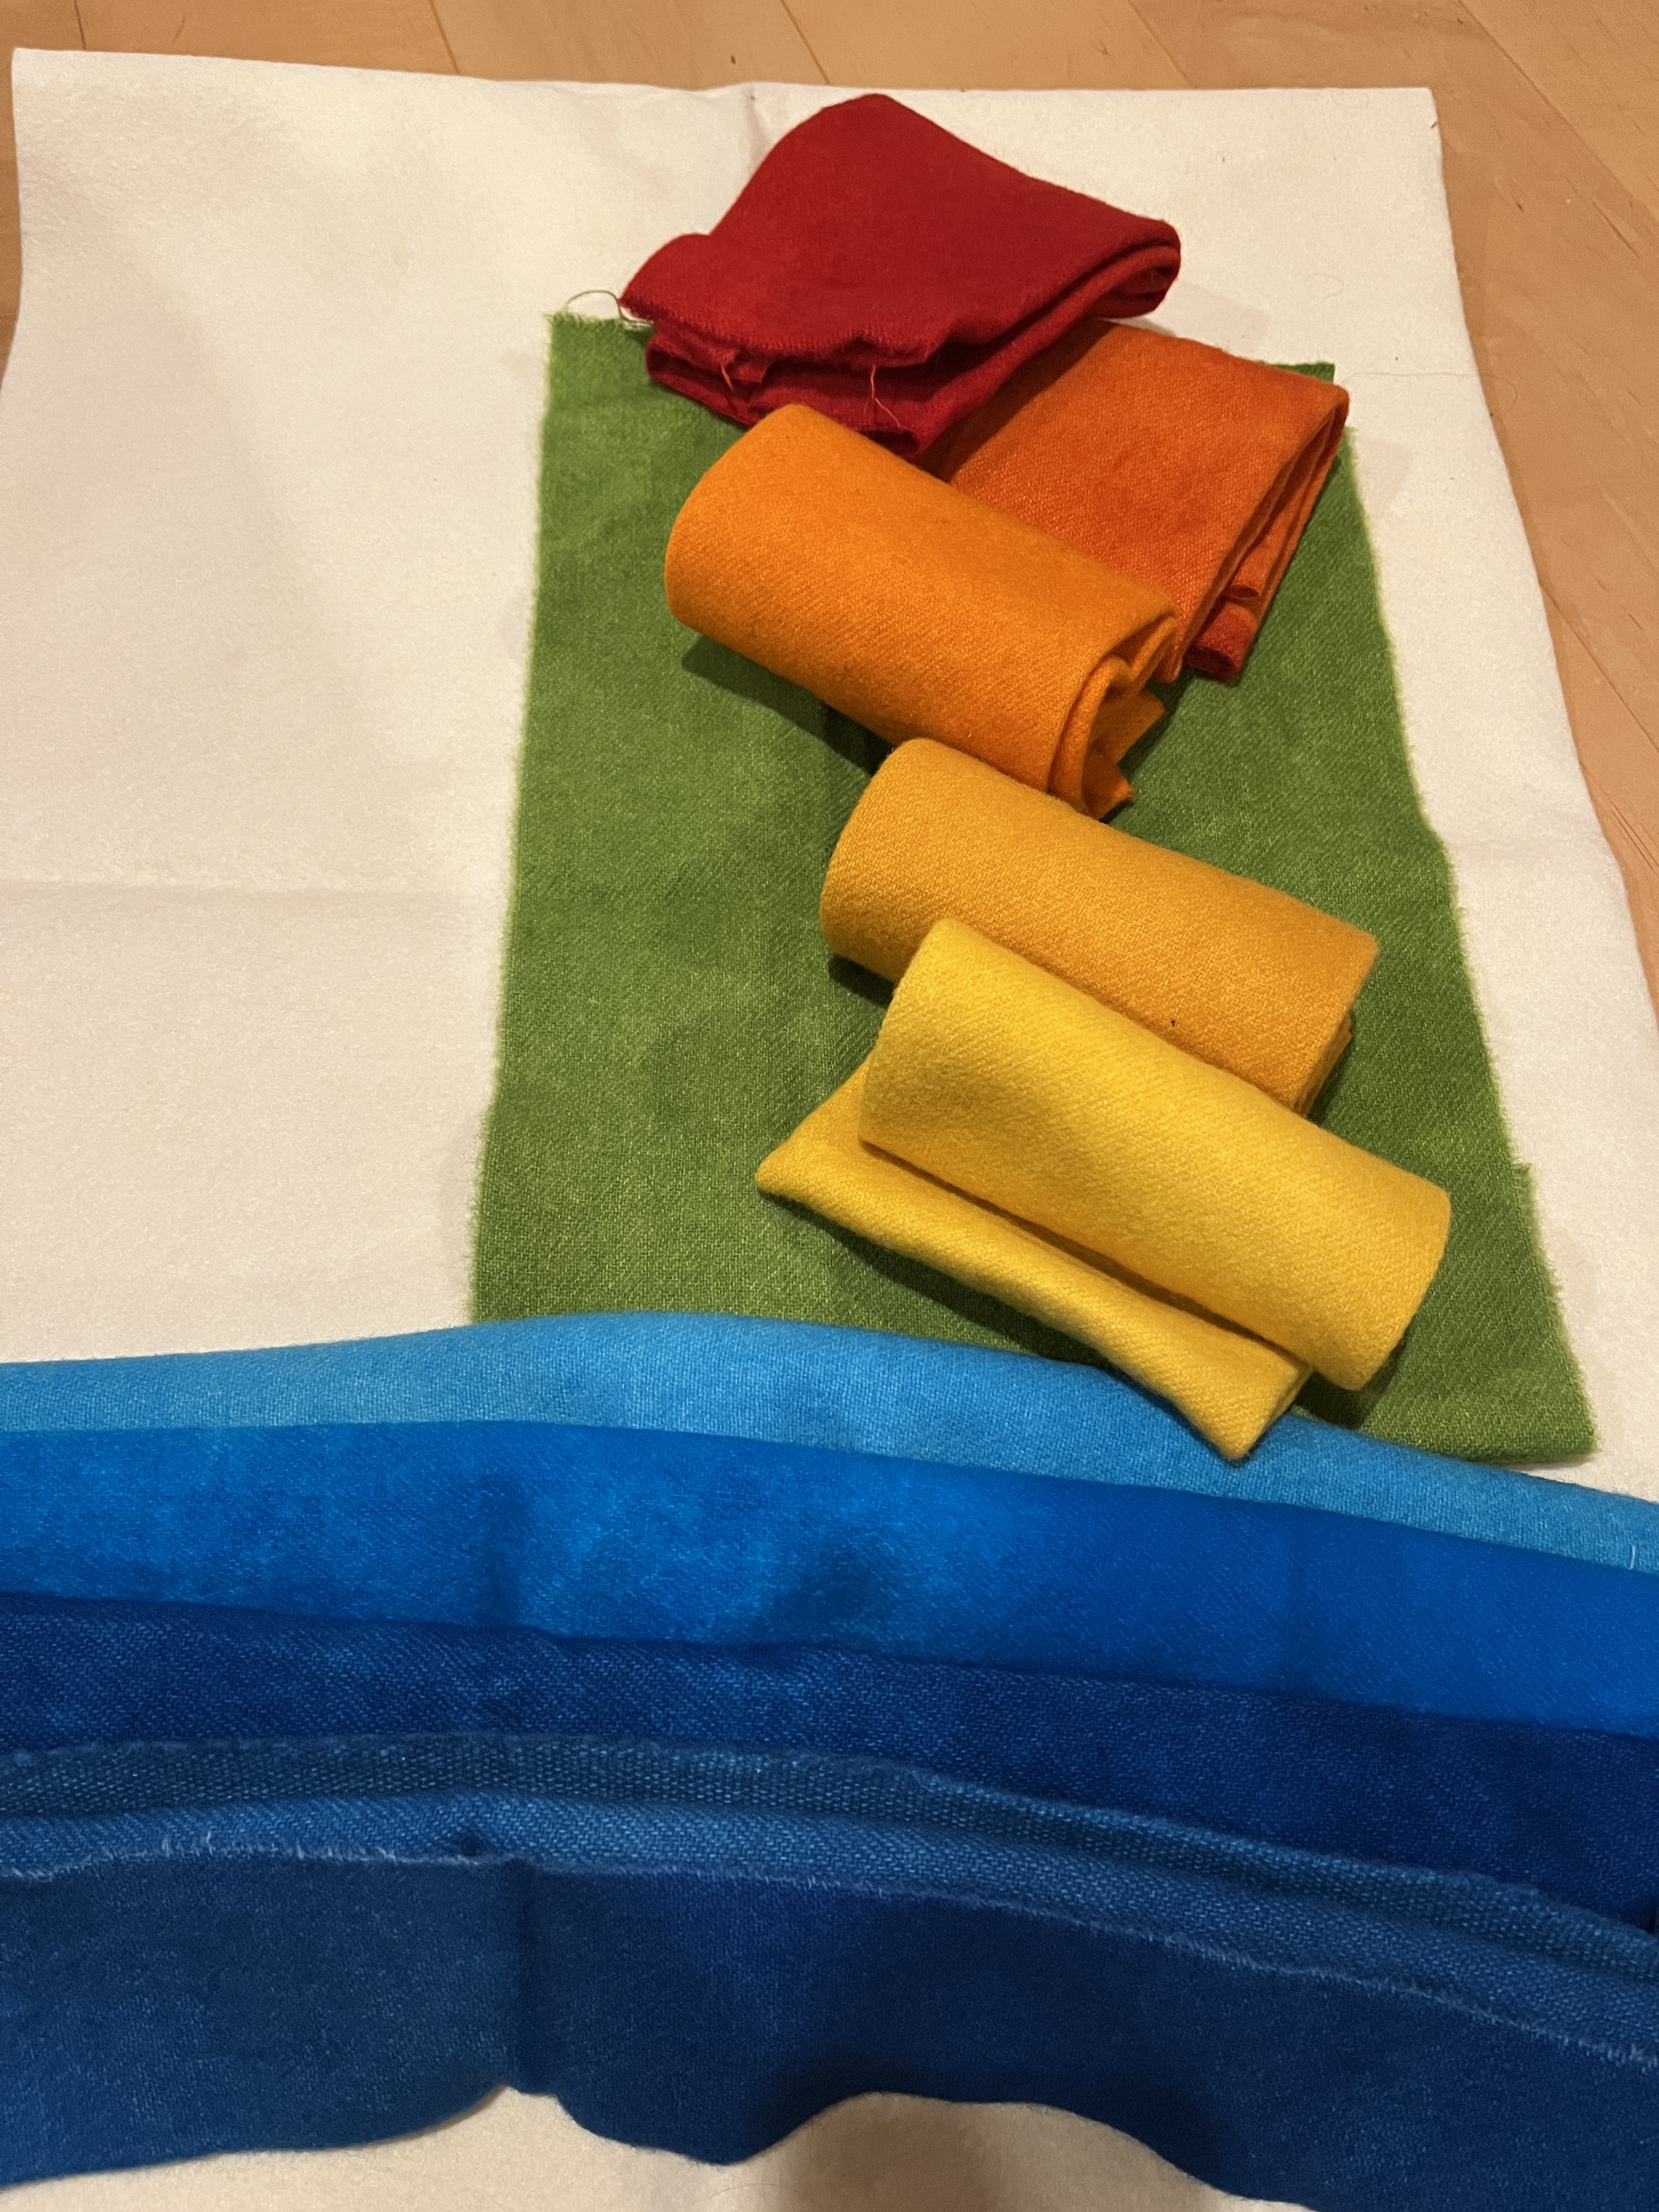
Most of my projects are to hang up at my church, because I don’t really display much artwork in my home. So, I created a banner with our church logo on it. (FYI, the UU symbol is a chalice with a lit candle in it, so the Northlake logo is a flaming chalice, but also inspired by the water of nearby Lake Washington, and the all the trees in the Evergreen state.) Here’s the logo, the colored felts I purchased at Sew Creative in Ashland, OR, and the final product.

Flowers
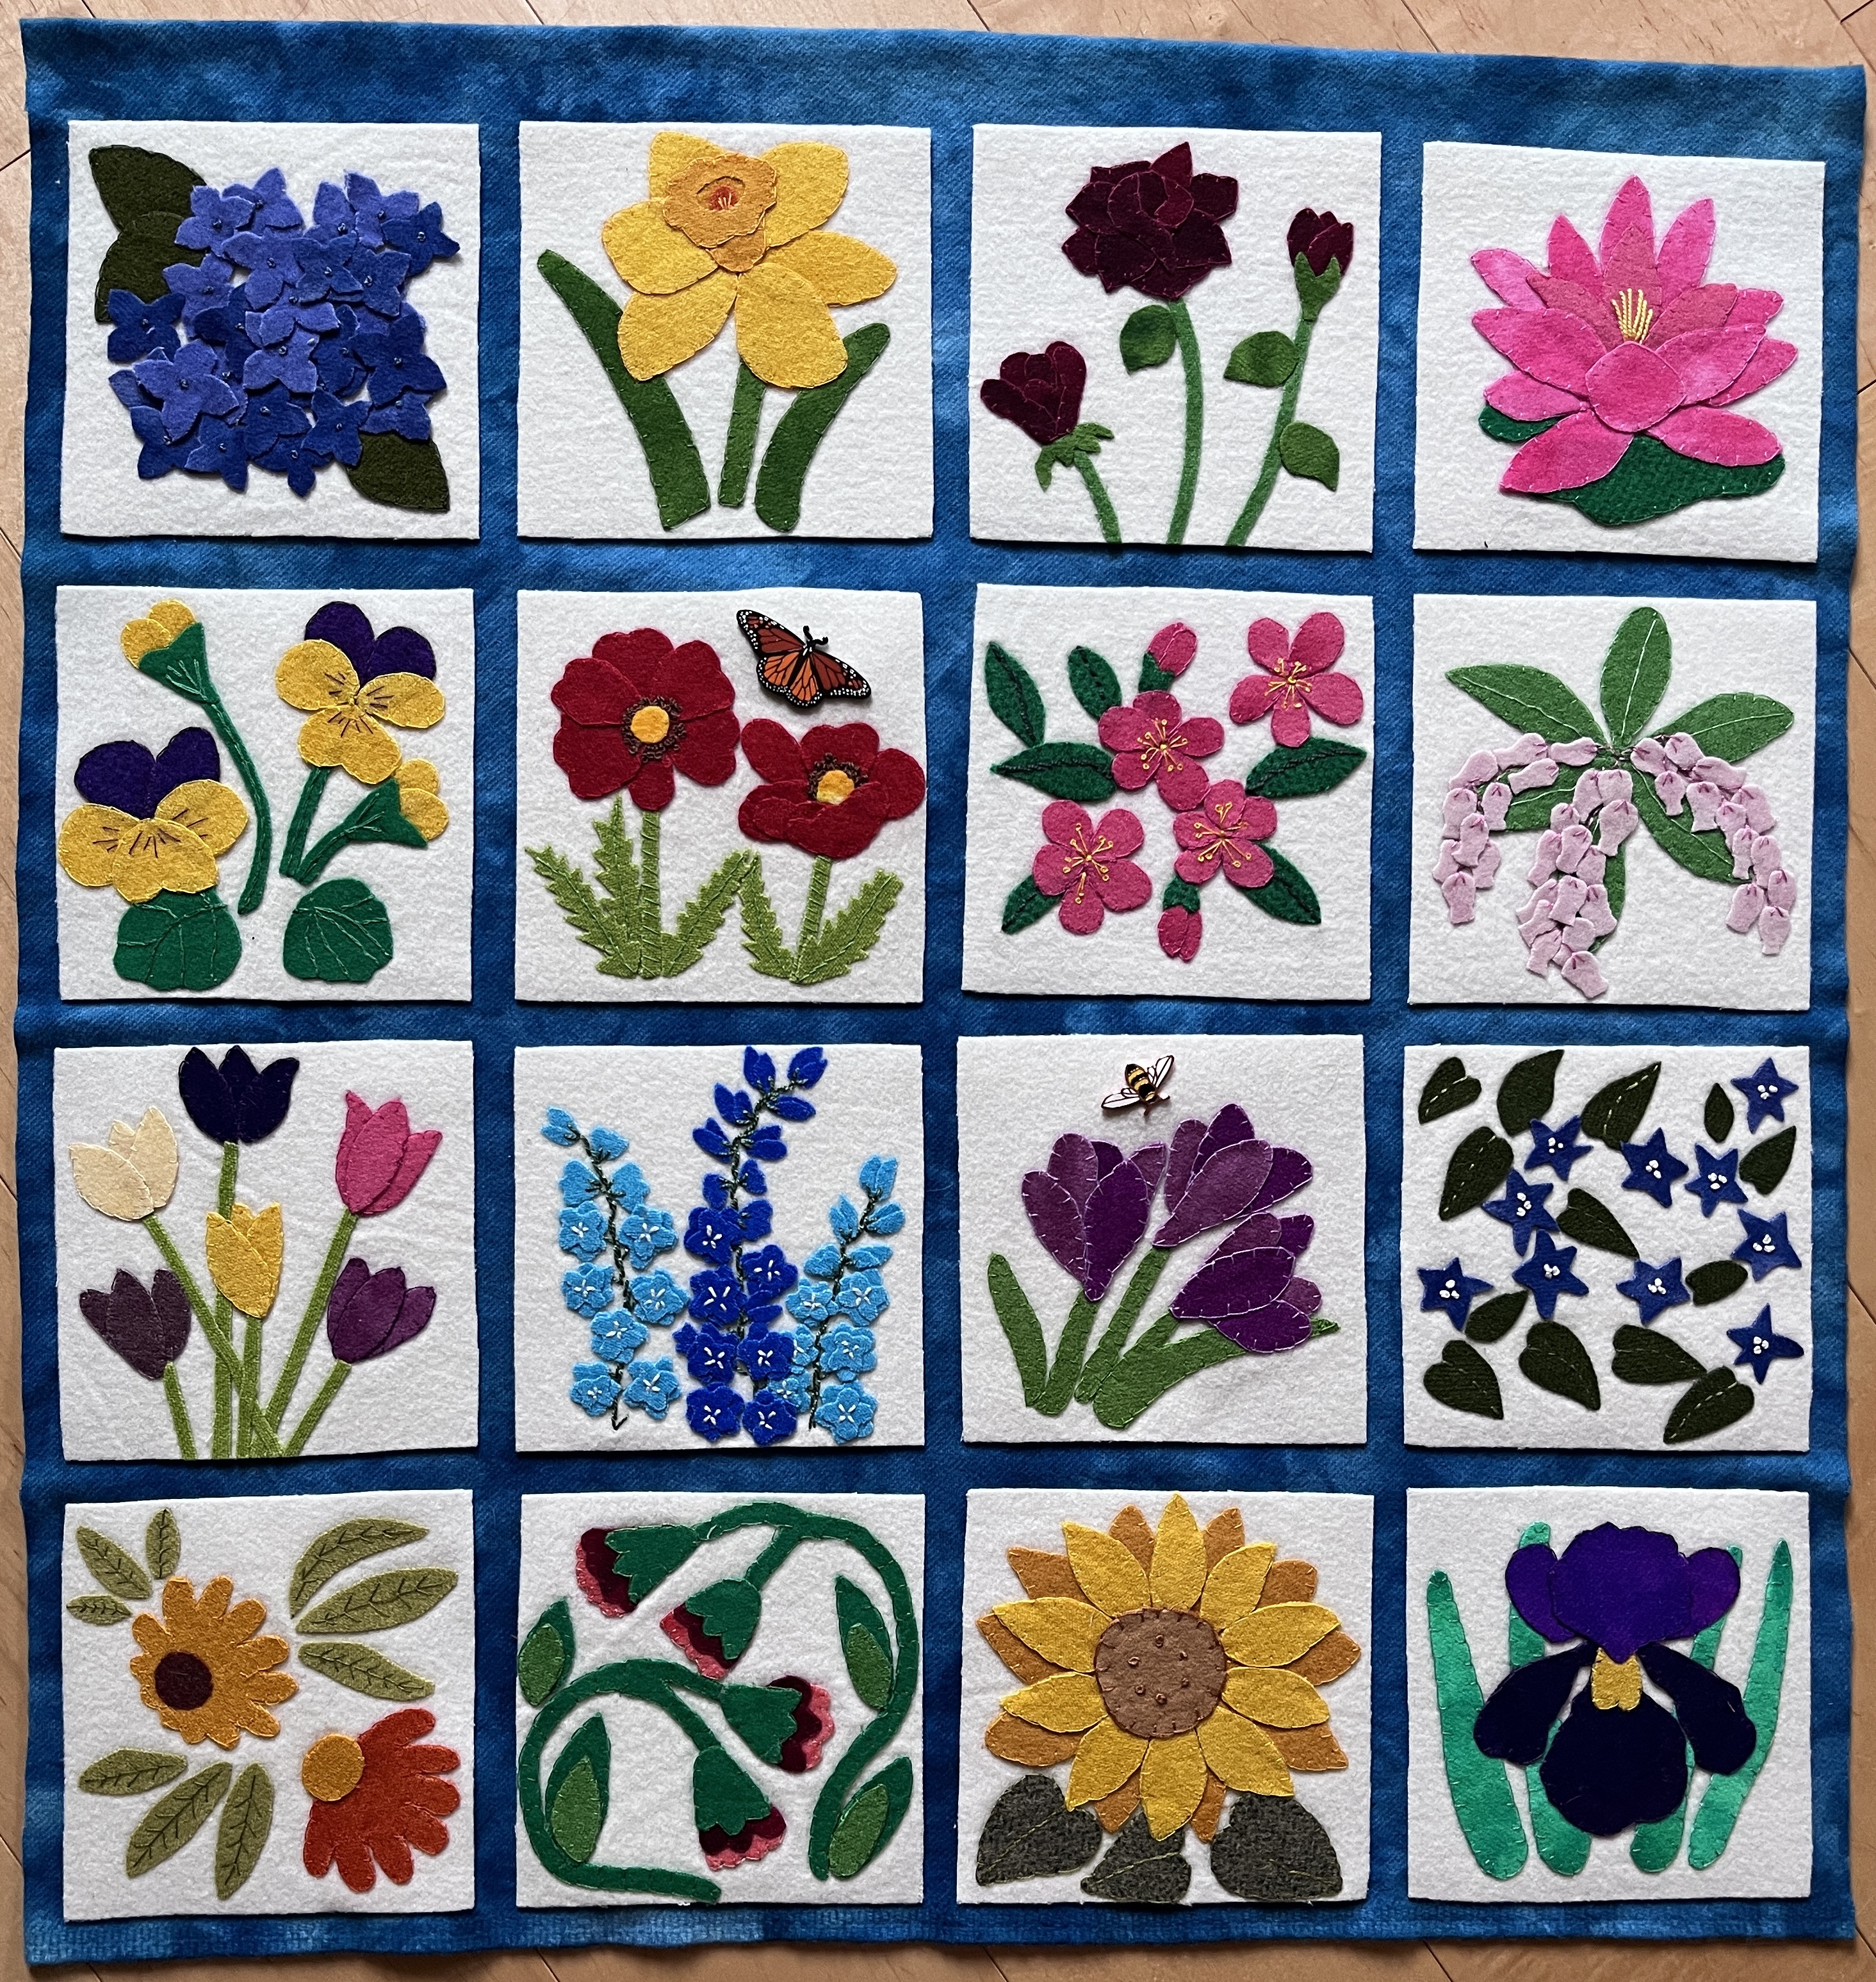
This banner is a bit of a sampler, where I made 16 separate pieces (small portable projects to take to meetings), then blended them together in this banner. I’ll make a separate post with all the details on the flowers, but here is the final product.
Tree
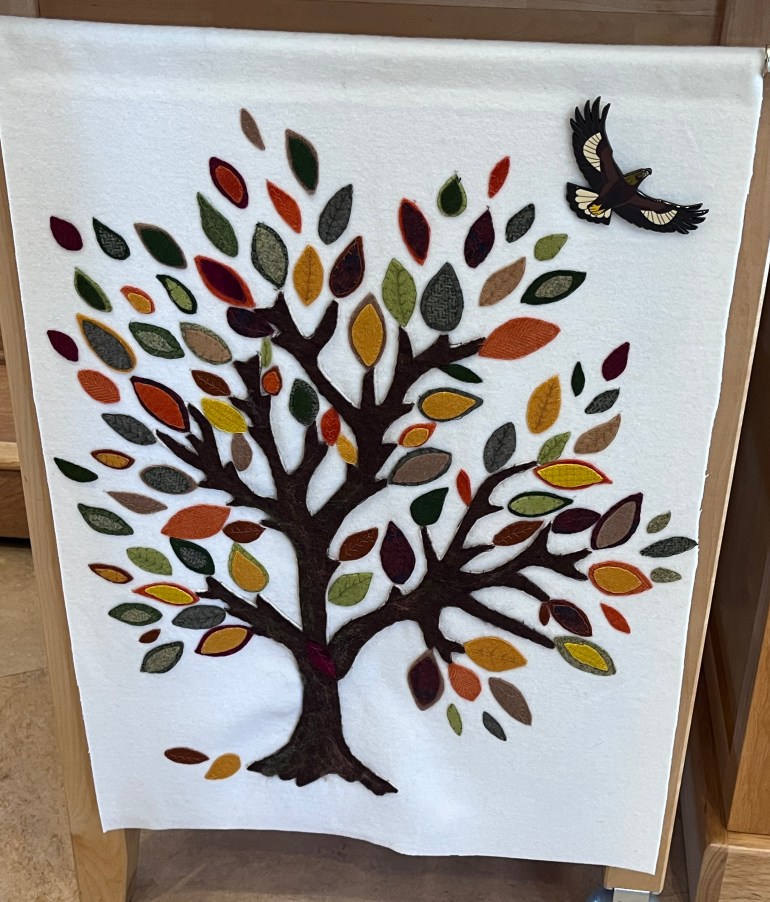
There is a UU hymn, Spirit of Life, which includes the line “roots hold me close, wings set me free.” I am a parent educator, so the idea of giving kids strong roots enabling them to soar out in the world has special meaning to me. For this piece, I searched the internet for all sorts of images of trees, then merged them into my design. (Note: the enamel pin of a golden hawk is from RoaminBison on Etsy.)
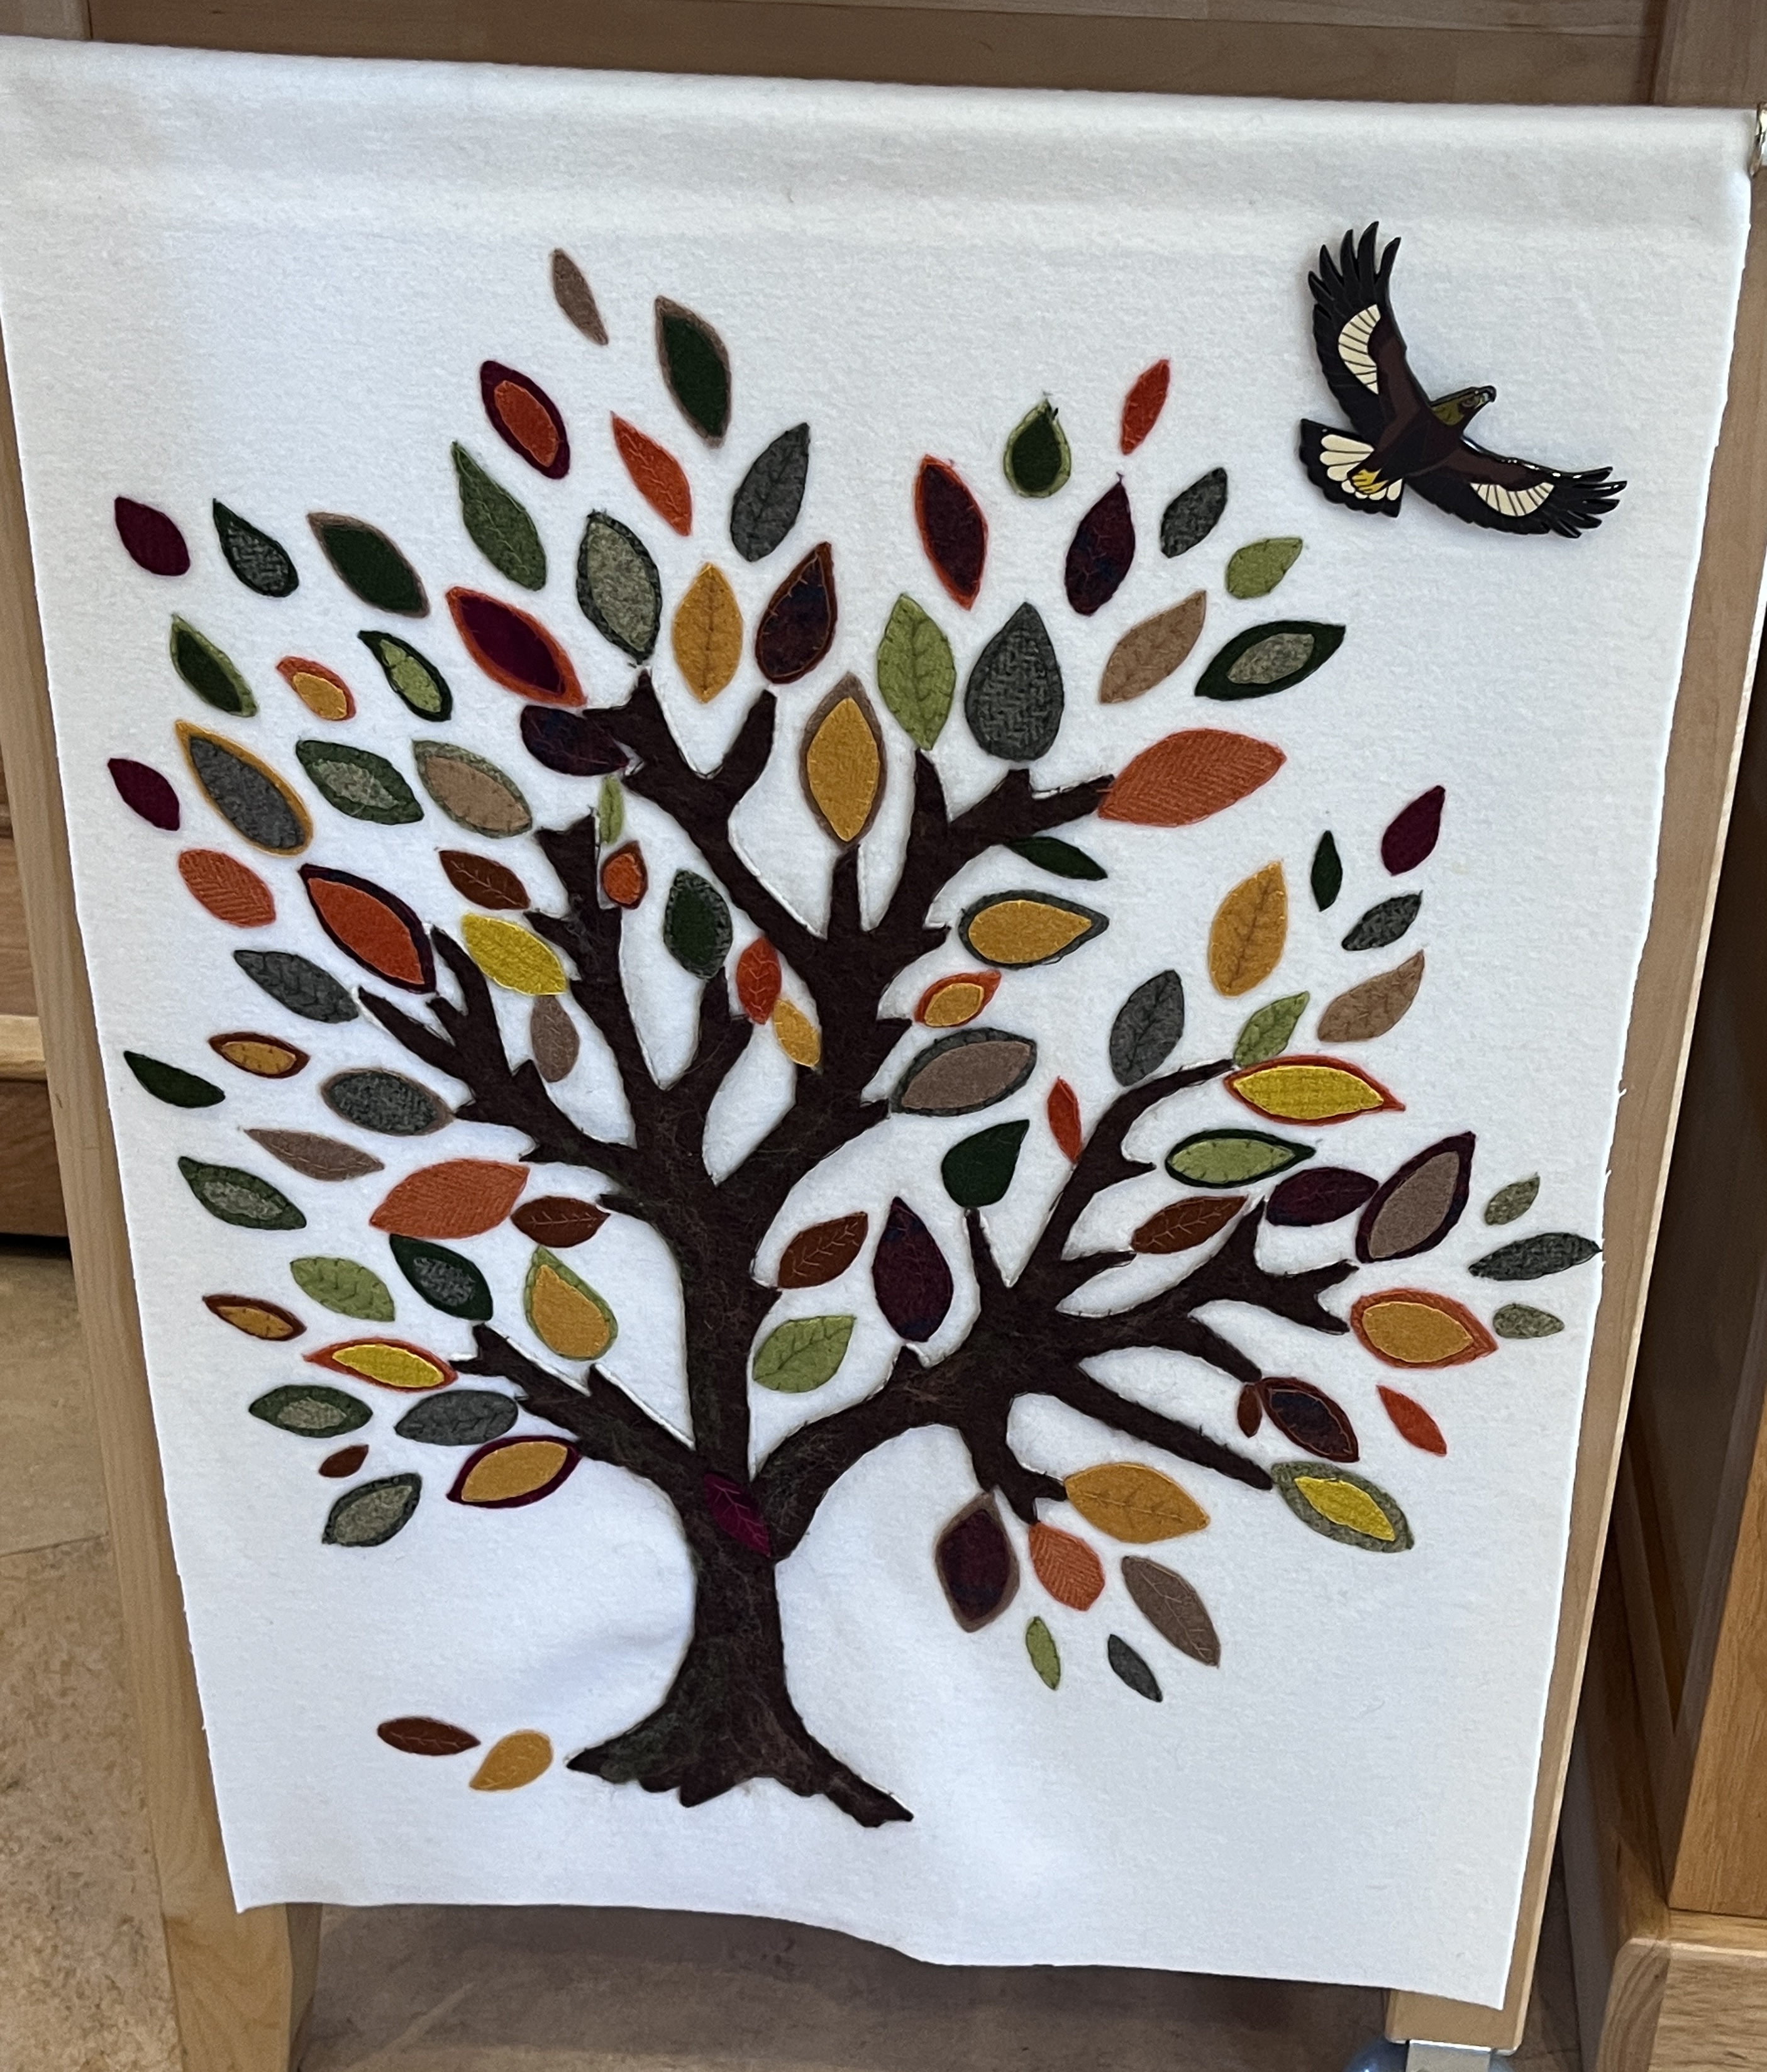
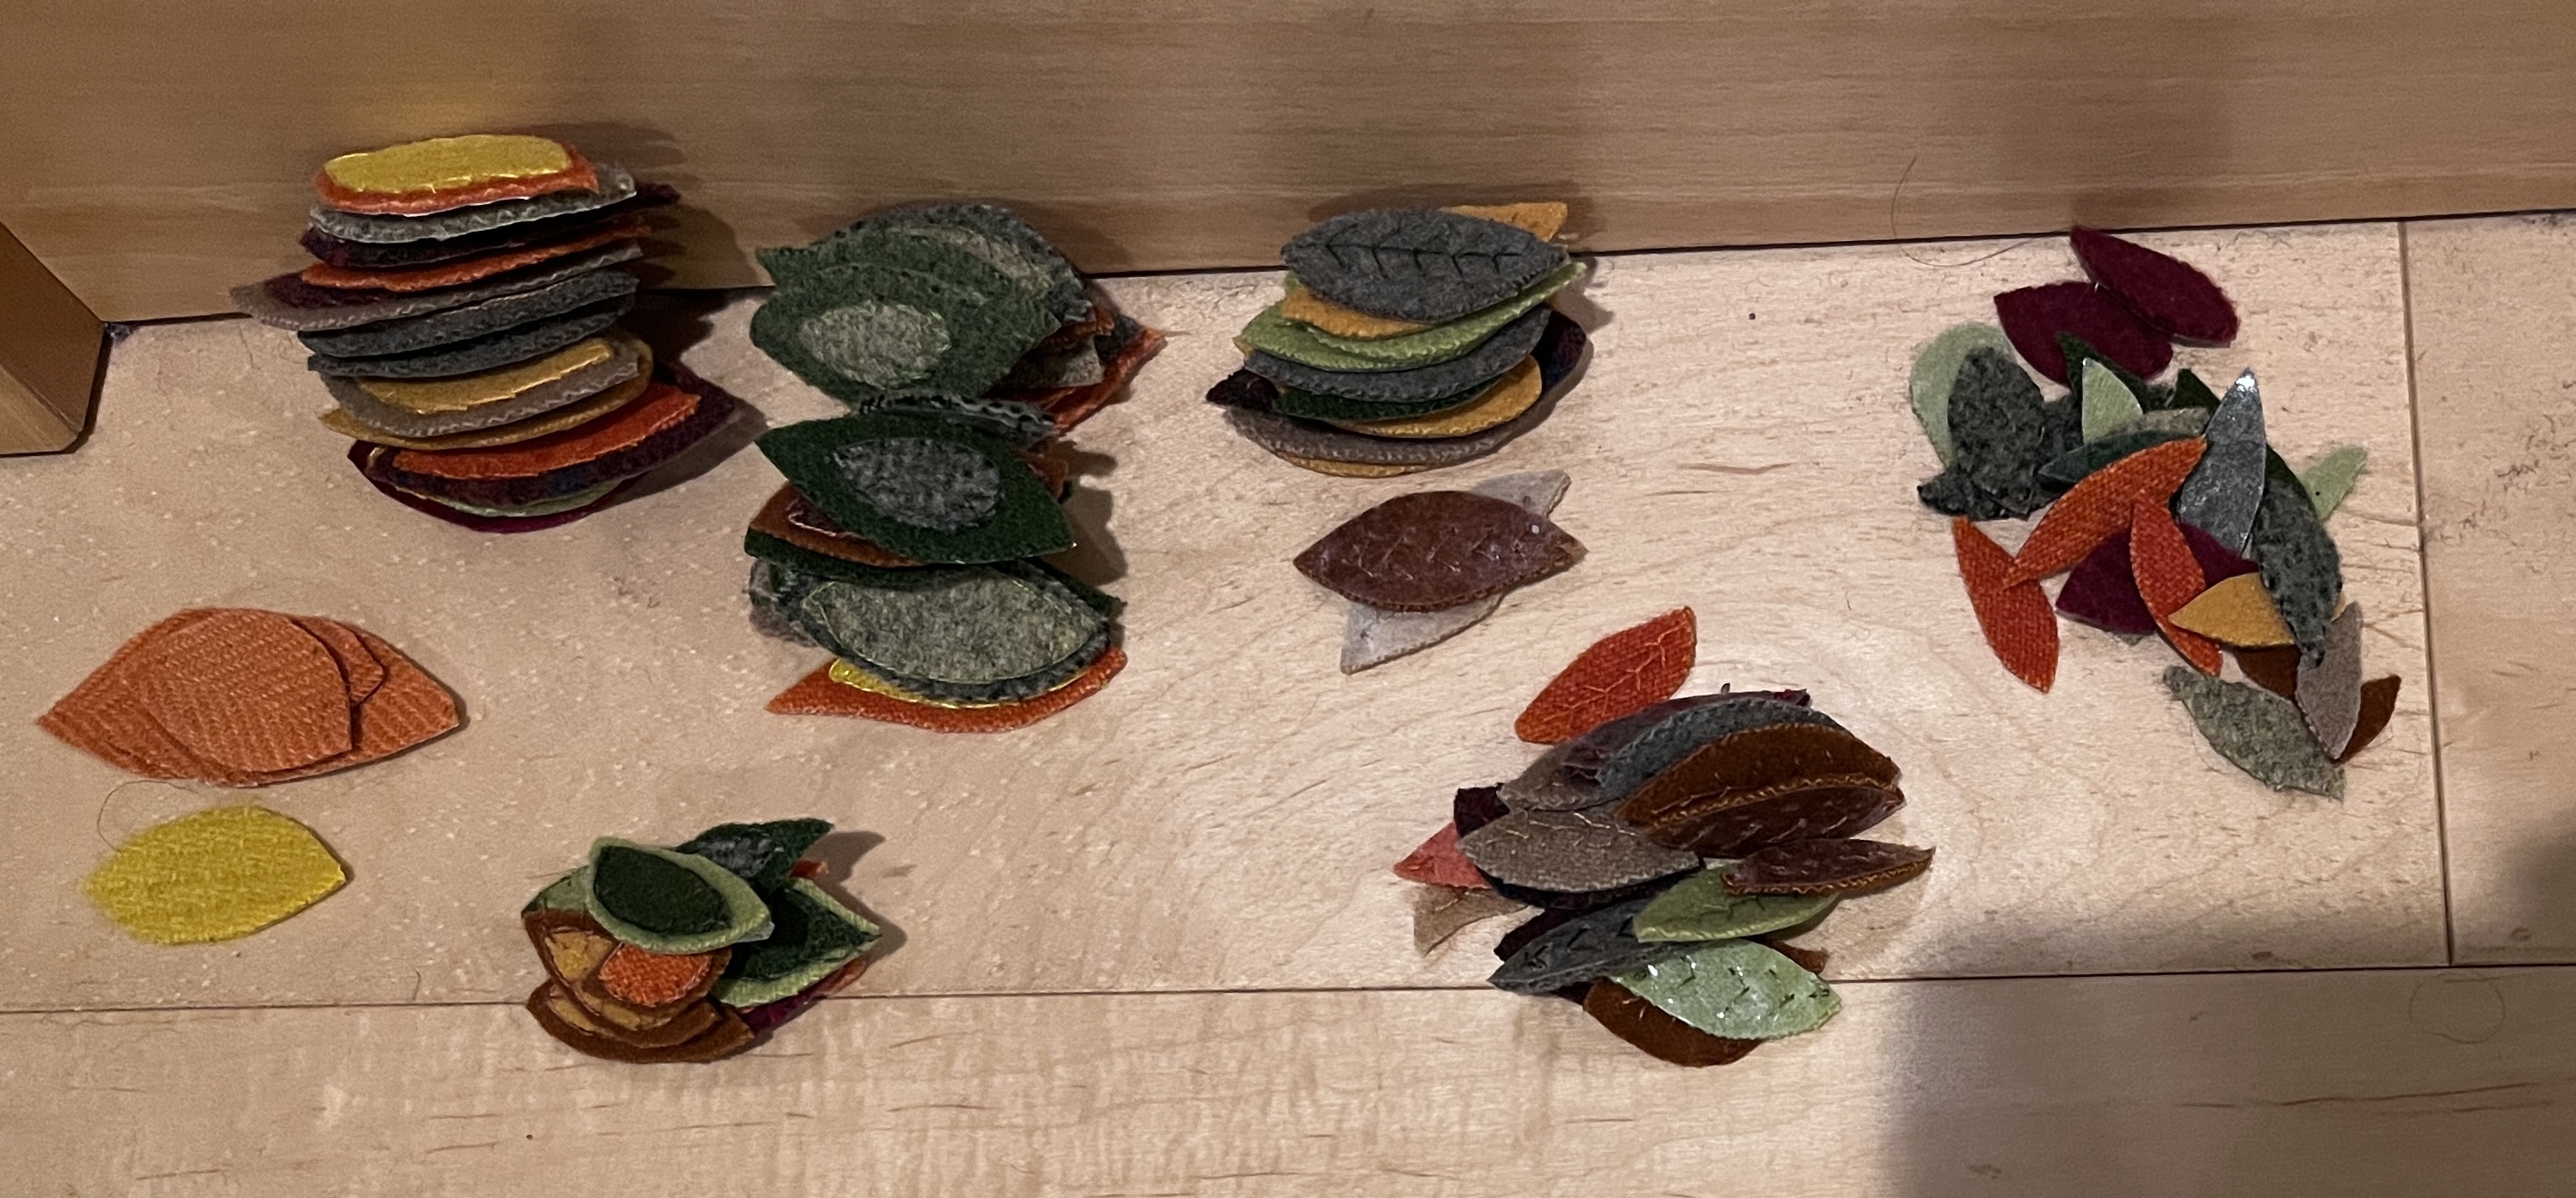
I hadn’t really realized when I started how many leaves it takes to make a tree look full. Turns out it is 100 leaves! I used many shades and textures of red, orange, yellow, green and brown, cut in varying sizes. Some are layered, with a smaller leaf shape on a larger one, some are not. Some have leaf “vein” designs stitched on them, some do not. I sewed on all the largest leaves first, then filled in with mid-size, then the littlest ones for accent.
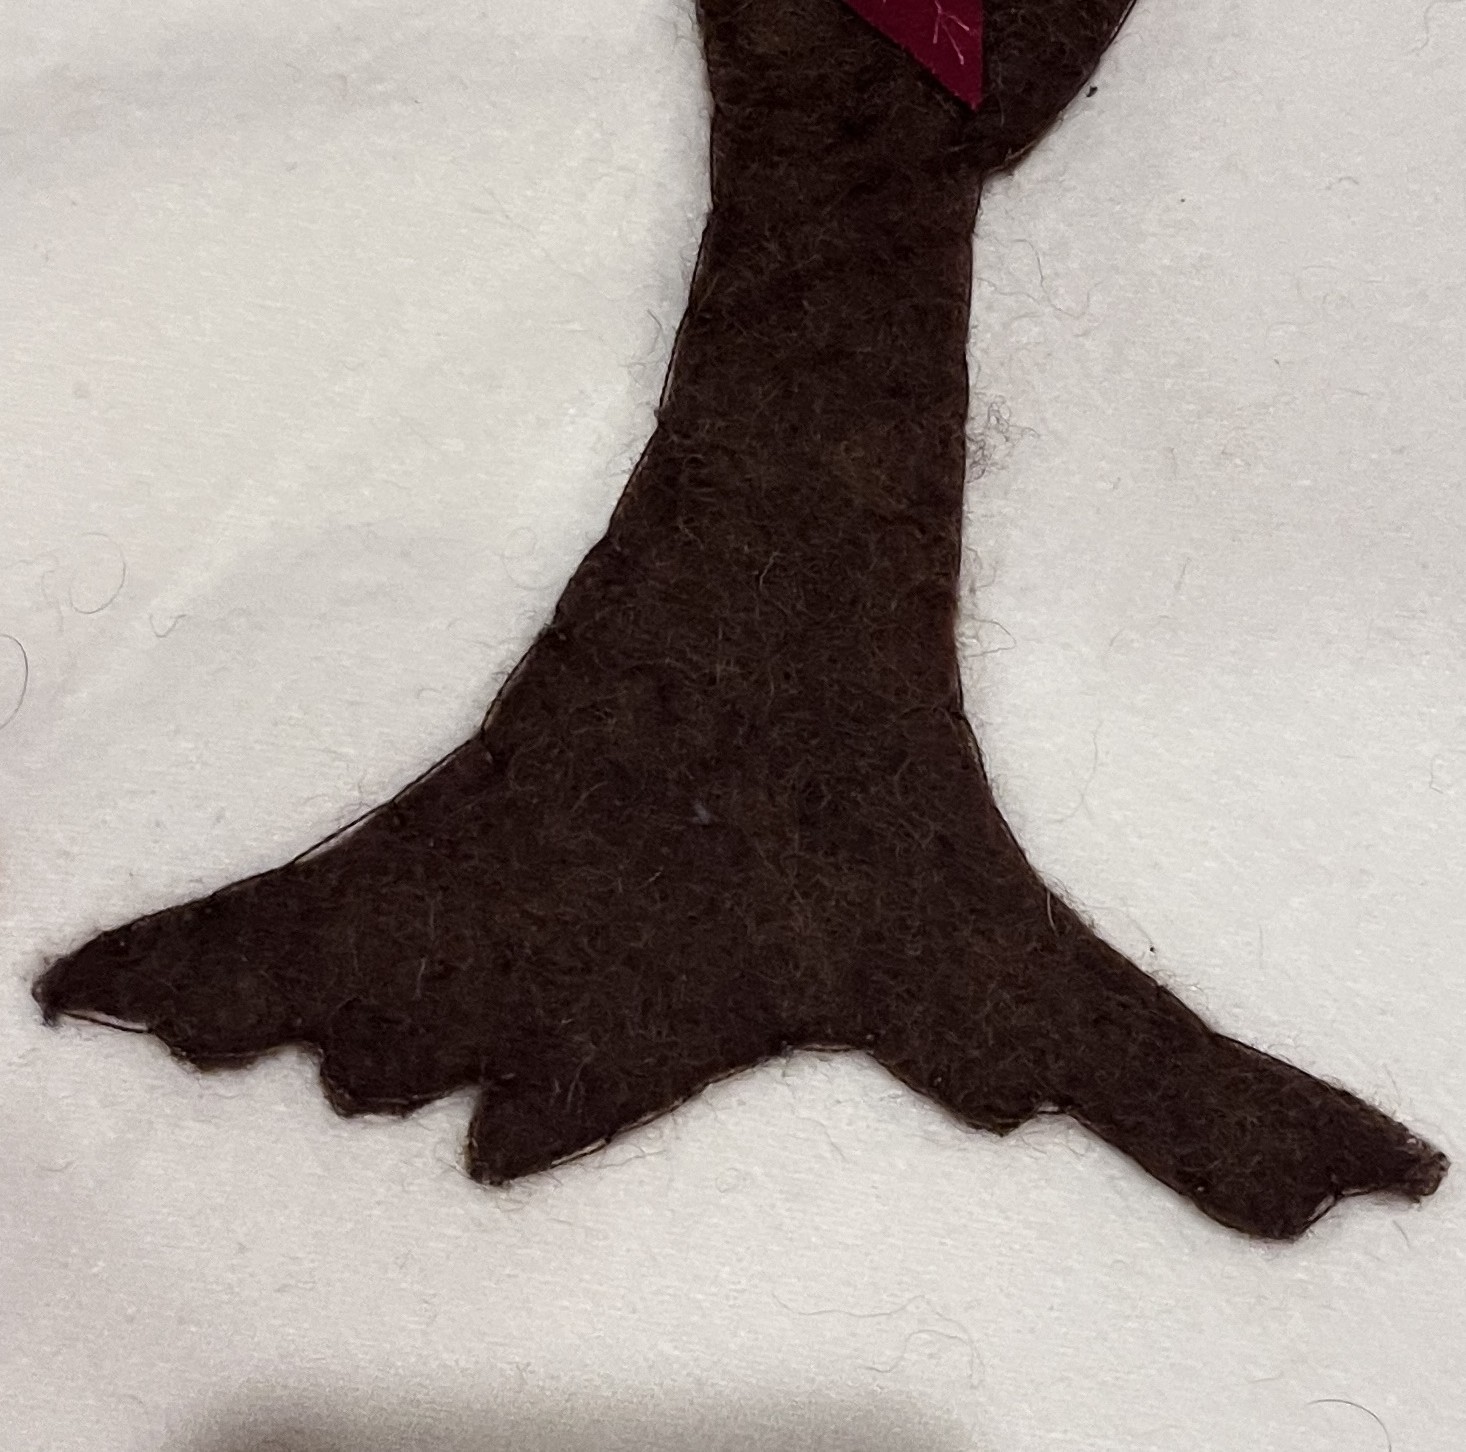
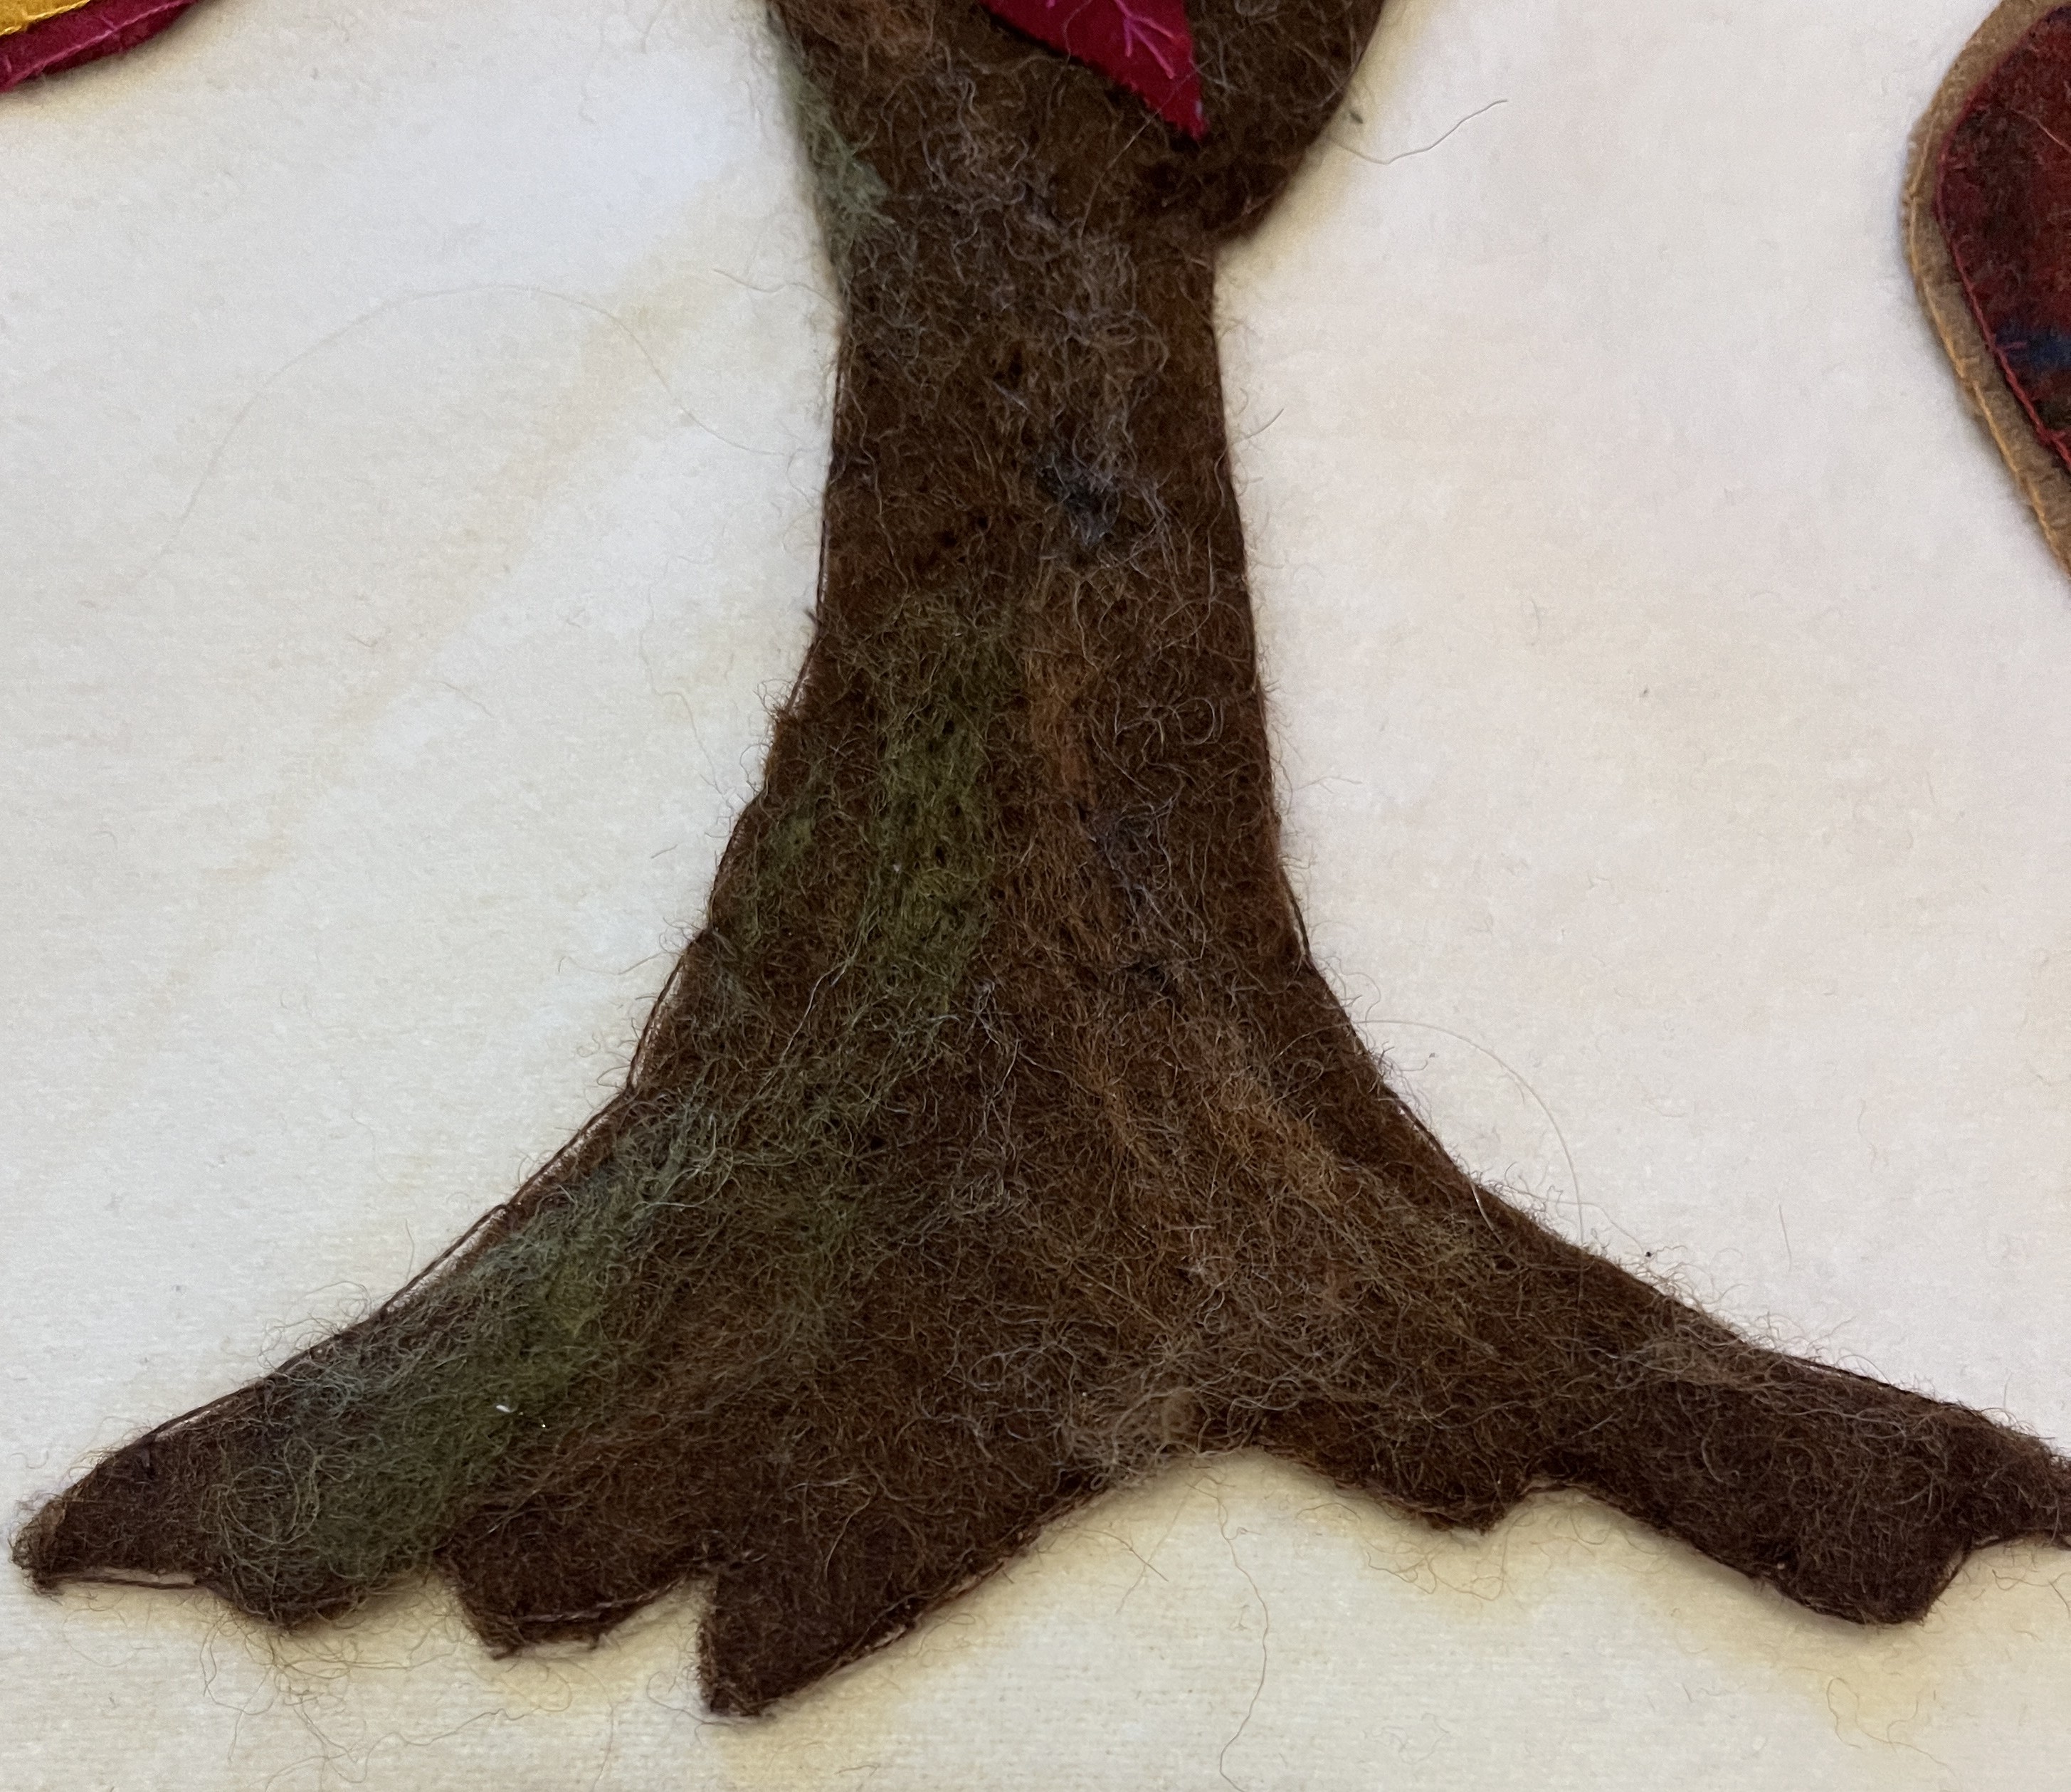
For the trunk, I tried needle felting. I used a thick loosely-woven brown wool felt I bought at Michaels. And wool roving, this multi-needle tool, and a single needle (and foam to poke into.) Here is the plain fabric, and the fabric after I felted on some green for a mossy look and some browns and black for texture. It’s a subtle effect, but I’m glad I added it as it gives more depth to the piece.
The No Sew Option
If you want to create something like this, but just don’t feel able to manage the sewing / embroidery part, you can do appliqué just by glueing felt on (ideally with a glue designed for this, like Beacon Felt Glue, but you could test a glue gun or Aleene’s Tacky Glue). Or you can use iron-on fusible interfacing. It’s much easier, and the final result looks a little better. Here are samples, where the item on top was attached with Beacon Felt Glue, and the one of the bottom was fused on.

Handprints
Here’s one banner I made where I just fused on the handprints with HeatNBond.
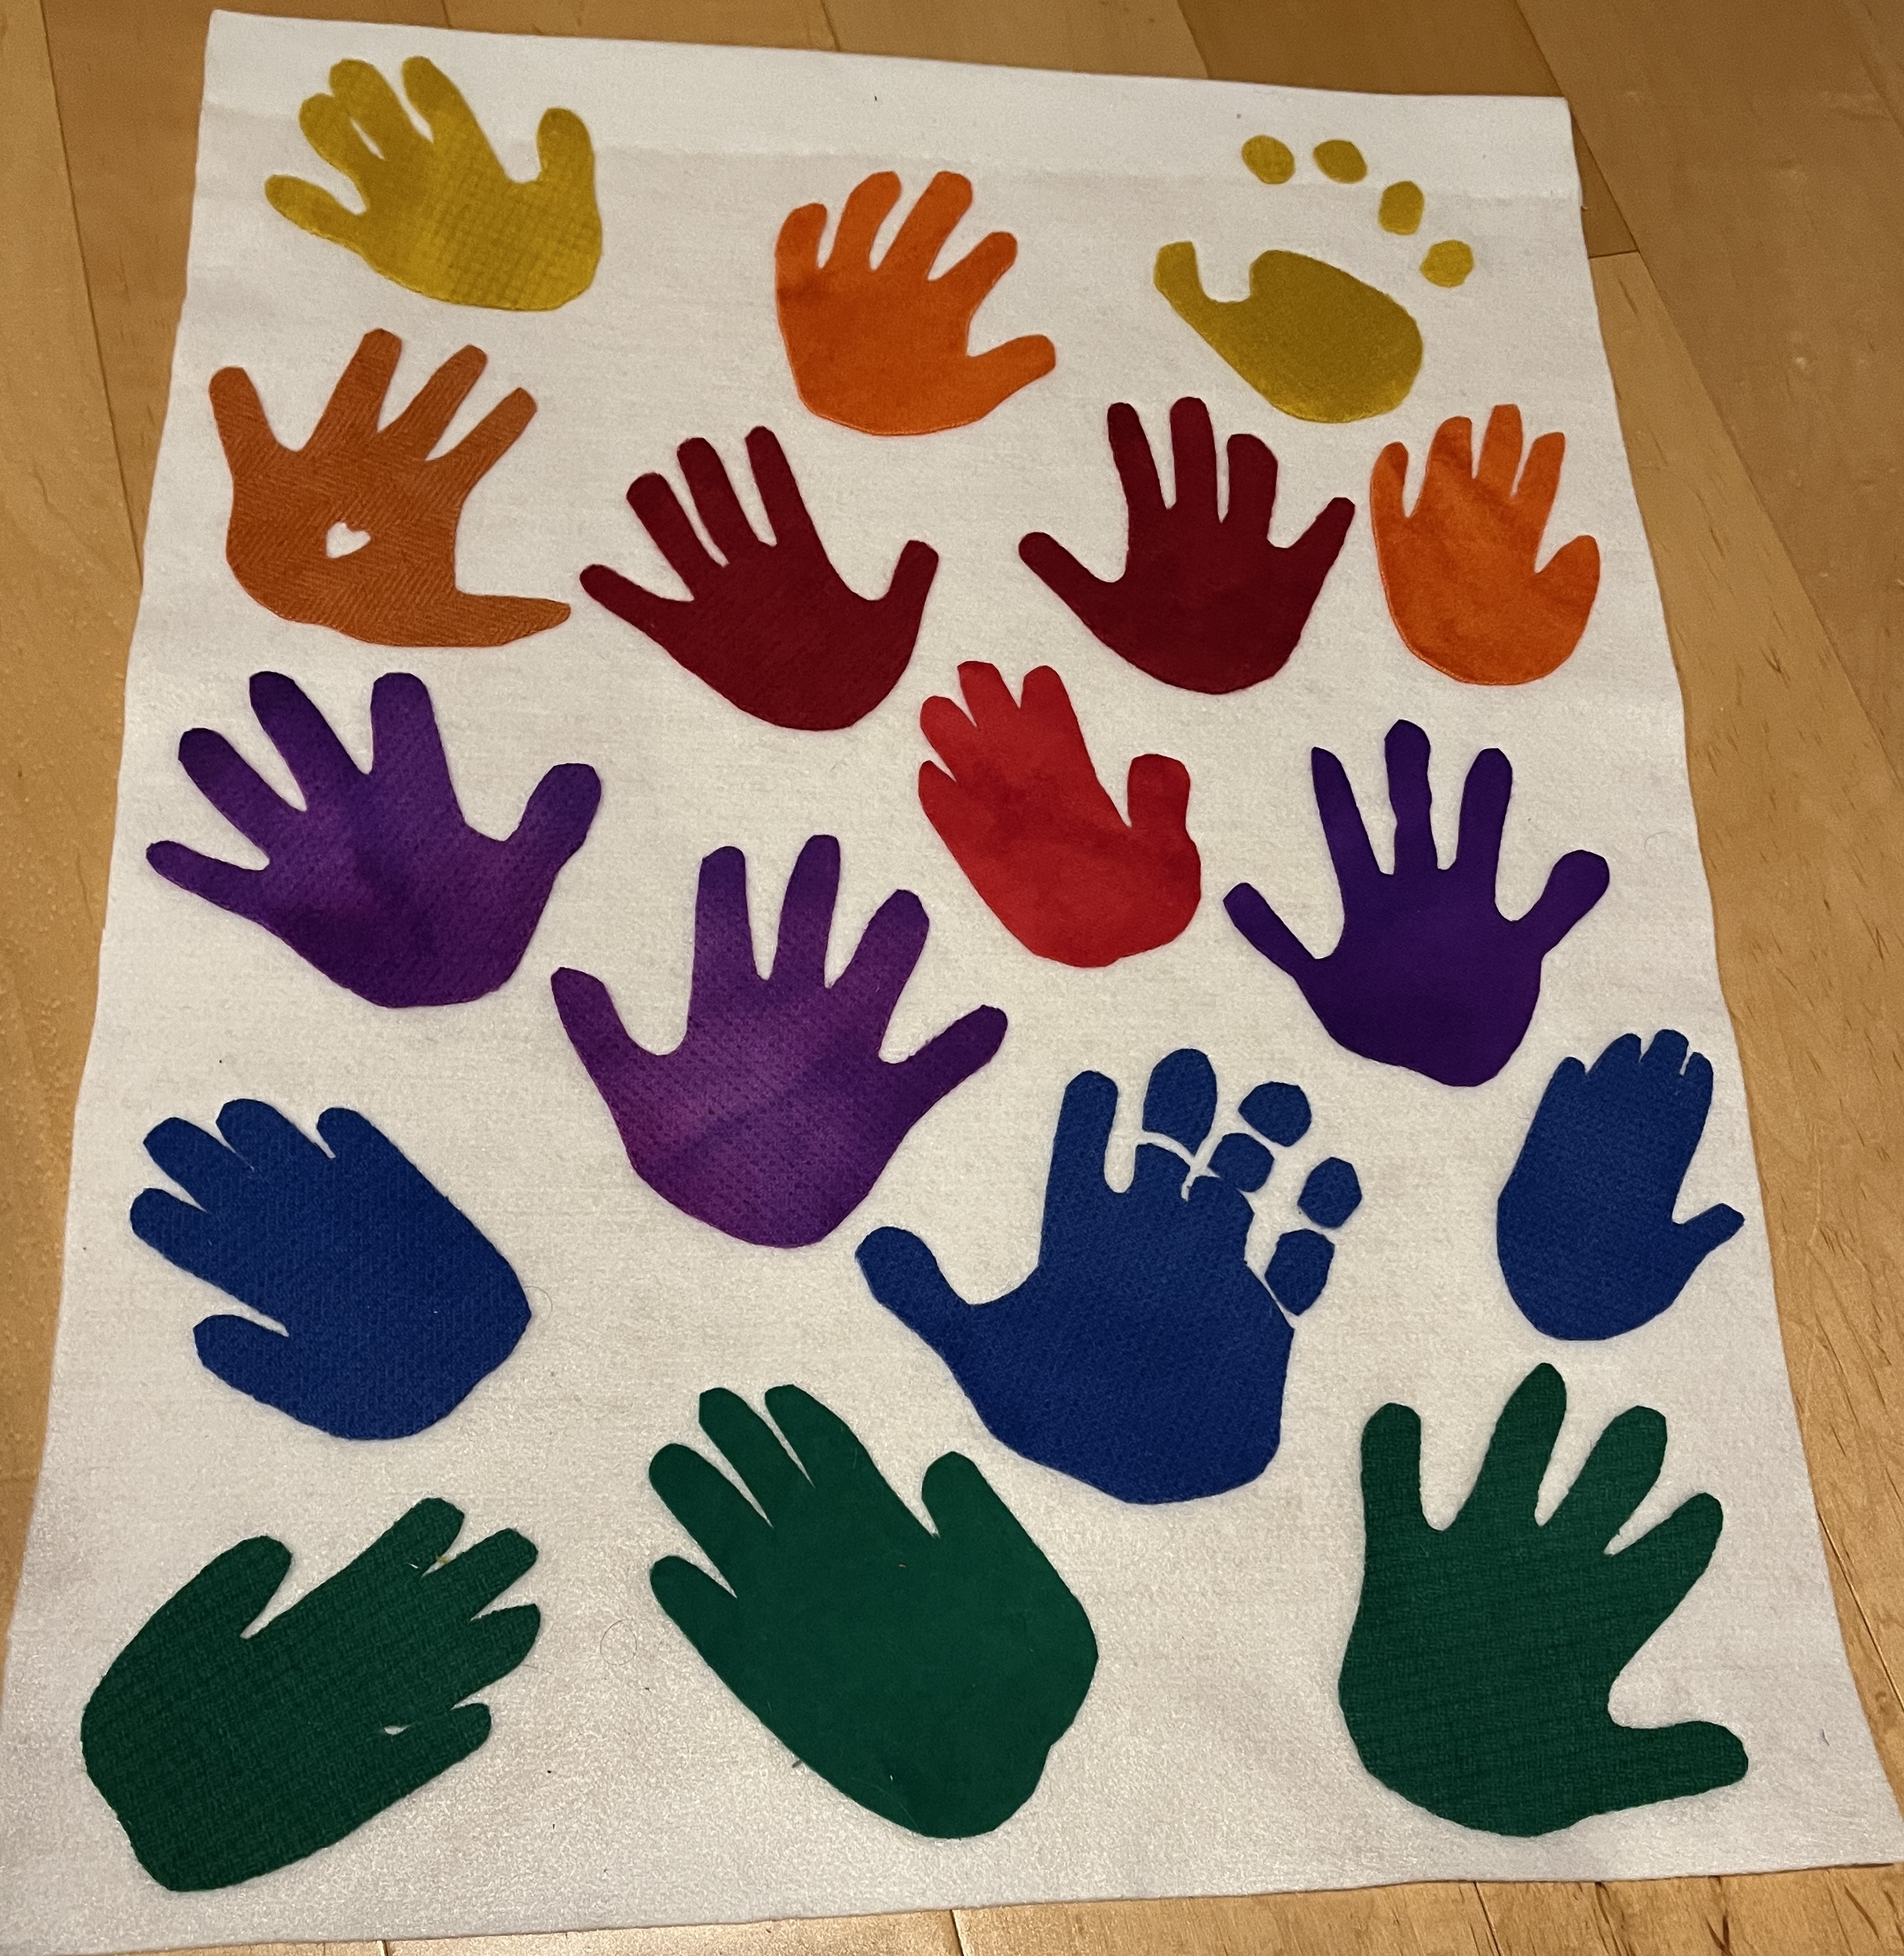
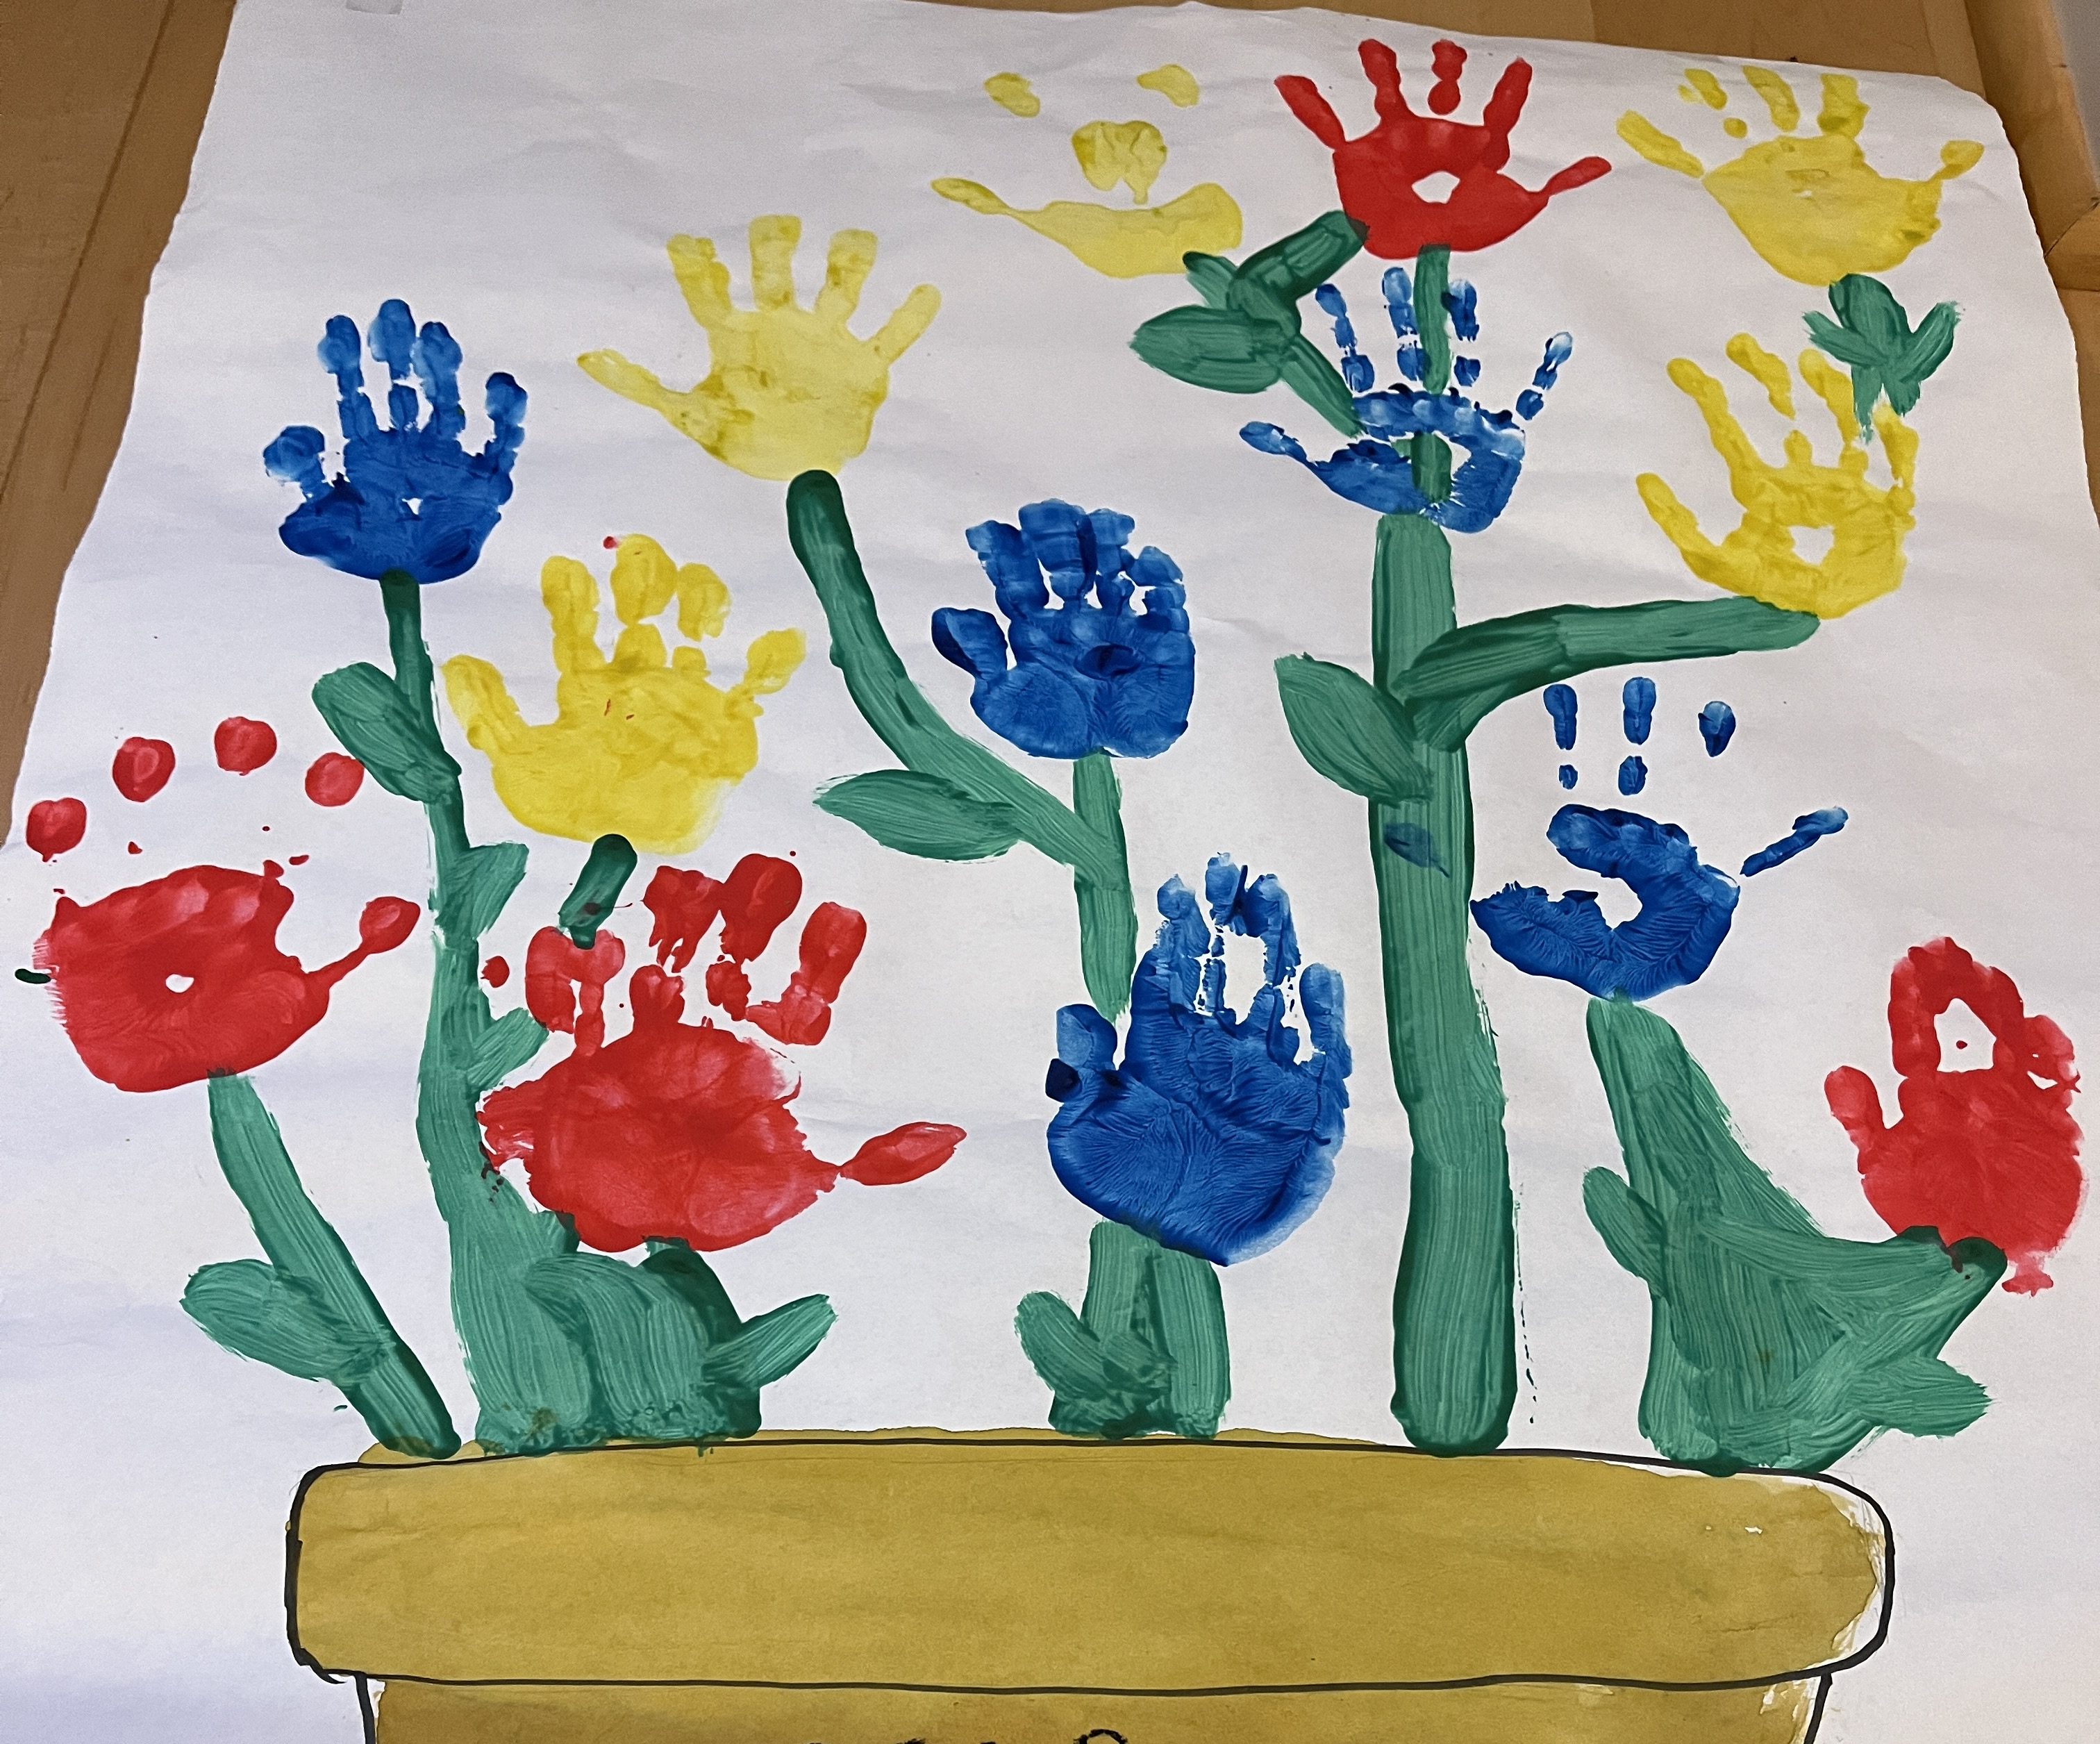
Fun fact: for the pattern for the handprints, I used a thank you poster that my preschool class made for me, so the handprints are based on real kid handprints.
Mini Tie Dye
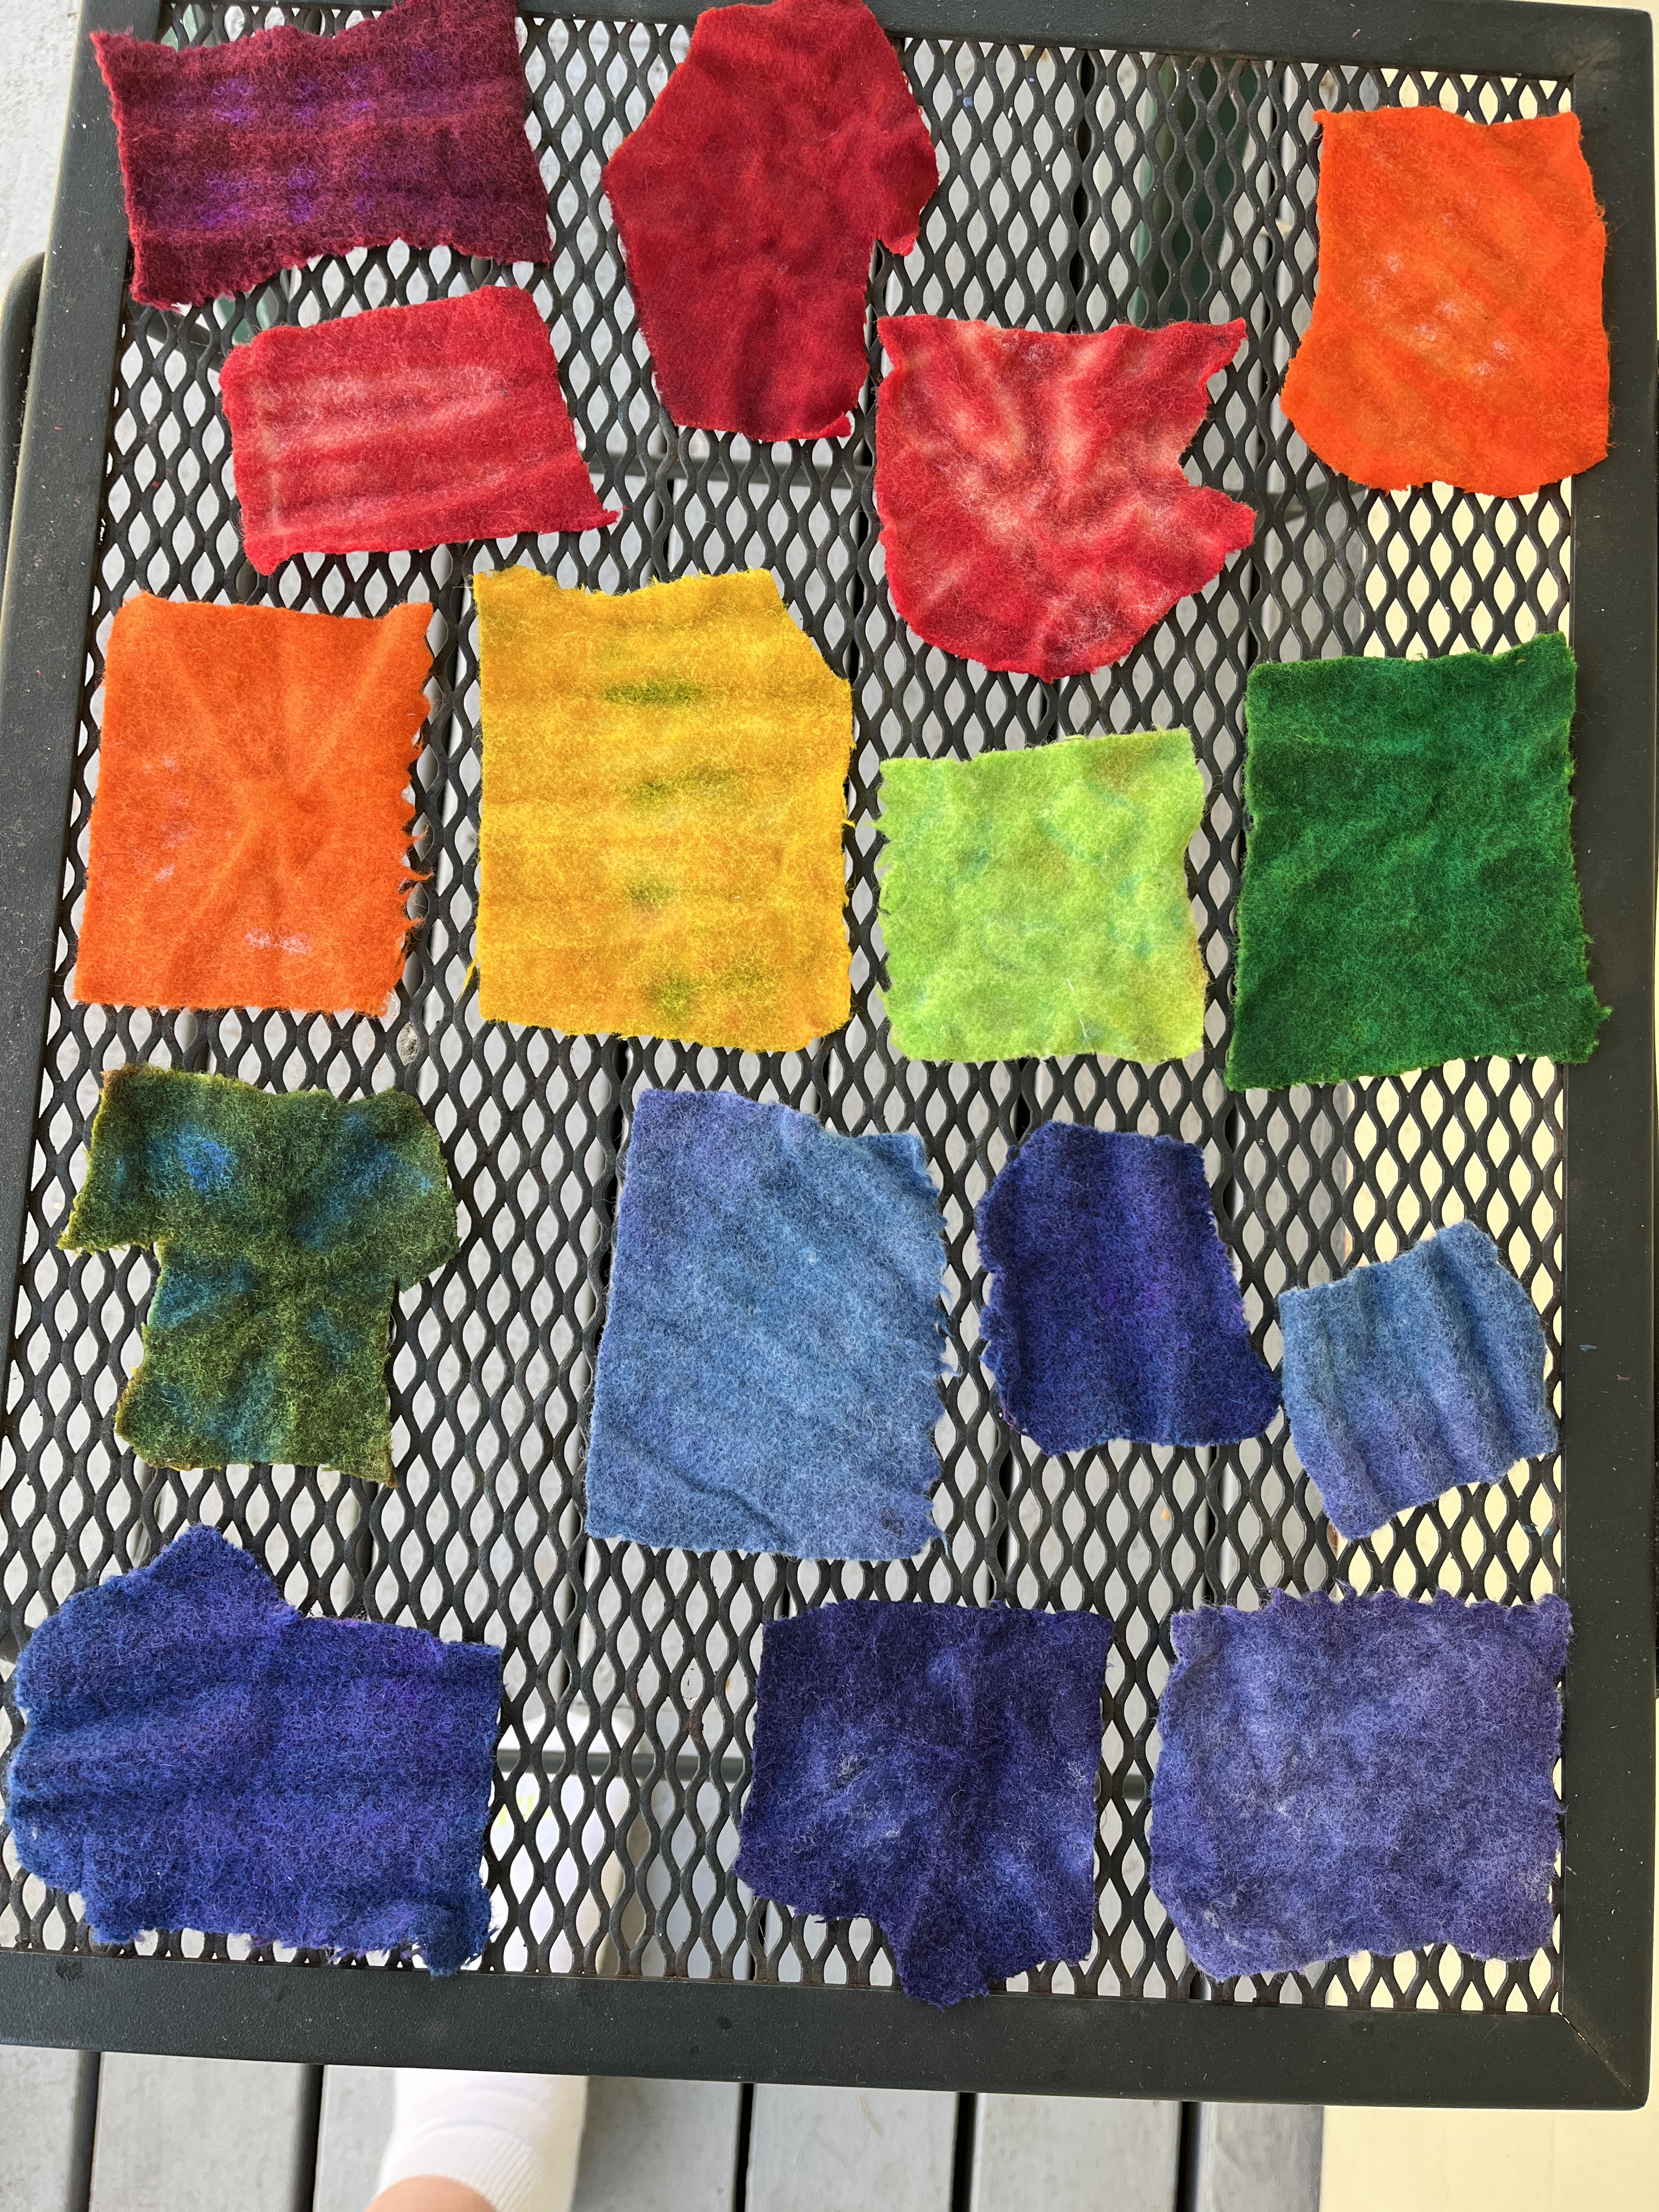
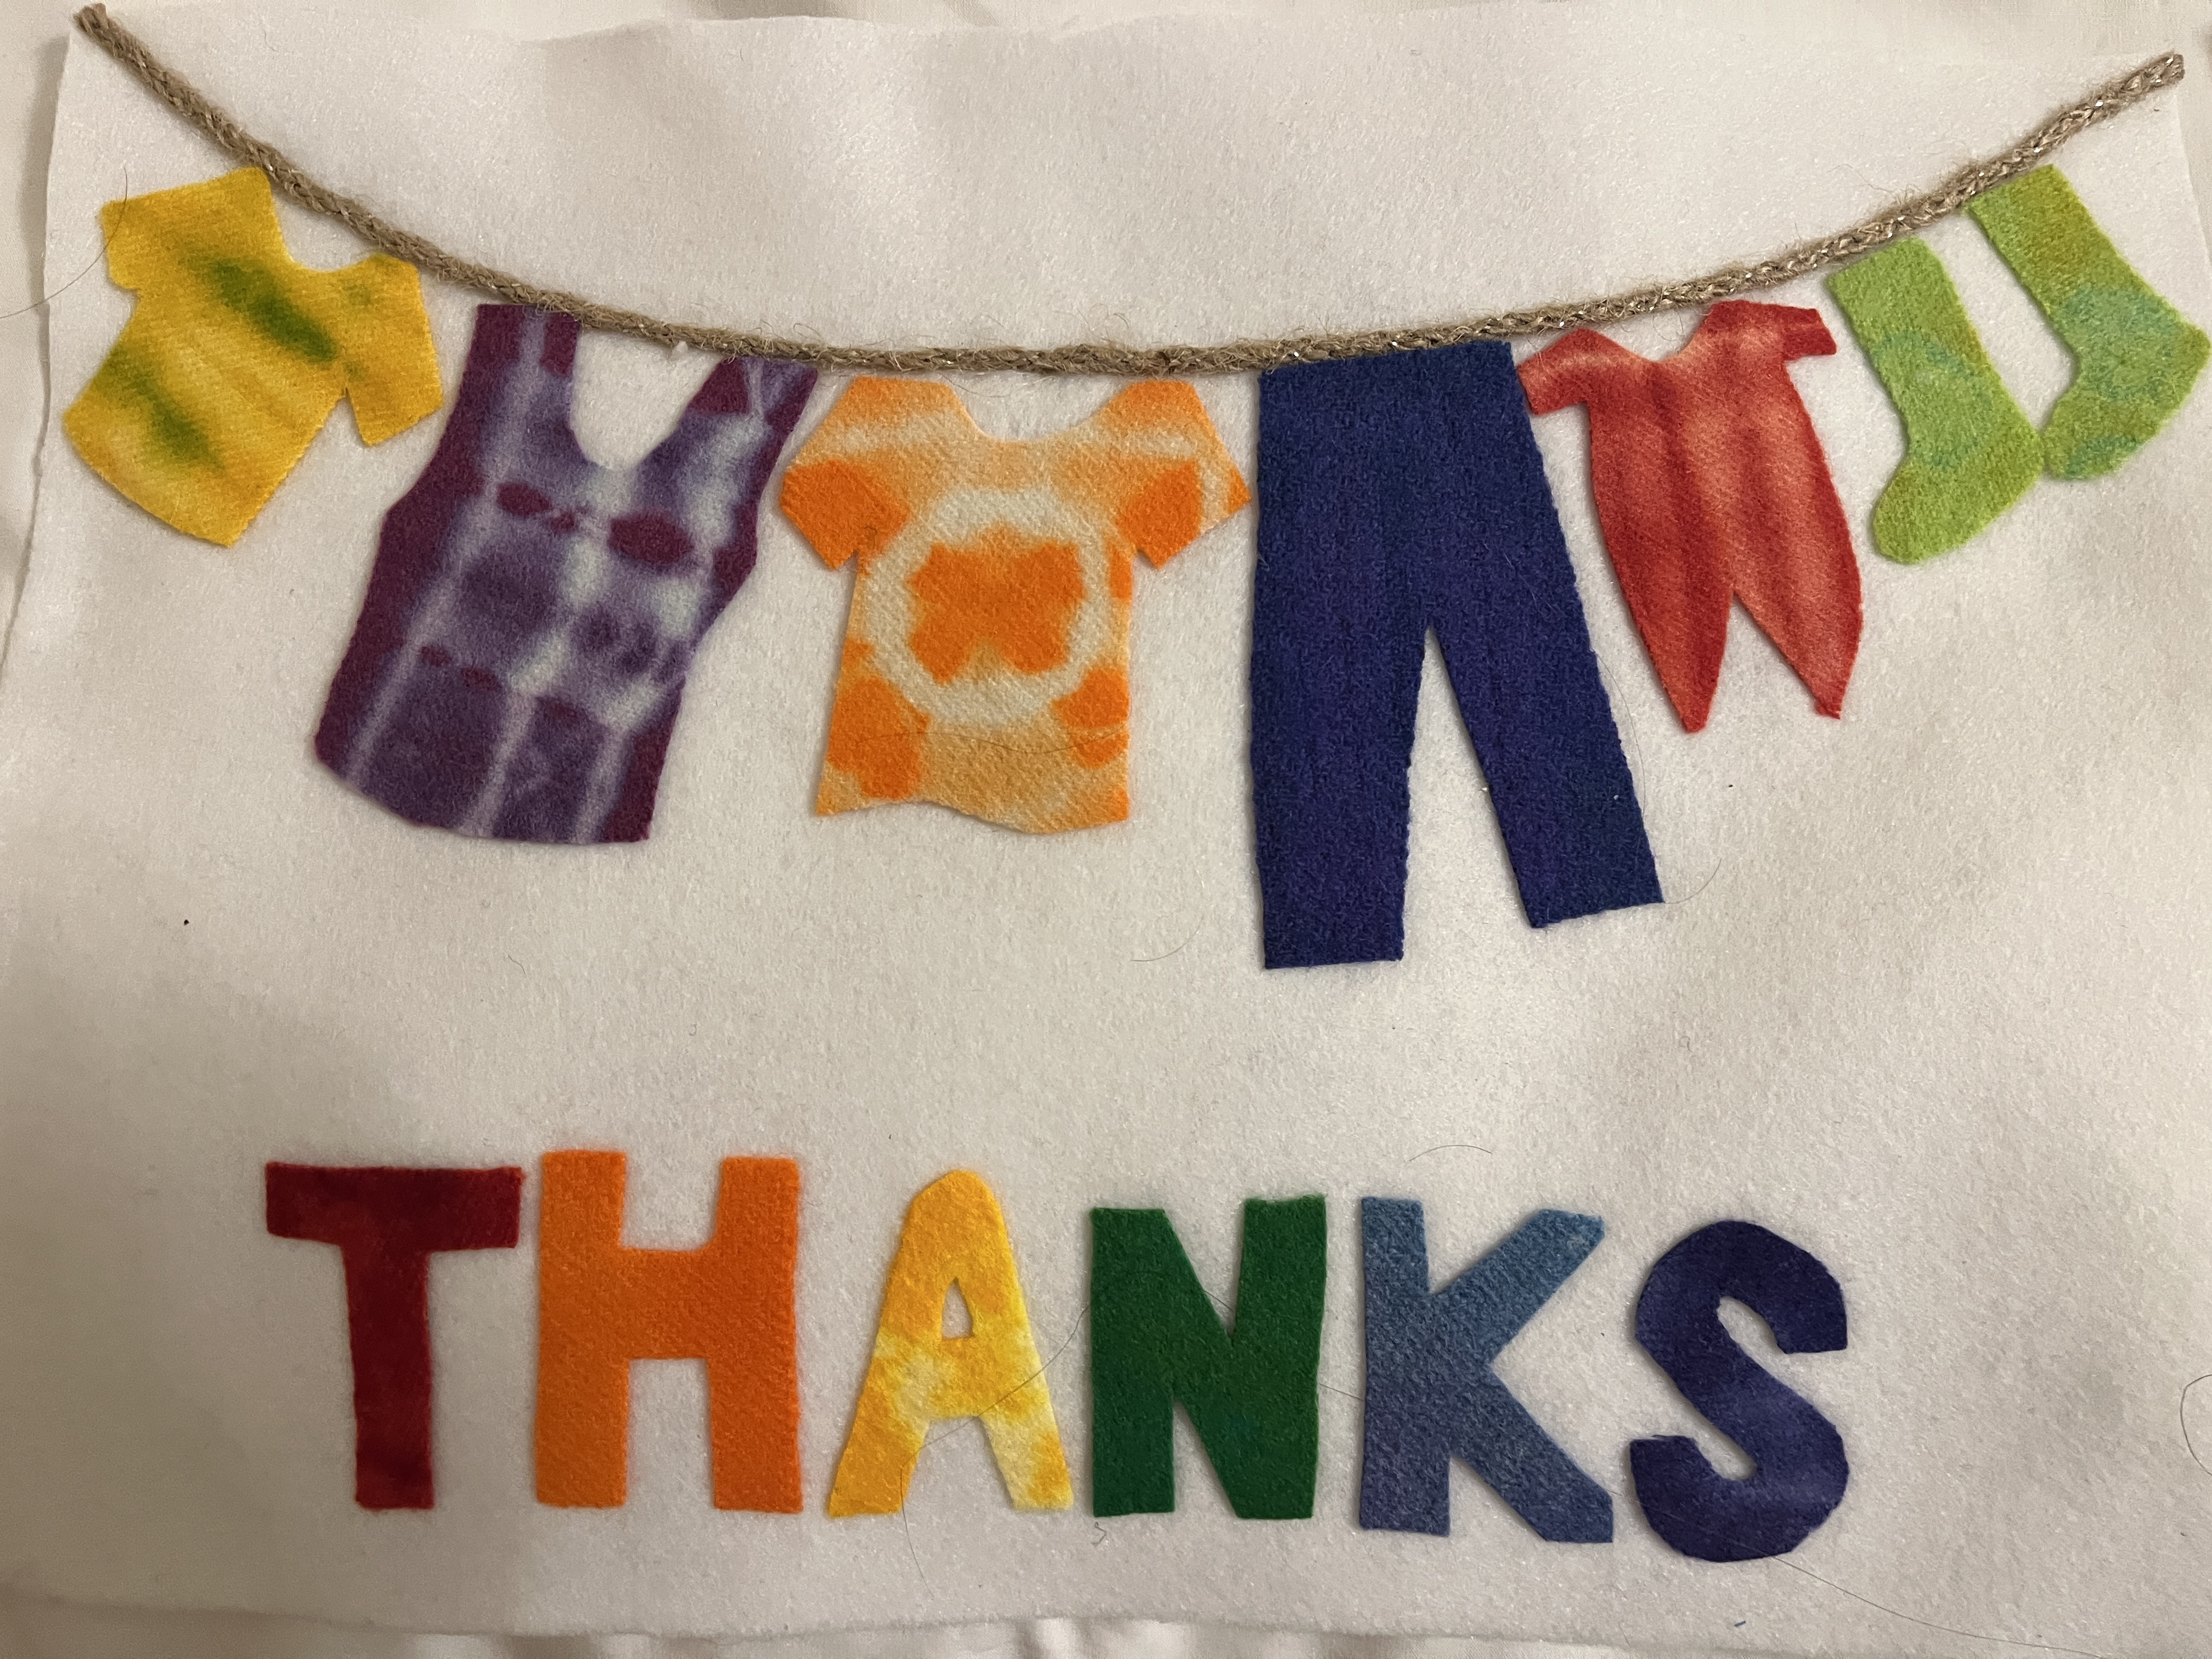
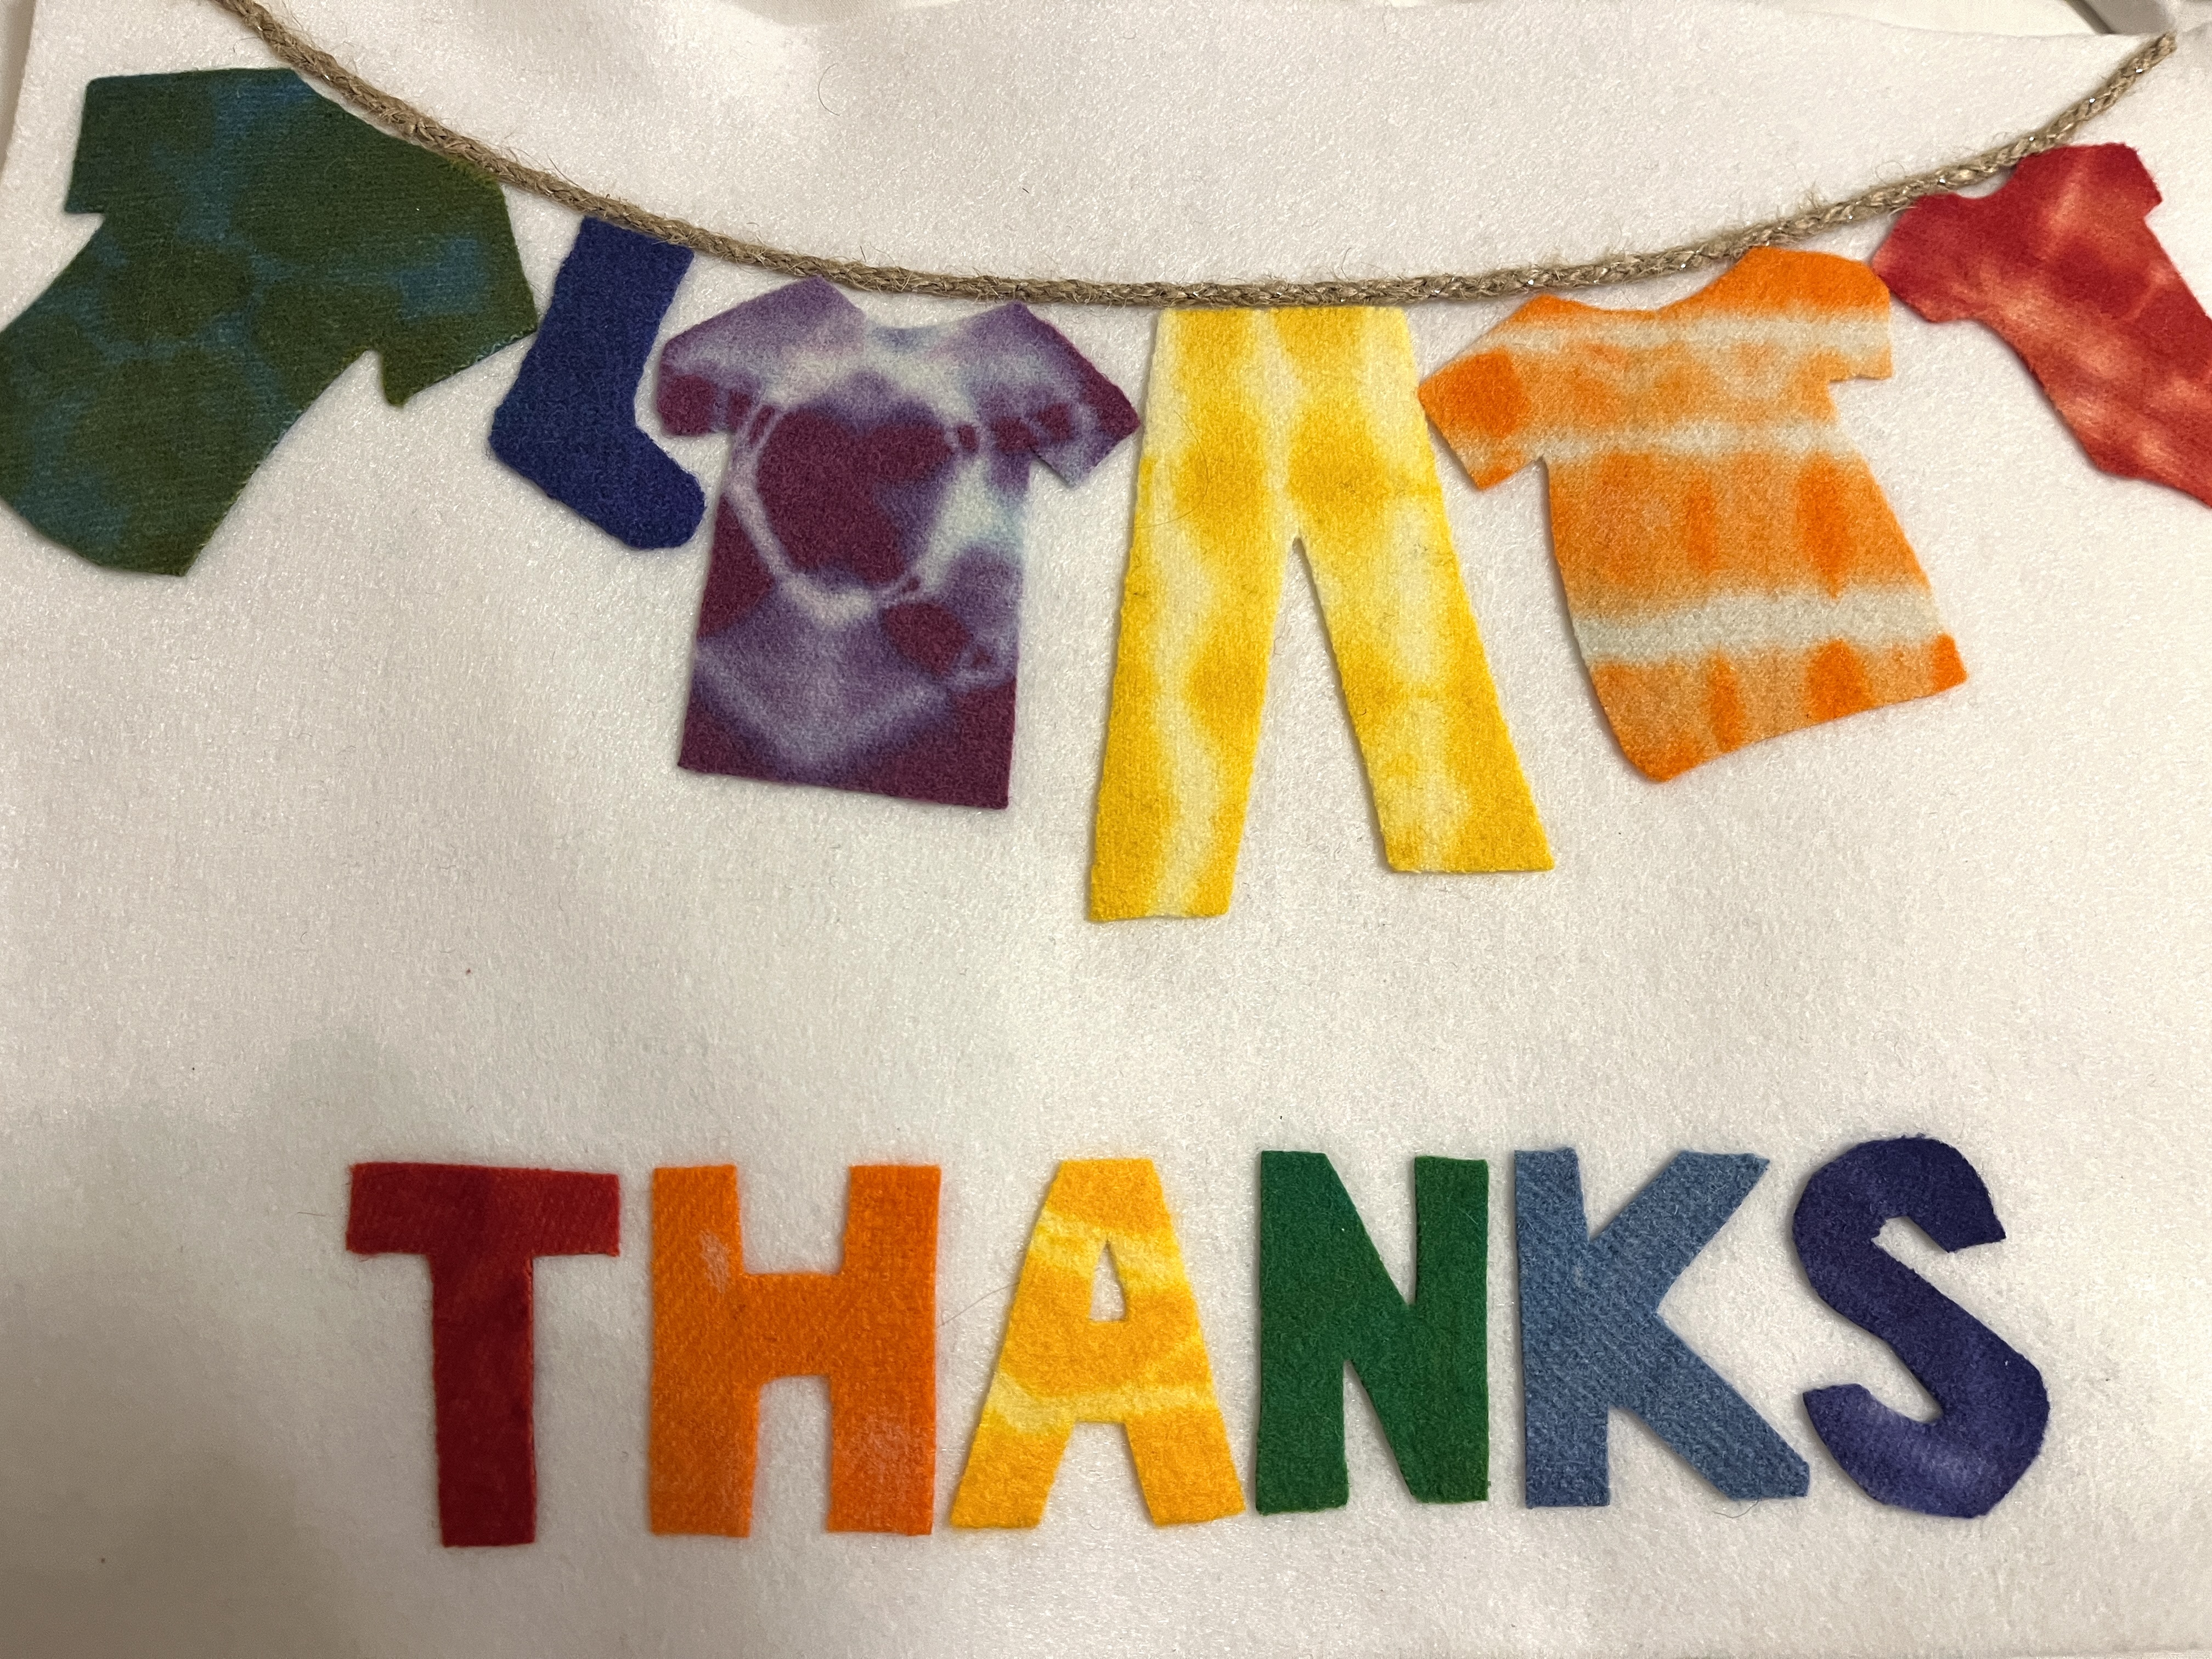
I go to a summer camp which has tie dye as one of the major activities, and some favorite photos from camp are all the tie dyed items hanging to dry on the clothesline. One year, the lead organizers included someone who had often run the tie dye activity. So, as a thank you to them, I tie dyed lots of tiny scraps of wool, and then made these thank you “cards.” I didn’t have time at camp to sew, so items are just fused on.
Values Banners Compared
The fused on applique can be a lovely final product. But… I don’t think it’s nearly as nice as the stitched down version, so I encourage you to try the sewing! Here are two samples side by side. (Though part of the difference is also in the backing fabric – acrylic vs. wool felt. Learn more about fabric choice in this post.)
More Details on Construction
For fabric, I prefer to use 100% wool that is woven, and then washed to become wool felt. (Note: you can also buy any woven wool and felt it yourself by washing it in hot water with plenty of detergent, and then drying it in the dryer.) I’ve really liked the wools I got from: Carriage Country Quilts in Des Moines, WA (my “local” store, but they do mail order), Sew Creative in Ashland, OR, Primitive Gatherings, and Julie Mayfield Home on Etsy. Pixie Fibers’ wool was too loose weave for the polished look I want – it might work fine for larger pieces, but not small items like flower petals.
I use HeatNBond fusible interfacing to attach the pieces to the backing before I sew them down (and it can also be used to permanently bond things even if you won’t be sewing them down.) It needs a hot iron, no steam. 30-50 seconds for a good bond. (Even though the directions might say much less than that. If you were working with linen, maybe that short duration would work, but felted wool is serious insulation.) Use a press cloth (I use a cloth napkin) between the iron and the interfacing. Iron the interfacing on the “back” side of your wool. Then draw out your pattern onto the paper backing and cut out your item. Then remove the paper backing and iron the item onto your background fabric.
I use DMC embroidery floss that I get from Michaels. I generally use a single strand, and it comes in 6 strands, so you do have to separate one out (here’s how). When you’re choosing colors to match your wool, if there are two choices that are both close, choose the slightly darker one.
For stitches, I mostly use blanket stitch around all the elements to sew them down. (video of blanket stitch)
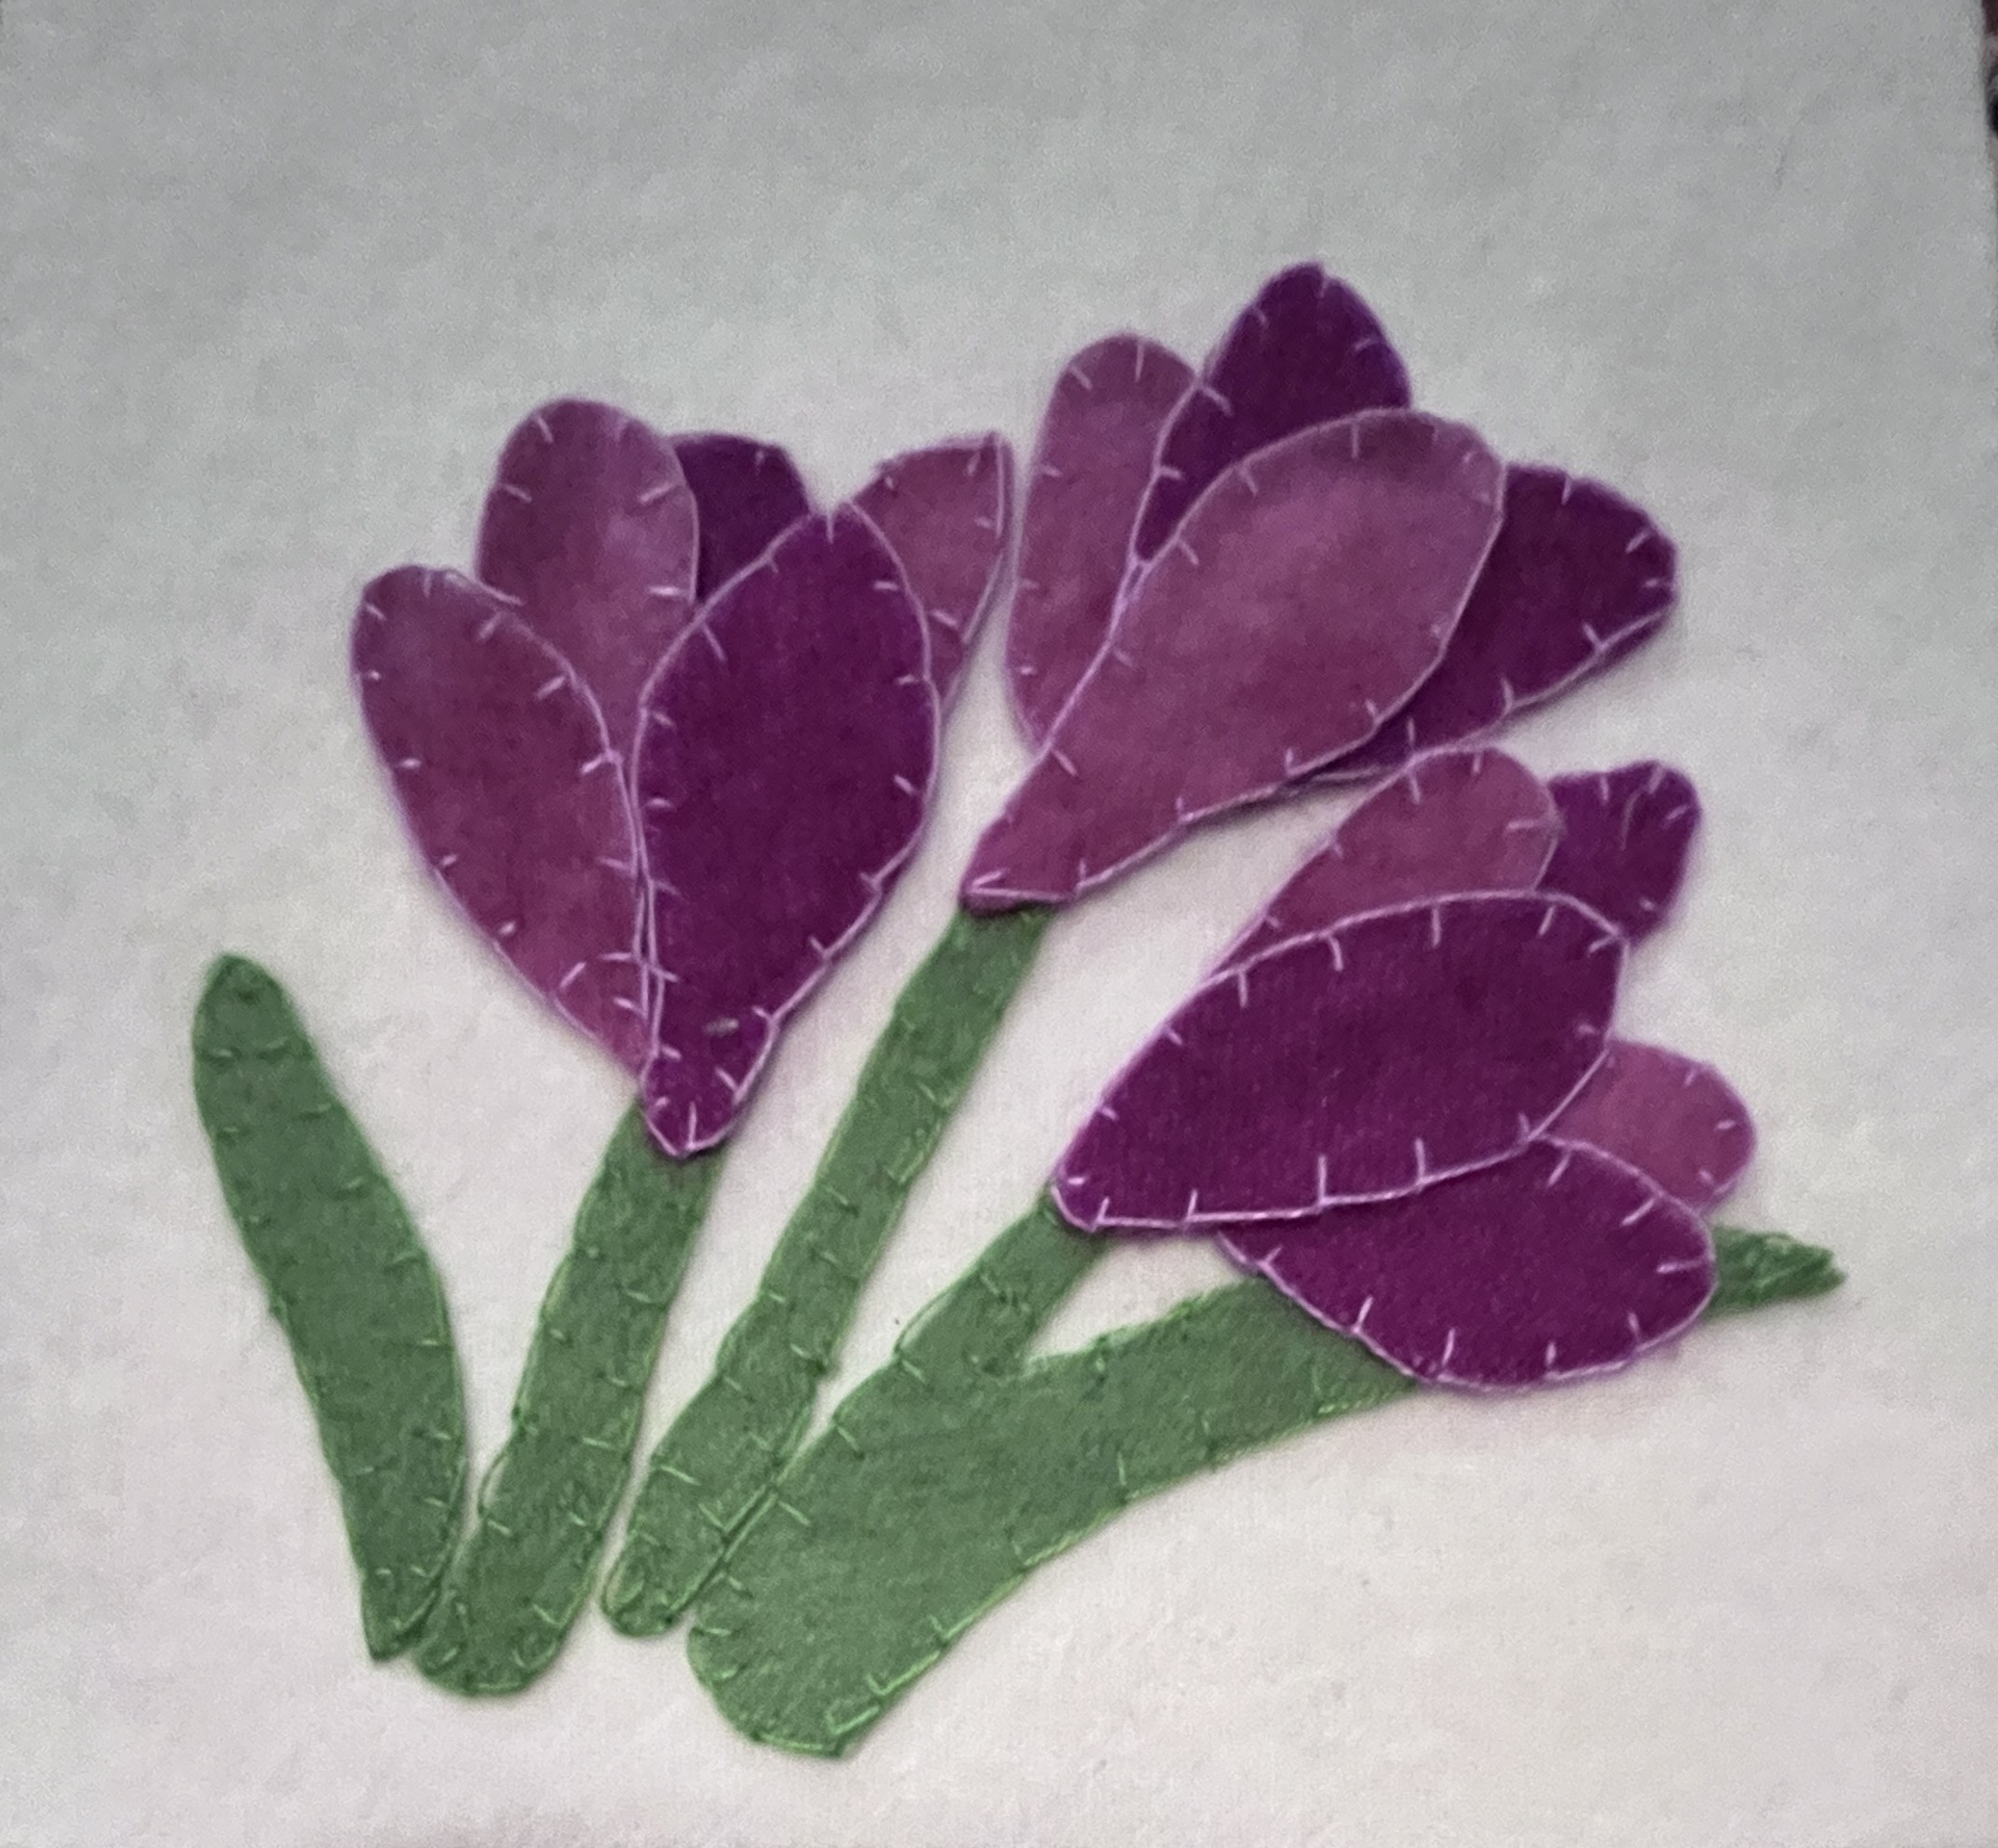
For details on leaves, I tried fern stitch, but I like fly stitch much better.
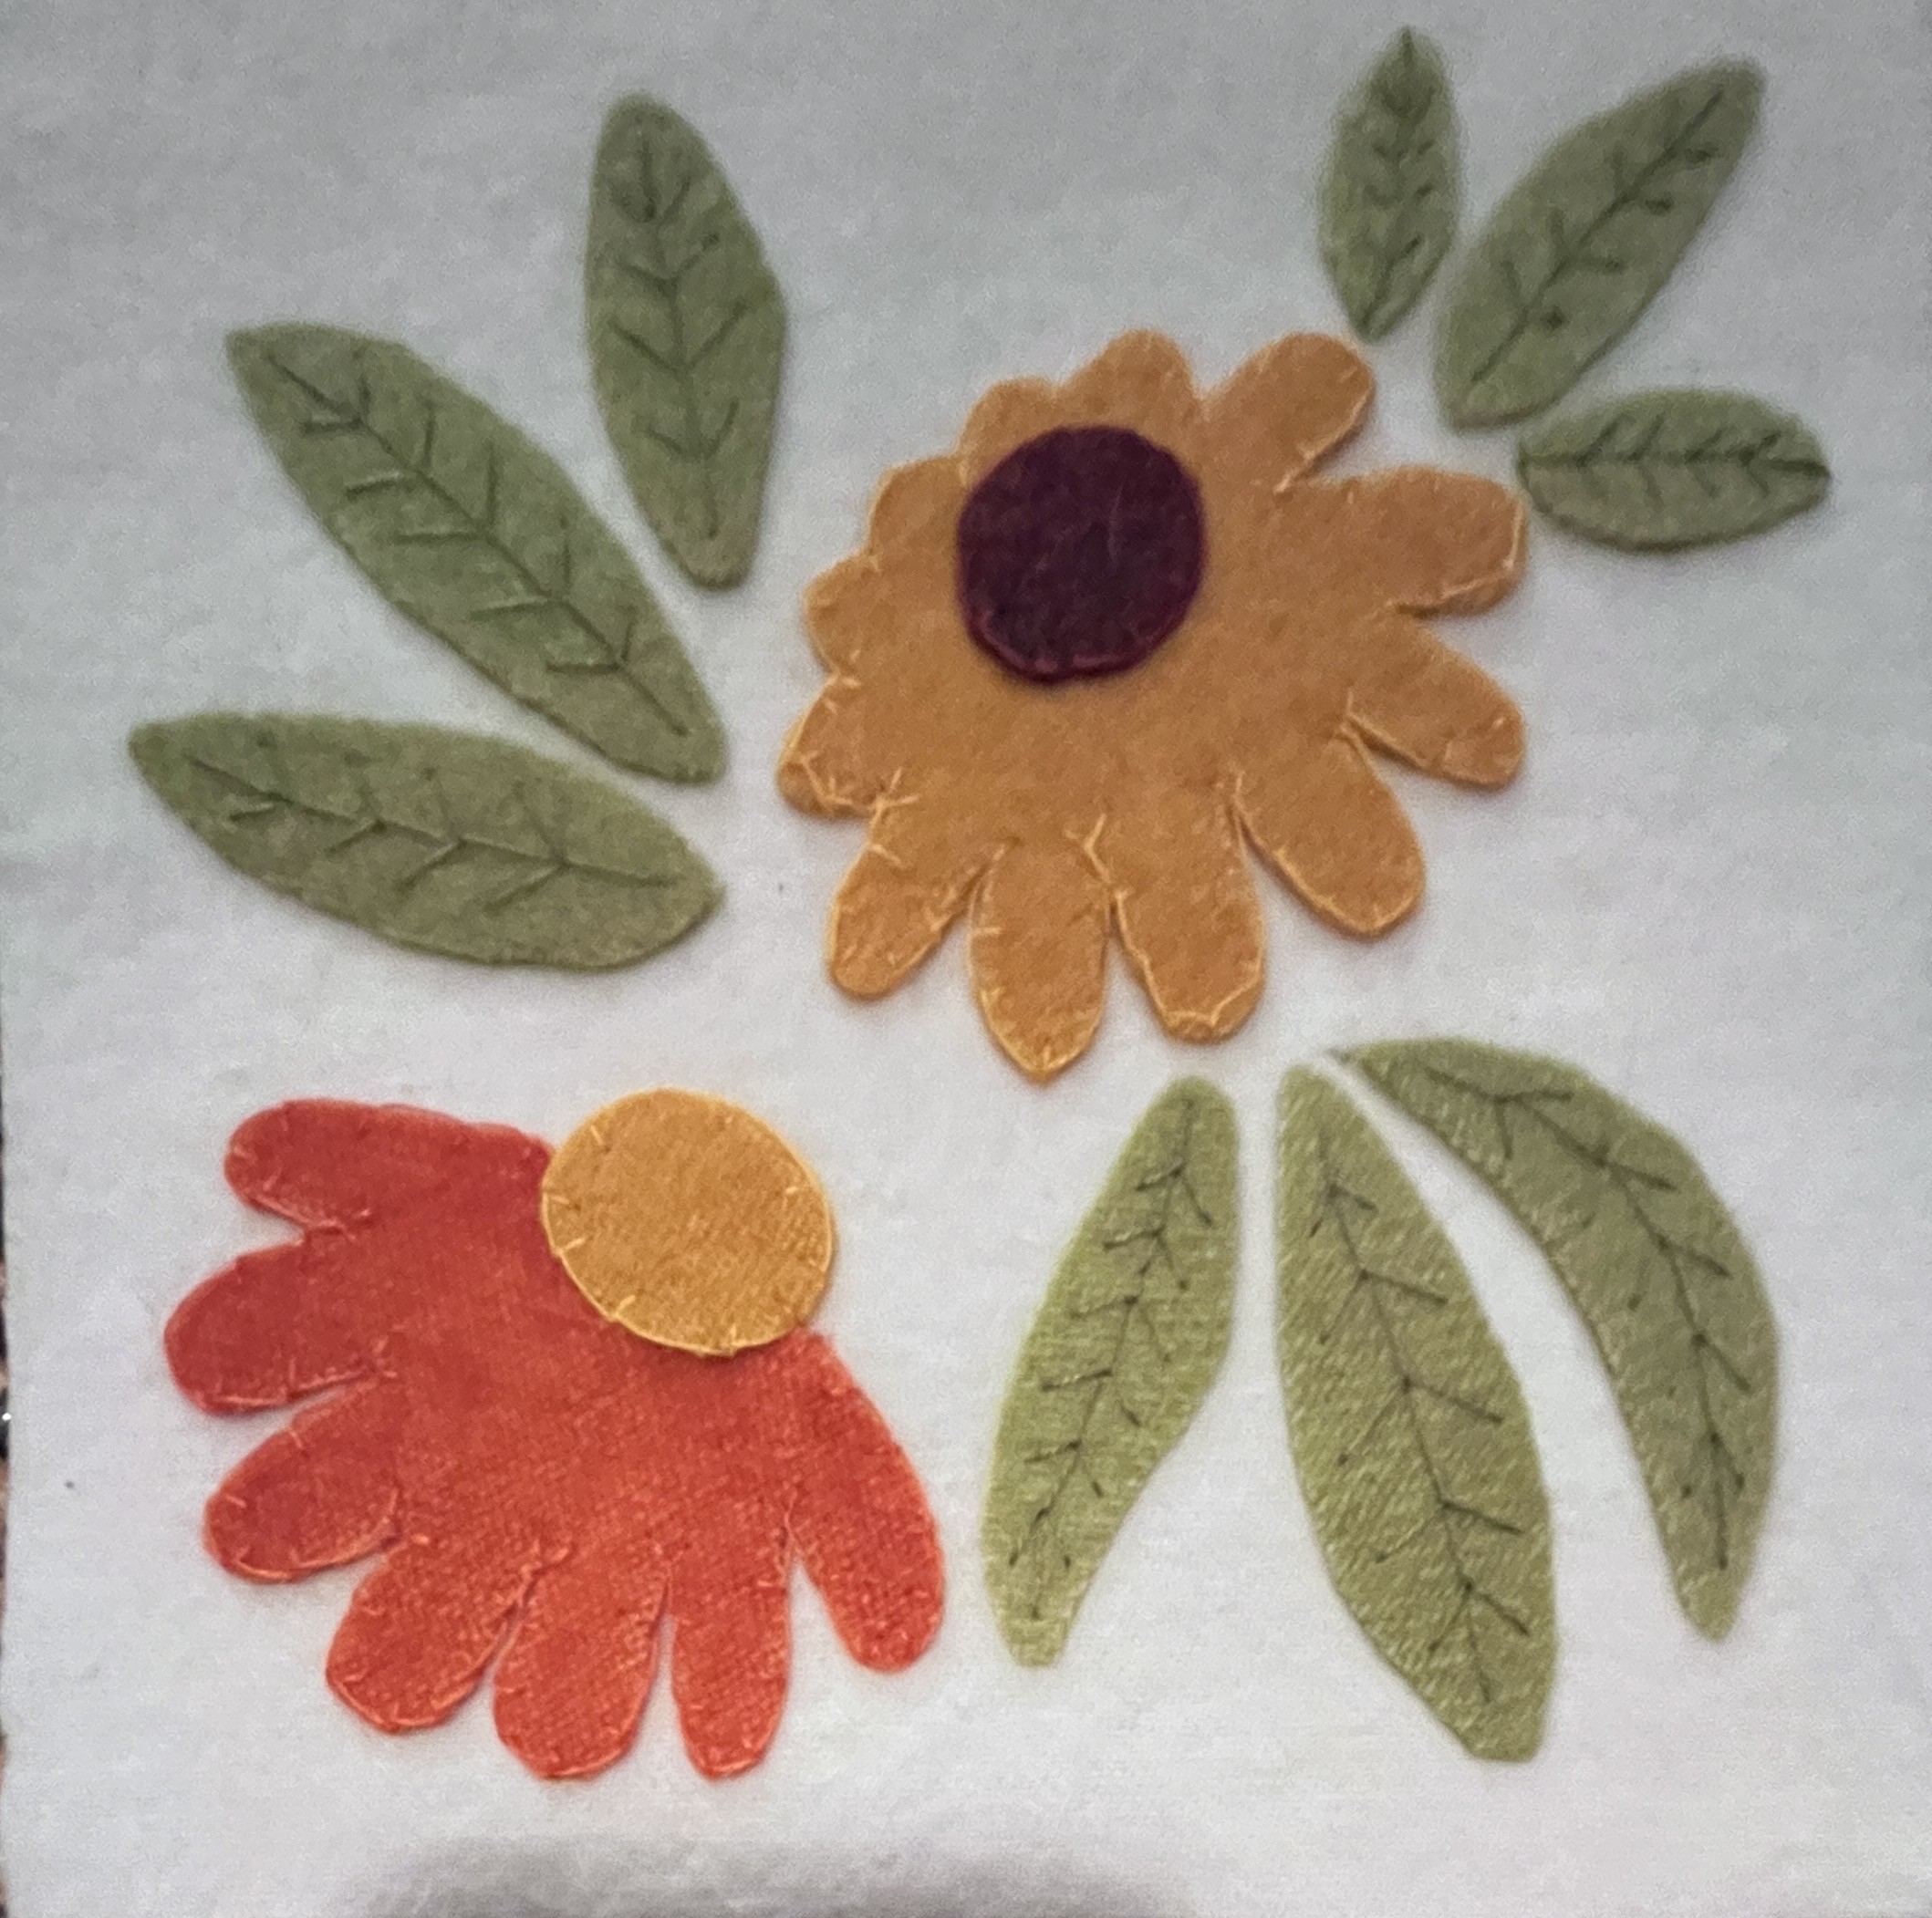
A french knot also comes in handy, like the brown knots here:
Enjoy!

