When you’re the host (or when the host has enabled the participants to do so), you can share your screen with other people in the meeting. You can share anything that’s on your screen, whether that’s a webpage you’re looking at, an online game you’re playing, a photo in your camera roll, an online game, or a PowerPoint. You can also share what’s on the screen of your iPhone or iPad. Or share a white board that you can draw on, and that others can draw on too (if you enable annotate). There are several things you can do to improve how well your sharing works.
How to Share
To share a screen, go to the command bar at the bottom of the screen, and choose the green button for share screen. It will pop up a window, like this:

Choose the thing you want to share – say the word document on the bottom right, then choose share (or just double click on it), and it will begin sharing.
To share a PowerPoint: BEFORE it’s time to share, go to your PowerPoint and start the slide show from the beginning. When it’s time to share, press the share button, then choose the slide show image (the second from the left in the bottom row in the picture above), NOT the PowerPoint slide show where you’d go to edit the PowerPoint (third from left).
To share a video: You could show a video off of YouTube directly. But, that takes a really good internet connection to download the video to your computer and upload it to zoom simultaneously. Personally I really prefer to download it and to embed it in a PowerPoint slide show where I can “trim it” to have it set up just right and not have to worry about ads, or about it not displaying correctly. (Learn more about optimizing PowerPoint for Zoom.) When you share a video that you want them to hear the audio of, it’s SUPER important to click the “share computer sound” box in the bottom of the share window. If you want the video to look its best (and you have two monitors), also check optimize screen sharing for video clip. The video will look much better, with less stuttering and stalling than if you forget to click it. 
While Sharing
You’ll know the share screen worked if up near the top, there’s a green bar that says “you are screen sharing” next to a red box that says “stop share.” When you’re ready to stop sharing, click on the red box.

Your black command bar will appear up top. If you’re not using it, it will disappear (you can always bring it back by bringing your mouse over the green bar). From that command bar (including the “more” menu with the three dots), you can access most of the normal Zoom commands even while sharing. For example, if you forgot to click to share computer sound before sharing, you can do it from here. If you want to be able to see participants while screen sharing, look in the more menu, and choose “show video panel.”
Quality Sharing Experience
If you’ve spent much time in Zoom meetings, you’ve probably seen a lot of sharing failures – people choosing the wrong screen, the video lagging, and so on. Here’s all my tips for improving the experience for your participants:
Prepping your Materials
Some people try to switch from showing an online video, to sharing their powerpoint, to showing a word doc, etc. All those switches are awkward and leave room for mistakes.
I usually gather everything I plan to share (slides, video, audio, images, screen captures of internet sites) all in one PowerPoint that’s set up exactly as I want it, and I don’t have to figure out lots of different things mid-meeting. (Learn more about optimizing PowerPoint for Zoom.)
Get your best internet connection
If you want your video to look as good as it possibly can, it is ESSENTIAL that you have the best internet connection you can get. Read tips in this post about getting the best internet signal for Zoom. If you have multiple co-hosts, plan to have the co-host with the best internet share the video.
If You Only Have One Monitor
If you’re just using one monitor (like just a laptop screen), AND you click “optimize for video clip” when you share, your meeting participants MAY see gray boxes covering what you’re sharing. They may appear where the command bar is on your screen, or where your chat box is. All of those Zoom functions MAY create big grayed-out boxes for your participants, as you can see in this sample from a robot class I taught. (Oops.)

If you want to be sure how something looks to a meeting participant, test it with a friend or with a second device and see if you have this issue.
If so, try un-checking the “optimize for video clip” when sharing screen. That’s fixed it for me.
Using a Second Monitor
I really like using a second monitor if I’ll be sharing screen. That way I can put my presentation on one monitor and have my Zoom call on the other monitor. In one of my work spaces, I have a second monitor on the desk. In the other, I don’t. But I do have a projector… and as silly as it seems, I just project onto a cardboard box lid or the wall and use that as a second monitor.
You show the slideshow on your second screen, and control it on your main screen. When you share the slideshow, be sure to share IT (called “screen 2”), not your controlling screen. Note: If you’re using an “extended screen”, sometimes the command bar for Zoom will appear on top of the slide show – just drag the command bar over to your main screen.
Before the Meeting
Just prior to the meeting, try to close down as many other things on your computer as possible. Close your open documents and spreadsheets, close your internet tabs, your social media apps… the less things you have running, the better. This ensures 1) your computer isn’t spending energy processing all that, which could slow down your presentation, 2) it makes you easier to find the one thing you want to sure and 3) it makes it less likely you’ll accidentally share something you didn’t mean to share.
During the Meeting
So many people share the view of PowerPoint that is designed for editing your slide show rather than presenting the actual slide show. This is really cluttery looking and isn’t how PowerPoints are designed to be shown.
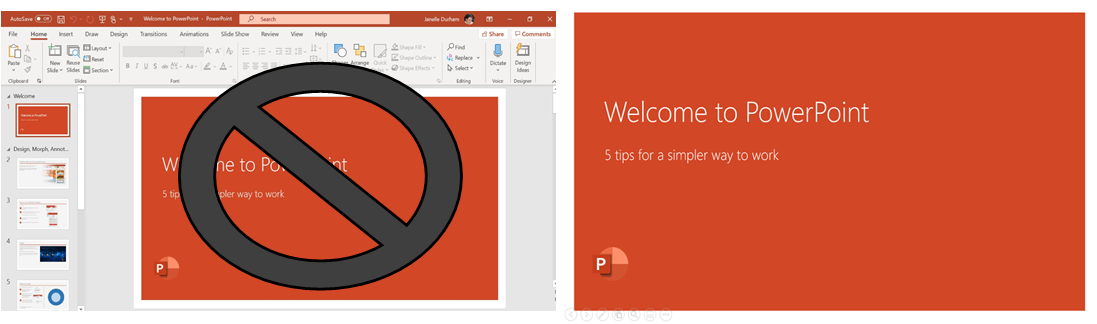
So, I recommend that before it’s time to share, you go to your Powerpoint, choose slide show, and then choose to play from the beginning (or wherever you want to start from). Then go to the Zoom meeting. (Note: after you start your slide show, on many computers, the task bar at the bottom of your screen which shows your other programs will disappear, so it can be hard to figure out how to get back to Zoom. On a Windows PC, just click on the windows button, and the task bar appears. Go to Zoom and your meeting. On a Mac, you click on command and tab.)
During the meeting, when it’s time to share, choose “share screen” and a window like this will pop up. Select the presentation (bottom left), not the PowerPoint program (second from the left). If you will be playing audio or video that you want the participants to hear, you MUST choose “share computer sound” in the bottom left. If you will be showing a video, then choose “optimize… for video clip.” then click share.

Sharing the Whiteboard
When you choose share screen, you may notice you can also share a whiteboard. (See picture of sharing options above.) This brings up a drawing pad and these controls.

If you click on text, and then click somewhere on the screen, it starts a text box you can type into. Or, click on draw, choose the squiggle line to free draw or choose the specific shape you want to draw. Click on format to change the color of your “pen.” (Read more about annotation tools, which you can use on the whiteboard or on any screen share.)
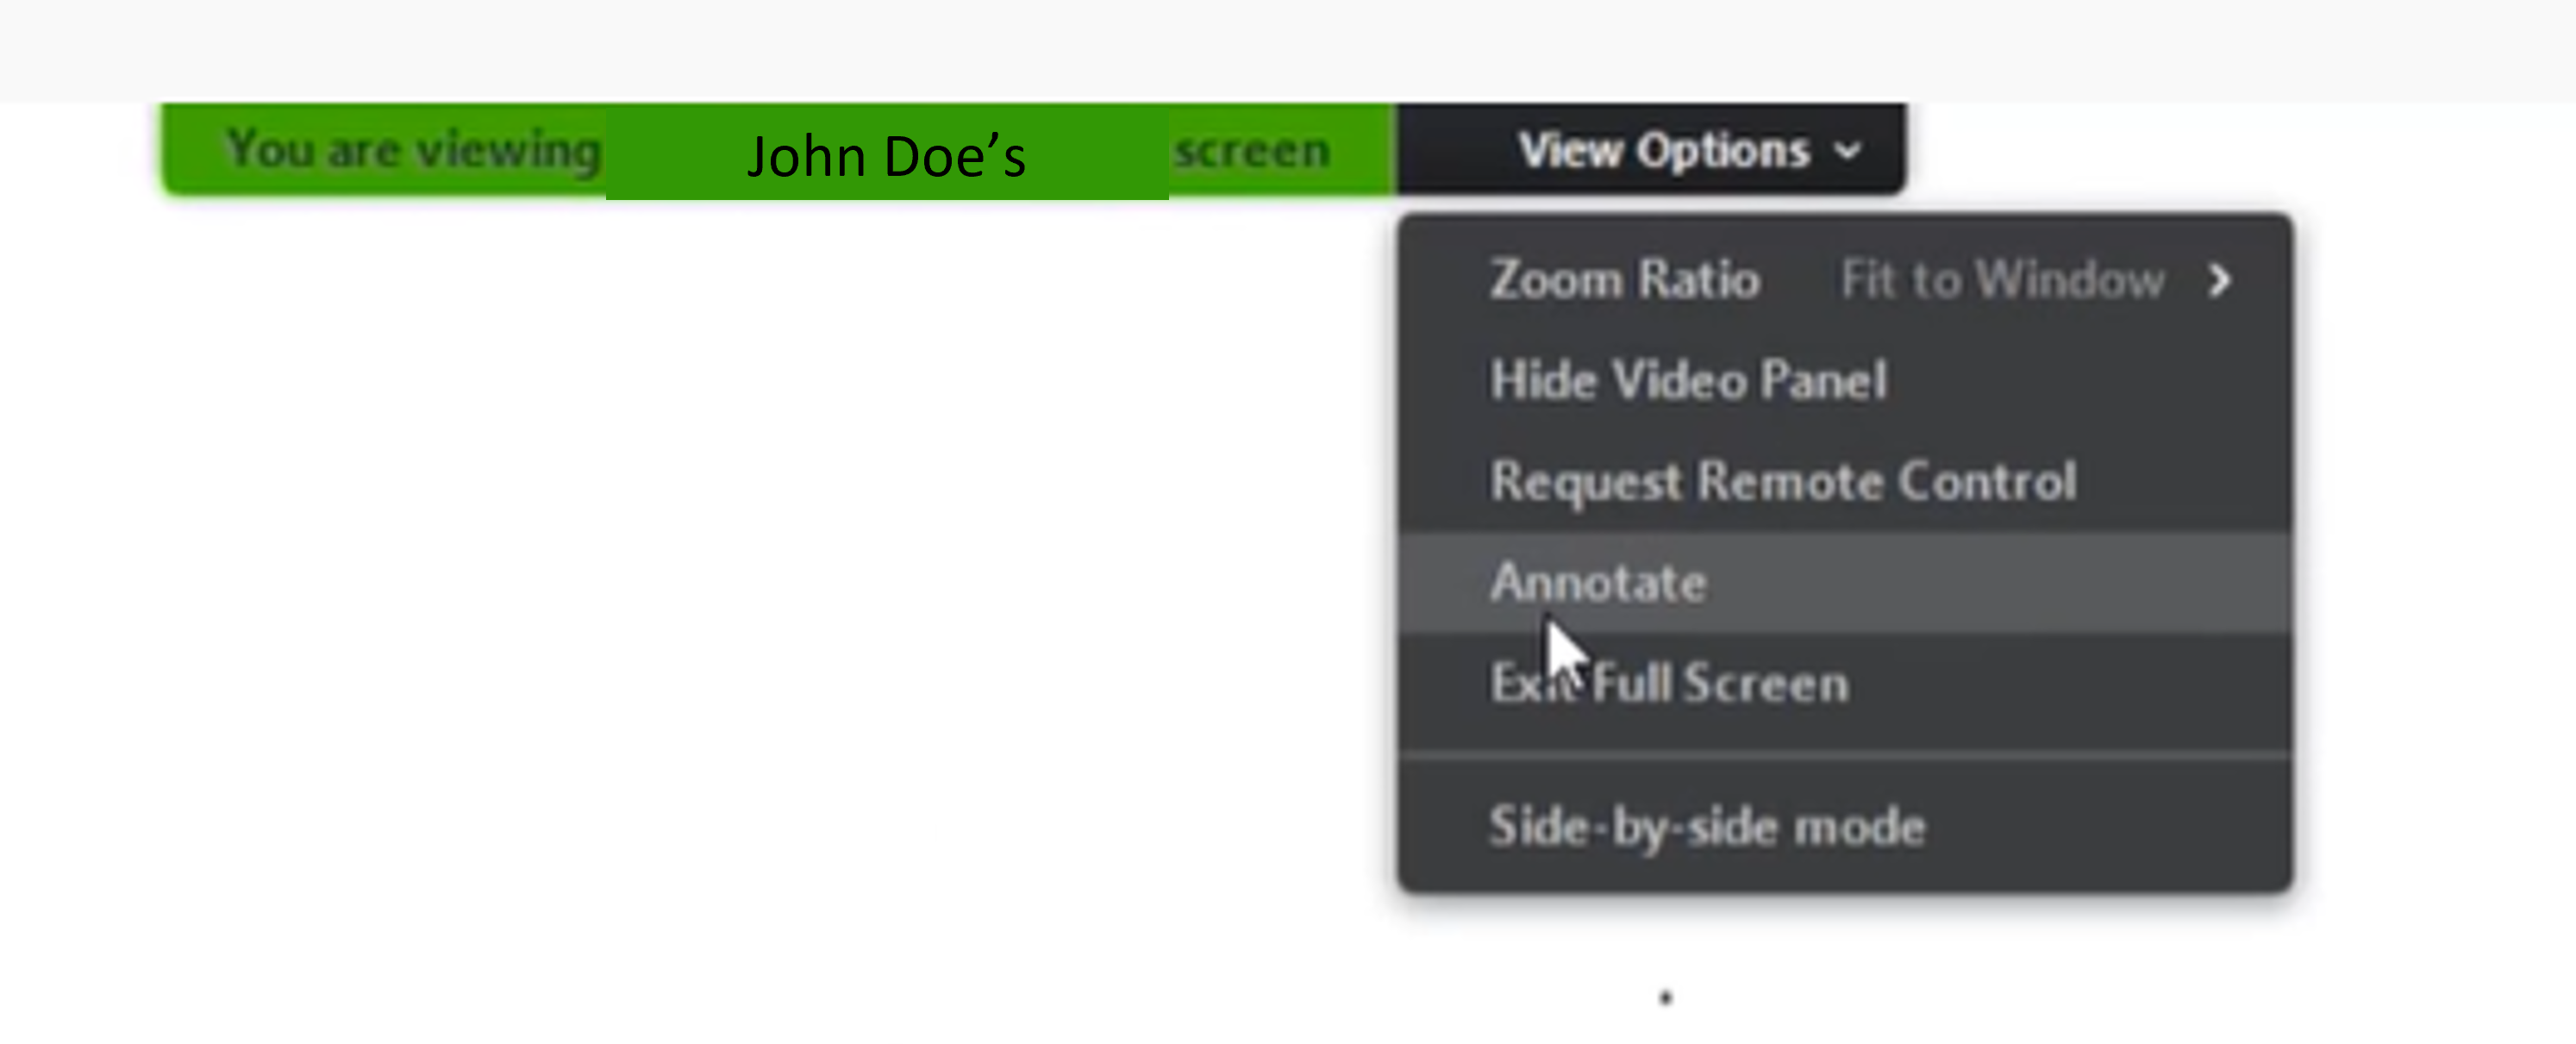
You can also choose to allow participants to annotate your screen shares. (This can be a very helpful tool for collaborative meetings, and a great way to engage students in classes, but you may NOT want to enable this if you’re teaching middle schoolers or others who may be prone to writing disruptive things on a screen.) In the screen share settings under “more” you can enable participant annotation. On their screen, when you’re sharing, your participant can click on “view options” at the top of the screen, and choose “annotate” and the annotation toolbar will pop up for them.
Sharing your iPhone
You can also choose to share the screen of your iPhone or iPad. Choose “share screen” and then just click on the IOS option. (The first time you do this, it will ask you to install a plug-in. Agree to do so.) It will then ask you to go to your phone, swipe up to access the control center and choose “mirror screen”, then choose Zoom. (More info here.) Once you’ve done this, it will share whatever is on your screen. If you don’t want people to see all the clutter on your screen where you’re getting it to where you want it to be, you can pause screen share, make sure you’re all ready, then resume screen share.
I know teachers who share photos from their iPad. I used it at a singalong, where people would request a song from a book I had a copy of. I’d take a picture of the lyrics and share those. I’ve used it in a class to show a good view of a craft demonstration. (Although I prefer to just log my phone in as a separate Zoom participant and show the camera that way, by spotlighting it as a “participant.” Learn more.)
Learn more on Zoom support about sharing screens.
Learn More
To learn more about how to use Zoom, check out the articles in my Zoom Guide. Here’s some to start with:
- Optimizing PowerPoint for use on Zoom – you can place all the audio, video, and images you need all in one PowerPoint to help your meetings go more smoothly.
- Games and Interaction on Zoom – lots of ideas from charades to Pictionary to polls and quizzes and skribbl.io
- Music on Zoom: playing recordings, live music or leading songs
Updated 6/25/21
