The TL;DR. Adding in a second camera to a Zoom call will allow you to provide your students with a much better view of many class activities. There are many methods for this, but a simple one is just to dial into the call with a second device, like a phone or tablet, then prop it up at the right angle for your needs.
The Challenges
Zoom works well for teachers who use primarily lecture and PowerPoint slides, and write on the Zoom whiteboard. The webcam image of their face while they’re sitting at the computer, plus screen shares is all they need.
However, the images from a webcam mounted on a computer really aren’t well-suited to those who teach full-body skills (like dance or PE or childbirth preparation) or for teachers who want to share display materials they’ve designed for group time in a physical classroom (like posters, models, or preschool felt boards, where they need a broader view and a mic that picks up as they move away from the computer) or for teachers who teach hands-on skills where students either need a good view of their teacher’s hands at work, or a horizontal, birds-eye view of a product (for classes such as art or cooking, hand-writing or preschool crafts). Teaching any of these skills can be more effective if you add a second camera to capture the best view.
There are several ways to bring in a second camera feed.
Use a Document Camera
If you own a document camera, you can use that on Zoom. First, install it on your computer, then you can use it in two different ways.
- Use it in place of your webcam. Instead of showing the image of you talking, you can show what is on your webcam. To do this, go to the command bar at the bottom of the screen. Next to the video camera, you’ll see an up arrow. Click on that, and choose the document camera. If you want them to see only that image, spotlight it to put in as speaker view. If you want them to stay in gallery view so they can see each other, your document camera will be just one person-size box in the gallery.
- Share the screen. Choose share screen, then click on advanced options, then click on content from second camera.
- With this second option, the shared screen will take up most of your participants’ screen, but they’ll still be able to see you speaking if they’re in split screen mode.
Plug in a Second Camera
You can also set up an external camera. First, plug an external camera or your phone into the computer via USB or HDMI, and install the camera so your computer can use it. Then, as above, you can either use it in place of your webcam or share the screen of its view. Works fine if you want to plug things in and that fits well in your space, but it makes your second camera less mobile than it can be with other options.
Share iPhone or iPad screen
One of the shared screen options is to share your IOS device. Learn how. This works fine. I just find it takes me extra steps of set-up and isn’t as efficient as other methods.
Use a Phone App
You can install an app on your phone and your computer which will allow you to use your phone like a webcam without having to tether it to your computer with a cable. For iPhone, there’s EpocCam (works on Mac and PC) and iVCam (PC). Learn more here. I assume there are similar apps for Android phones. I like iVCam much better than EpocCam, and it’s my second choice method. My first choice is:
Just Join with Two Devices
I think this is the easiest method. You have one device (maybe a laptop) set up as your primary – with the camera nicely focused on your face, and the mic live. You have the other device (a phone or tablet with a camera) set up with its camera focused on whatever it is you want to demo. (Your dancing feet, your craft project or your kitchen counter.) Note: it’s super important to mute the microphone and speakers on this second device (or just join without audio), otherwise you can get horrible echo feedback.
When you look at gallery view, your face will be one of the thumbnail images, and your craft project will be another one. In speaker view, it will focus on your face when you speak, so you’ll want to spotlight the other camera.
I find this method easiest to use and teach to others. However, there are two important caveats!
If you’re using wi-fi for your both your devices, then you are putting twice as much demand on your internet bandwidth this way. If your internet already struggles, don’t do this! Use another method.
If you have unlimited data on your phone and a strong enough signal to run Zoom, you could choose to turn off your wifi on your phone, so your primary device is using your home internet signal and your phone is using cellular data.
Note, if you’re trying to capture something in motion, then you need a good signal for this to work. With a poor signal, you’ll get lag in your video.
Propping a Camera at the Right Angle
Once you’ve decided on what camera you’ll be using, now you have to set it up to perfectly capture whatever you’re hoping to display or demonstrate. You may need it vertical for demonstrating dance or martial arts or the effects of gravity as you drop a ball. You may need it horizontal for showing your calligraphy demo or the liquid in your mixing bowl.
Often, you can jerry rig just the right DIY set-up with a little bit of work. I’ve been known to just set my phone on top of my tea cup or an empty Kleenex box so it’s hanging way off the edge, and put some random weight on the phone to keep it from falling off.


You can be a whole lot more intentional about it. This website talks you through every detail of setting your phone up as a really stable document camera as seen in their photo.

Just do a google image search for “DIY Document Camera” and you’ll find all sorts of creative hacks.

You could also buy a phone stand explicitly designed for this purpose. If you want a vertical camera, then you have LOTS of options as there are many products made for live streaming videos, many of which have a ring-light and phone holder together.
If you search for “selfie ring light” you’ll get lots of options.
There are also several “gooseneck mount phone holders” that can put the camera at a variety of angles, but since these are often designed as bedside phone holders for browsing or streaming, they tend to angle the phone’s screen mostly vertical.
If you want a tripod that will hold your camera at a bird’s eye angle on a horizontal item… well, that’s harder to find. I haven’t been successful yet. I bought one, but was disappointed in it and it’s been discontinued.
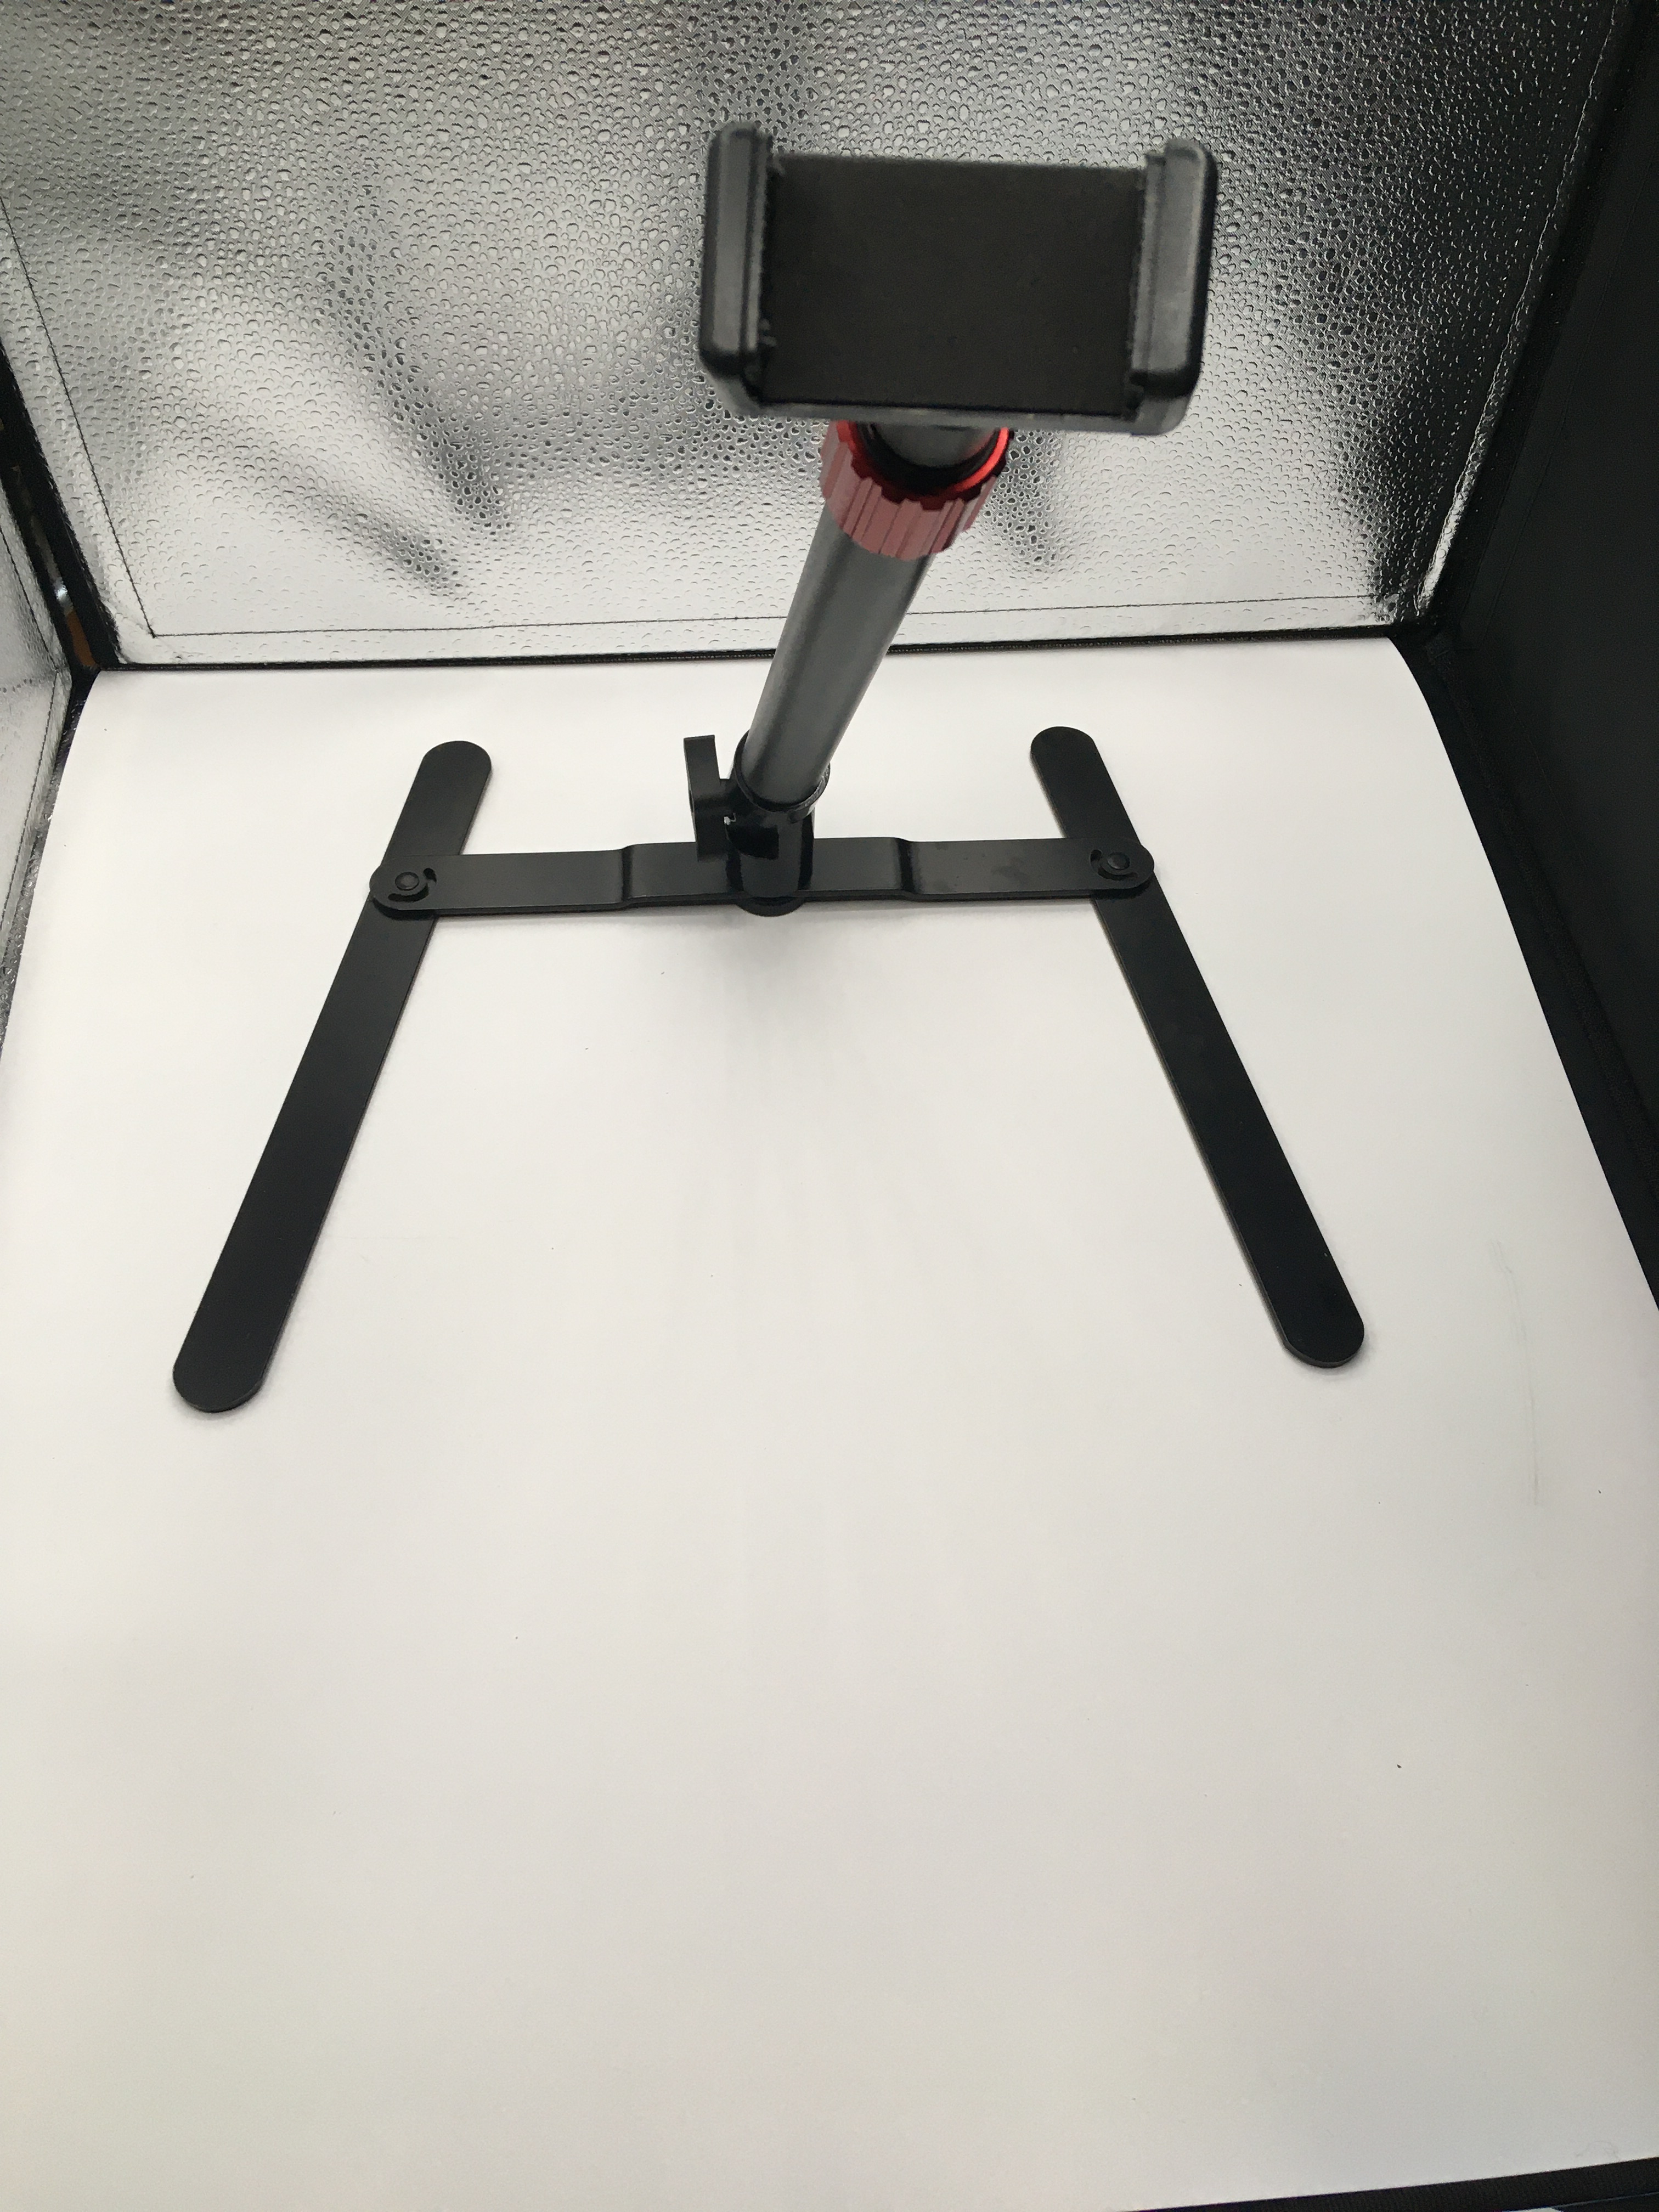
Try searching for “cell phone document camera stand” or “overhead camera stand.” Here is an alternative I’m considering, though I may just go DIY.
Lighting
For any camera image to be effective, you need good lighting. In many rooms, you can make do with the ambient light, or bring in a desk lamp or floor lamp you happen to own. Or, many people purchase ring lights for wide-angle lighting or other more focused lights, depending on their needs.
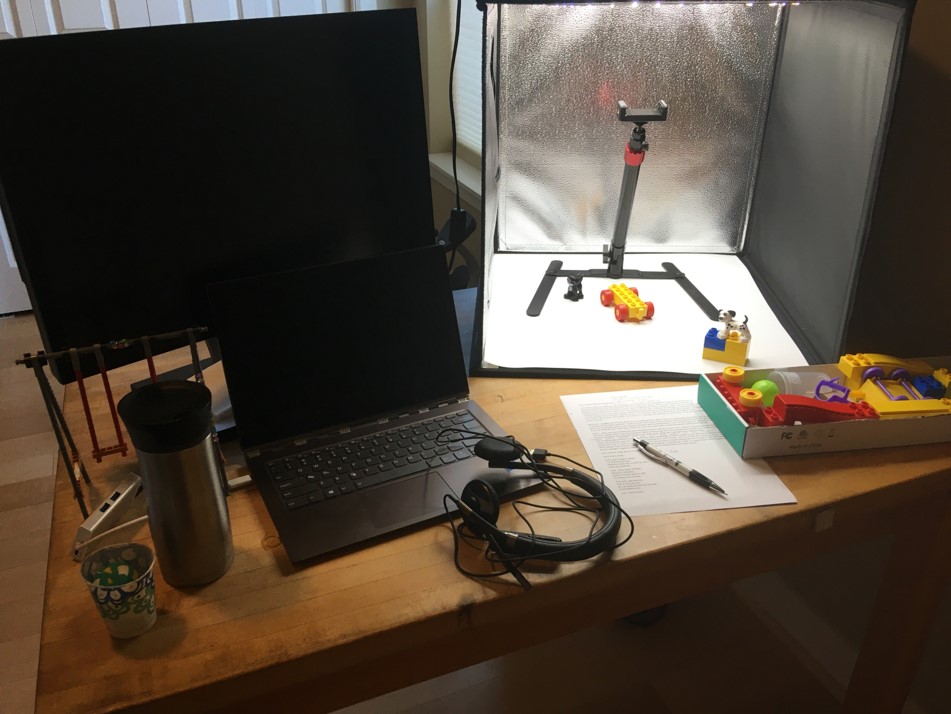
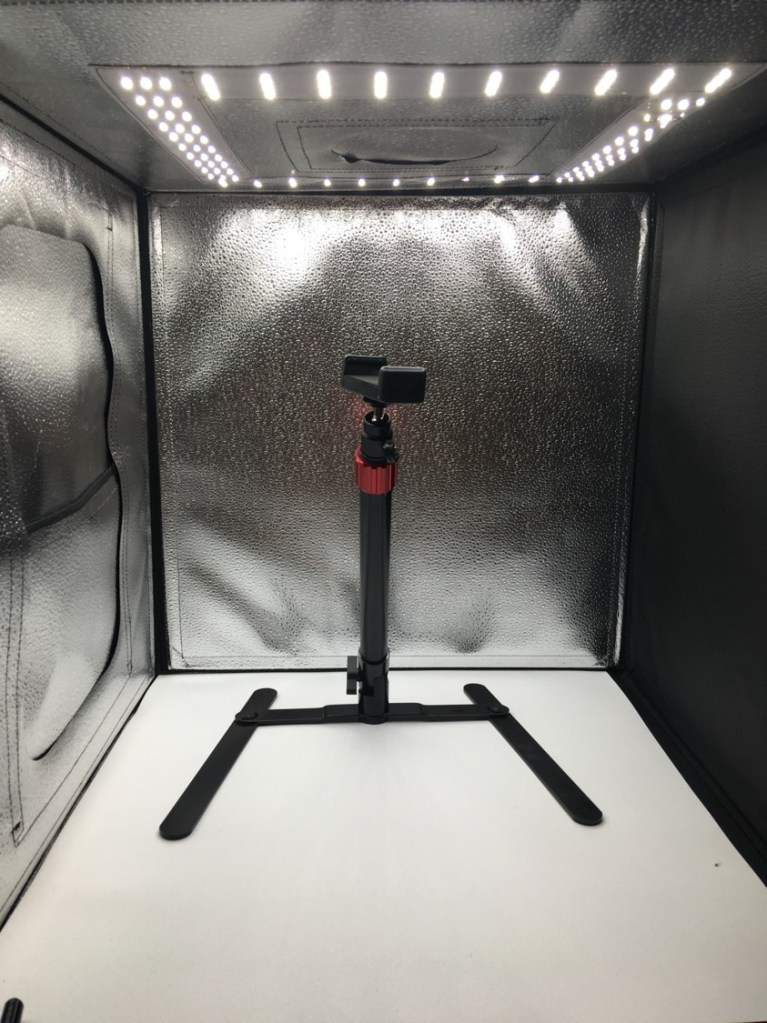
I happen to own a photo light box, which I use. I sometimes set up my phone stand inside it, or if I want the highest possible view, I just lift the flap on the top, and tuck my phone under the flap, aimed down to display everything beneath it.

Comparing the Results
I made some quick videos comparing how things look when using the laptop camera, versus using my phone as a secondary device. These are not perfectly staged videos, but should be enough to give you a sense of the differences in the experience to judge for yourself whether it would be helpful for your needs.
As with all things on Zoom, if you want it to look good during a class, practice it before the class!! Anytime you want to, you can open up your Zoom app, start a meeting, record it, and review the recording, then adjust things till you get it just right.
Facebook Portal
One final option for movement based classes is the Facebook Portal – a teleconference device that has a nice wide-angle camera with good image quality, and multiple mics that work well either when you’re nearby or across the room. For physical classes (dance, sports, etc.), it can work much better than the webcam on your computer. It also has the option of having the camera “follow” you as you move around the room – this is helpful for some teaching concepts. Not as helpful for others. See a detailed review of Teaching on the Portal.
For lots more information about how things work on Zoom, check out my Guide to Zoom.
Updated 6/28/21
